All About Jewelry-Making Wire
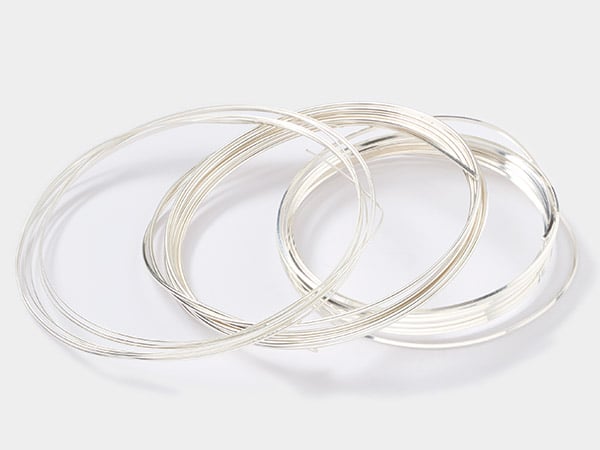
Wire is an integral component of jewelry. Whether you're wire wrapping, creating coils, weaving or any other technique, the right wire choice will make your life easier. But how do you know which wire to choose? In this article, learn how hardness, gauge and more can affect your results.

Discover the basics of jewelry-making wire and how to select the right wire for your projects. Patti will teach you the meaning of dead-soft, half-hard and full-hard and the benefits of each, along with the different gauges and shapes.

Wire working is so much fun, and choosing the best wire for your project makes it far easier to achieve something amazing! Understanding some key points about choosing wire-working wire will help you on your journey to being the best designer you can be!
Hardness
Hardness is the measure of how malleable the wire is. The most commonly used wires in wire working are dead-soft and half-hard. There is also full-hard and memory wire.
Dead-soft wire is easy to bend and can be manipulated easily without tools. Metal of this hardness does not form sharp angles and will not hold shape well. Dead-soft is best for wire weaving, coils and spirals, or wrapping around a base.
Half-hard hard is the sweet middle spot. This wire is fairly easy to bend, can be formed into sharp angles and will retain shape. This is the most used wire for wire-wrapping and creating ear wires, jump rings, open loops and clasps.
Full-hard is more difficult to bend and can be a bit brittle if bent too far or too many times. Full-hard wire retains shape exceptionally well, even under pressure. Full-hard metal wire is often used as a frame for wrapping and for creating clasps and bails.
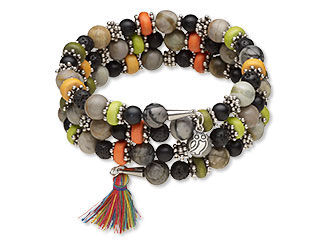
Memory Wire is very hard and is designed to stay in a factory-created shape. The coiled shape of memory wire allows for bangles, necklaces and rings to easily be created. Special memory wire cutters and pliers are recommended to avoid damage to your regular tools.
Relative Hardness
The above descriptors are how all metal hardness is described, but not all metals are created equal. For example, dead-soft sterling silver will not feel and work the same as dead-soft 14Kt gold wire of the same size. When making ear wires, dead-soft fine silver is a poor choice. It won't hold its shape and you'll work-harden with few results. Consider which metal alloy you're using, not just the hardness. Textured wire in the same metal also gains a slight edge on hardness, giving it a bit more rigidity when designing. This also applies to color-coated wire as opposed to base materials, such as how raw copper Zebra Wire™ will be slightly softer in temper if compared to colored Zebra Wire with layered enamel coatings.
Since many metals used in jewelry making are alloys of different kinds of metals, there can be variations in malleability within the different hardnesses. Below is a simplified list of metals most commonly used for jewelry-making wire, from softest to hardest, according to material:
- Fine Silver
- Aluminum
- Sterling Silver
- Gold/Rose Gold-Filled
- Copper
- Brass
- Bronze
- Nickel
- Niobium
- Stainless Steel
Hardening Wire
Work-hardening is the process of wire becoming more rigid with manipulation. On a scientific level, you have moved the metal's molecules closer together. The more you work with metal, the harder it will become. It is best to work-harden as much as possible before shaping since it can become increasingly difficult to work-harden after your piece is finished. While working on your piece, check the hardness often so your metal doesn't become too brittle and break.
Ways to specifically work-harden include:
- Pulling wire straight with nylon-jaw pliers or polishing cloth (see video demonstration here)
- Tumbling with steel shot
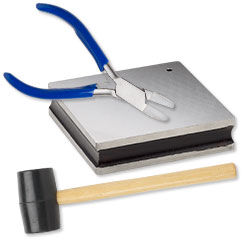
- Hammering with a rubber mallet or jewelry hammer on a steel block
- Twisting
- Coiling and uncoiling
- Pulling through draw plates
Dead-soft wire can be work-hardened if the core is changed, but there are limits. Hammering and other methods will work-harden the outer layers to a small degree, but it does not alter the core and so the wire remains soft. Some metals, such as aluminum, are always soft and therefore not always labeled with a specific hardness.
Softening Wire
To soften metal, you loosen up the molecules by annealing. Annealing is a process of heating and cooling, resulting in more flexible wire. When annealing, metal oxidizes quickly, and a pickling solution is used to clean the metal back to pristine quality. Check out the video tutorial with Lisa Pavelka for more information.
Shape
Wire shapes aren't just for looks—certain shapes are best used for certain techniques and types of jewelry.

Join Patti as she shows five common wireworking shapes, including round wire, half-round wire, square wire, twisted square wire and more, and demonstrates how to incorporate them into jewelry.
Round
Round wire is the universal wire and works for most applications. There are no edges to mar, and if it gets twisted, you’ll never know. It’s a great choice for cabochons or when you will be crossing the wire over itself.
Half-Round
Half-round is a favorite for creating ring shanks and wire-wrapping since there is a single flat edge. It works well for “hugging” things such as another wrap, piece of wire or object, such as wire frames, cabochons, the wearer's skin, etc.
Square
With four flat sides, square wire offers a beautiful, beveled quality that gives more flash to your piece. Easy to keep parallel when bundled together, it is most often used when making bangles and wrapping cabochons.
Rectangular/Flat
Rectangular or flat wire is mostly used for creating bezels.
Gauge
The size of wire is designated by gauge. Findings made with wire (ear wires, head pins and jump rings) are all measured by the same gauge system. The most confusing aspect of gauge is that it can seem backward—the smaller the gauge number, the thicker the metal is. For example, an 18-gauge (1mm) wire is twice as thick as a 24-gauge (0.5mm) wire.
The above chart depicts standard North American wire gauges, but this is not a worldwide measuring system. In other parts of the world, wire and metal sheet are labeled by their metric measurement. We have a handy Wire Gauge to Inches and Millimeters Conversion chart to help with conversion, so you get the correct wire size.
Sometimes gauge, rather than hardness, is the starting point for what you're looking to design. Below you'll find some of the preferred techniques for specific gauge sizes:
| Techniques and Gauge Sizes | |
| Gauges 26, 24, 22, 20, 18, 16, 14 | |
| Making Jump Rings | Gauges 24, 22, 21, 20, 18, 16, 14 |
| Coiling | Gauges 30, 29, 28, 26, 24, 22 |
| Making Head Pins | Gauges 26, 24, 22, 21, 20 |
| Making Ear Wires | Gauges 22, 21, 20 |
| Weaving (knitting, Viking knit, crochet) | Gauges 30, 29, 28, 26 |
Treatments
Here are some common treatments that are used to transform wire and recommended wire to use for each.
Hammering
Sterling silver and gold-filled wire you can hammer to your hearts’ content. It's the same with Argentium® silver and other precious metal wire, as well as uncoated base-metal wire such as brass or copper. It will get more brittle, but it can be annealed to soften and then hammered more.
Coated metals, such as Zebra Wire® and ParaWire™, can be hammered lightly to stretch the coating a bit. But if the wire is hammered too much, the coating will become thin, and the color will eventually disappear. Hammer with caution to see what works best.
Hammering plated wire is not recommended, as the plating is brittle and can flake off.
Filing and Sanding
All uncoated wire can be filed or sanded, but start lightly. Often, you’ll want to soften the end of cut wire to make it smooth, especially when making ear wires. You can do this using files, fine-grit sandpaper or cup burrs (also called wire rounders). In some cases, you may want to sand coated wire if you want to expose the core of the wire for decorative purposes.
Soldering
When you solder a piece to bond it to another, you heat it to just under the melting point of metal. You can solder precious metal wire and other pure metals including copper, nickel and brass, but plated, filled or coated wire is not recommended.
Wire-Working Tools
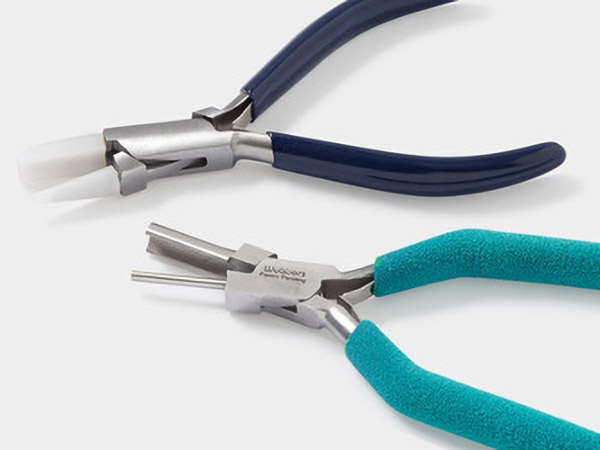
As with any jewelry-making technique, there are tools you'll want to consider using when working with wire. A tried-and-true set of pliers is a must.
There are specific ''Non-Marring Wire-Wrapping Pliers'' discussed at length by Tammy Honaman, and these pliers are considered essential for wire-working. If you prefer to stick with your favorite set of pliers, Tool Magic® is an easy-to-use rubber coating you dip your pliers in to prevent marring and other unsightly marks on your jewelry designs.
Draw plates and a sturdy set of tongs are tools you'll want around for not only work-hardening but also to ensure a tight, professional finish to wire weaving such as Viking Knit. With varying hole sizes, each draw plate allows you to customize your woven wire piece.
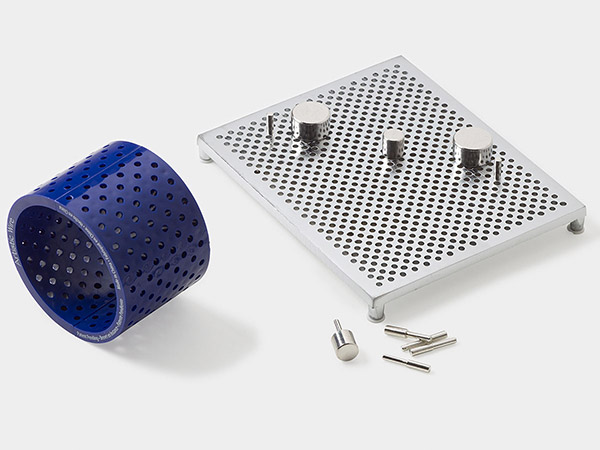
Wire jigs allow you to create consistent wire components. Place pegs into a grid for making uniform loops, links and other figures out of wire.
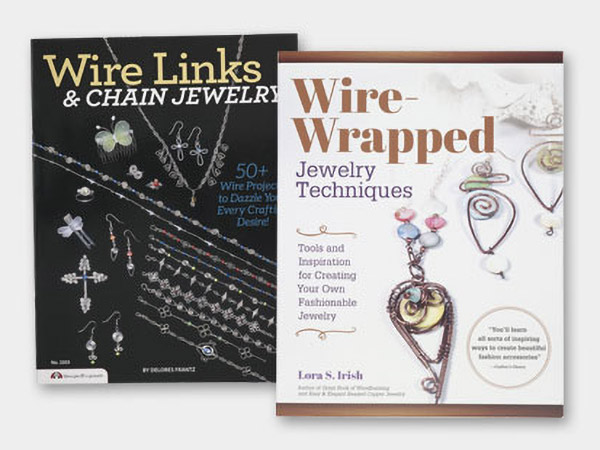
With all the wire tutorials you could ask for, as well as wire how-to videos with basic to advanced techniques, you're ready to start learning or advancing your wire techniques.
Shop for Your Materials Here:
Have a question regarding this project? Email Customer Service.
Copyright Permissions
All works of authorship (articles, videos, tutorials and other creative works) are from the Fire Mountain Gems and Beads® Collection, and permission to copy is granted for non-commercial educational purposes only. All other reproduction requires written permission. For more information, please email copyrightpermission@firemtn.com.

