Phone Photography for Jewelry
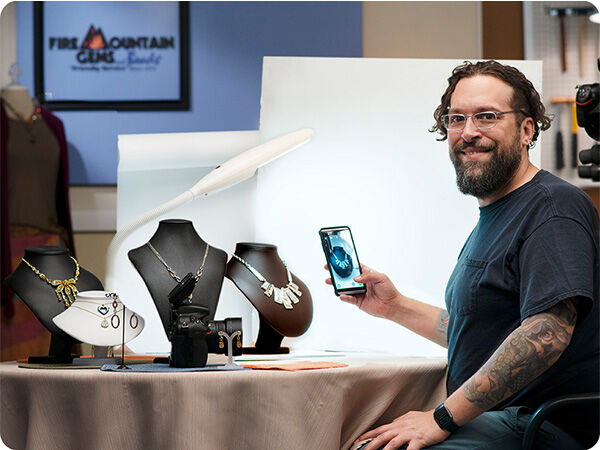
Jewelry makers take pictures of their designs for a lot of reasons: selling online, entering contests, submitting to juried shows, tracking costs-per-design, creating a personal gallery and more. It takes some practice and technique to light and shoot tiny, shiny things—especially to do it well. Learn secrets to successful jewelry photography with Chris, one of our professional photographers, along with tips from Steve Meltzer of Handmade Business magazine. Most of these tips and techniques will also work with non-phone digital cameras.
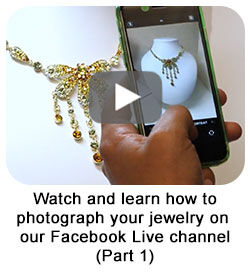
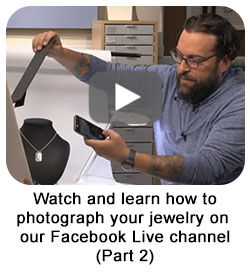
Click the links below to navigate to our step-by-step photography videos.
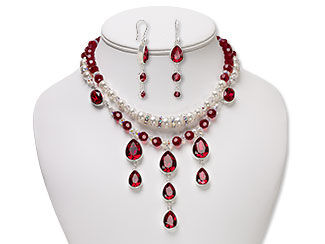
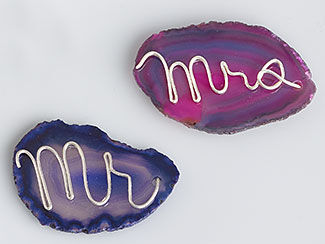
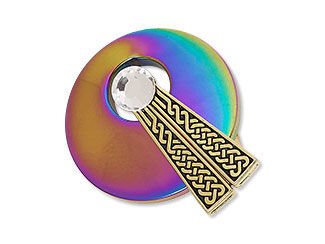
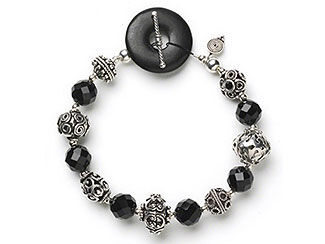
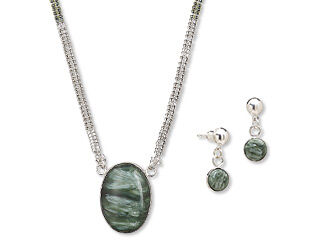
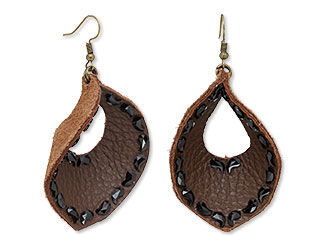
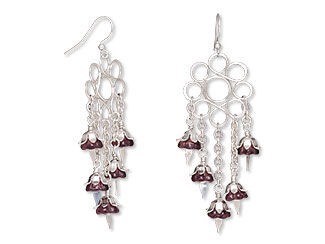
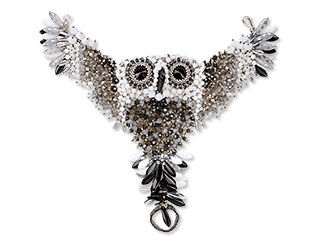
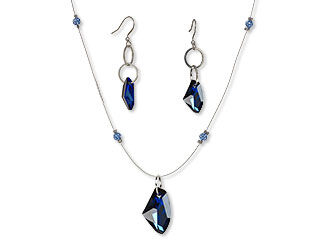
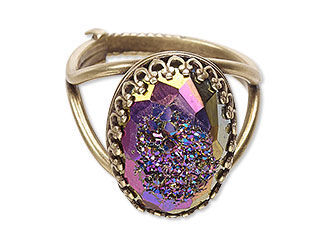
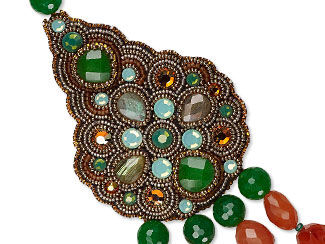
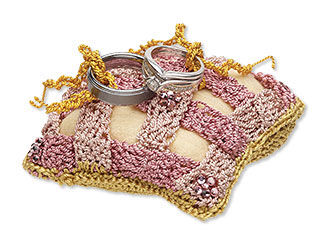
Use these helpful tips to get from this
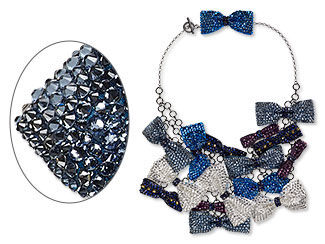
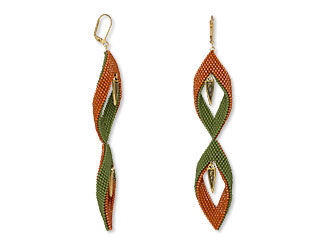
To this
Helpful Photography Terms
One of the challenges of using a smartphone camera or other digital camera is what seems like a ton of strange terms and weird controls. If the camera is so smart, why can't you just turn it on with the big dial to AUTO, press the button and have the camera take a perfect picture?
Because light is complicated.
Sure, AUTO works great for ordinary pictures. When it comes to photographing crafts like jewelry, however, you'll need a couple of techniques beyond "point and shoot." The camera's system sees differently than your eye and brain see, so what is clear to you in person may simply confuse the camera. Often, it's not as smart as you are.
Smartphone and other digital cameras are complex electronic devices with time- and labor-saving settings that you'll need to understand to use them properly. Smartphone cameras should be moved to MAN (manual) or PRO (professional) settings for more control over the image outcomes. There are some terms you'll need to know for aiming, shaping, guiding and managing how light interacts with your jewelry creation—and capturing that image for yourself.
- Focus
Whether the camera lens can "see" what you're aiming at. Most digital cameras and smartphone cameras use a software-based autofocus system (called passive autofocus) which works for a majority of image captures. - Zoom Lens/Macro Focus Smartphone cameras often have a macro setting and many will prompt you to use it after attempting to focus closely on a small item. For shooting jewelry designs and jewelry-making components with a non-smartphone camera, look for a lens with close-up or macro capability at its telephoto end.
- Aperture The aperture is usually not controllable on a smartphone camera, as it is limited by the hole in the phone casing. In a non-phone digital camera, the aperture is the opening between the focusing part of the lens and the sensor that records the image. These settings control how much space around what you're focusing on is also in focus. Since a variable aperture is mostly out of the question for smartphone cameras, smartphone cameras use software to replace the effects of aperture control.
- Sensor The camera sensor is a thin wafer of silicon—a very tiny integrated circuit—behind the aperture of all digital cameras. It is a piece of hardware covered with millions of individual photocells that each create an electrical signal based on the intensity of light it receives. The larger the individual photocells, the better they capture light, reproducing a truer value.
For non-smartphone cameras, you might hear professional photographers, like Steve Meltzer of Handmade Business magazine, talking about "F/Stops." Rather like wire gauges, smaller numbers mean bigger things. For jewelry and small crafting photography, a good number for an aperture is an F/8. If you're using a non-smartphone camera, experiment up and down on F/Stops to see if your designs or set need a larger or smaller number.
The trade-off to larger individual photocells is that fewer can fit on the sensor, so having a larger sensor is important. Higher megapixel sensors can capture more information—and most smartphone cameras come with 12MP (megapixels) as a standard—however, any sensor that's 6 MP or larger can produce excellent images for online selling sites, magazine reproductions or juried art submissions.
So always shoot photos at the largest file size your camera can produce. You may only be able to shoot one or two pieces per session before you must empty the camera's storage card or smartphone memory, but big files in the beginning will pay off with flexibility in the end.
- ISO
The International Standards Organization measurement of a camera sensor's sensitivity to light. When you increase the ISO setting, the photocells are more sensitive and perceive more, like the dripping faucet you don't notice until you have a headache. Most sensors begin at a baseline ISO of 100. At ISO 200, the sensor is twice as sensitive to light as it is at ISO 100, so you need less light for pictures. For most digital cameras, ISO settings between 100 and 400 are the best to use for taking pictures of your jewelry.
Many smartphone cameras allow you to adjust the ISO, usually found in the MAN (manual) or PRO (professional) modes, depending on brand. Experiment with your camera to see what its ISO range is and how changing the ISO affects the ways your camera captures an image. - Image Processor
The last physical component of a digital camera is the image processor, controlling how the camera sees and interprets light, and transforms what it sees into a proper image. Every camera component manufacturer has their code and systems, but many of the steps are the same. Here's an overview of how most work:- Each photocell on the sensor measures the intensity of light that touches it; the range of light-to-dark it can measure is called the "bit depth." Your image at this point is just black and white, and looks a bit like a greyscale mosaic—or a black/grey/white pattern in Lite Brite®.
- A camera's software then filters through the darker tones to add the range that human eyes see more naturally, layers on the color information and smooths out the mosaic look, giving you a raw image.
- The image processor will automatically attempt to reduce image noise. Some software is better at it than others, however, all of them sacrifice detail and realism to create something more pleasing to the eye.
- Adjustments and Filters
Adjustments and filters allow a photographer to change details in their image. - Adjustments give the photographer control of individual elements of an image. For smartphone cameras, they are often used on an image after it's been taken; for digital cameras, many adjustments can be made before the image is taken. Adjustments can include brightness, contrast, de-noising, color balance and saturation and more.
- Filters are prefabricated adjustment sets in a smartphone camera's software that impose a stylistic look or feel onto an image. Filters can include overall image tinting, conversion to black-and-white, edge blurring and other stylistic techniques.
- Both are useful for marketing purposes: adjustments allow for more accurate representation, filters offer time-saving effects for advertising.
Setting Up
Making your own jewelry photography "set" is simple and inexpensive. Here's a list of what you'll need to gather together if you want to follow along with Chris and Patti in this video series, and implement the tips afterwards:
What You Need
- Smartphone, tablet or digital camera
- Area to shoot—indoors recommended
- Steady table—adjustable height if possible
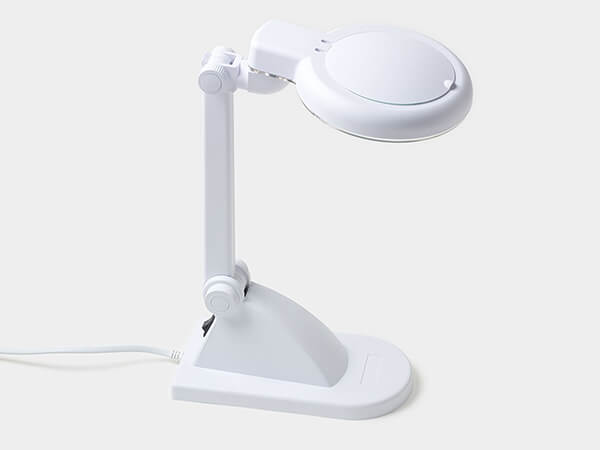
- Flexible LED desk lamp—CRI of 85+ if possible
- White foam core—two sheets approximately 1-1/2x2 feet
- Binder clips and/or A-clamps
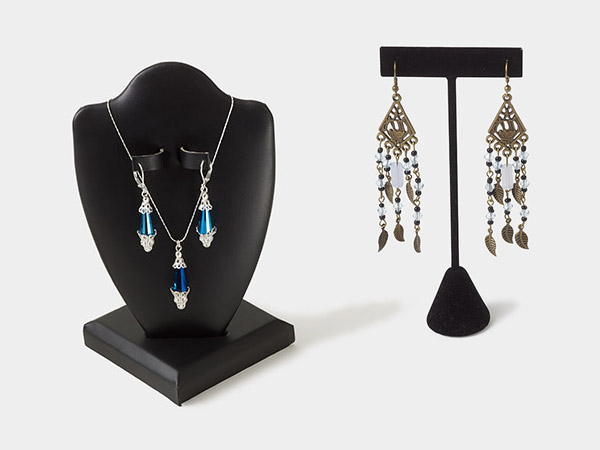
- Earring display
- Necklace displays—one black, one white
- White paper—large roll or 2x4 foot sheet—or plain white bedsheet (for backdrop)
- Black foam core—one sheet approximately 1-1/2x2 feet
Optional
- Clear glass or plexiglass
- Milky/frosted glass or plexiglass
- Smoky/opaque black glass or plexiglass
- Scissors or craft knife for cutting foam core
- Painter's tape for applying to edges of glass or mirrors to prevent scratching by clips/clamps
- (one to two) 3x5 inch mirrors (for reflected lighting and two-sided photography)
- Short desktop tripod for your smartphone
First, do some preliminary set up by getting your table ready. Put it close to or almost up against a wall. Set up a white backdrop sweep, using your large paper or plain white bedsheet. Tape, pin or clamp one long end to the wall behind your table and drape it forward across your table to the middle of your photography space. Tape, pin or weight it in place. You want to create a nice gentle ramp backdrop behind your display, giving you a nice even background. If you are using a new sheet, launder or iron out all the creases.
Hang the earrings or necklace on the display and place the display in the shooting space. Plug in your light, turn it on and set it near your display.
Chris will show you what you'll use them for and how they all fit together.
Part 1: Lighting

Patti's having problems photographing her jewelry and points out frustrations and problems with shooting her designs. Chris shares techniques for showing her jewelry in the best light without breaking the bank in this first part of a five-part series.
Chris' first tip is a reminder that you know your pieces best—so you are the one who knows the best parts to showcase first and foremost, and what's supporting those highlights. Use your set up to follow along with his tips and techniques for using light position to define the texture, color and mood of your design.
Part 2: Shadows

Patti's struggle is with jewelry that's made of dark components—deep blue sodalite, black leather cord, antiqued copper findings, etc. In this second part of a five-part series, Chris shares expert tips on lightening and brightening dark jewelry before she photographs it.
Two things contribute to shadow density: light intensity and light distance. Get control of that contrast without having to change your camera settings. Chris shows how—with just a piece of foam core as a fill card —anyone can make stubborn shadows work on her behalf.
Part 3: Shooting Metal

In this episode, Patti is frustrated by trying to photograph shining metal. Chris shares techniques for lighting highly reflective metal and how to add the midtones that make reflective metals look shiny—without seeing the camera or the photographer in them.
In this third part of a five-part series, he shows how to give shining metal the 3-part division that makes them look real: approximately 1/3 highlight, 1/3 midtones and 1/3 deeper hues with detail. This is where jewelry makers will learn about the subtle addition of flags and underflags to add indirect shadows that shining metal will pick up on. Follow along to see how to shoot metals like a pro.
Part 4: Displays and Backgrounds

Patti's having problems choosing what background to choose for which jewelry background and/or displays to use. The jewelry just isn't showing at its best.
Backgrounds should be simple—they are the space around your jewelry and should not call attention to themselves nor detract from the design. Chris recommends avoiding velvet or other textured displays for a number of reasons—one of the biggest being how they attract dust and hair. Instead, he recommends opaque untextured matte-finished plain paper or smooth leatherette in true white and full black.
Why avoid colorful backgrounds? The color of the background tints the light being reflected around, and that changes how the camera sees your design. For example, if the background was a bright green and your piece had lots of silver chain—suddenly, it looks like you have a design made of green chain! Plus, the light that is being reflected back onto the piece is green, so the entire color balance is tinged green to the camera. In the fourth part of this five-part series, Chris shares how to select the right displays and backgrounds for photographing jewelry.
Part 5: Capturing Facets

In this episode, Patti is frustrated by trying to get faceted crystal to look faceted in a photo. Crystal beads and components have facets on the top that can be highlighted—but what really shows their sparkle is getting light through the crystal to reflect off the inside of the facets that are on the back of the component.
Chris shares techniques for lighting both top and back facets and how to show the variety of colors the reflected light makes inside crystal. Learn how to create sharp and soft facet highlights in a design—without burning white slashes through the bead or component—in the fifth and final part of this five-part series.
These techniques can also be used to get good images of iridescent, opalescent, chatoyant and druzy materials. Shift one (or more) mirrors around to reflect light onto the gemstone from a range of angles to pick up the shimmer, sparkle and shine.
Enjoy the Experiment
Now, it's time to play! Try what Patti and Chris did in this video series—shoot each design first without the techniques and tips you've learned and a second time using them. You'll observe what your digital camera or smartphone camera can do. It's a power tool and, like every other power tool, you'll need to see how yours acts and reacts to different materials. Take the same picture of the same object over and over—what happens if one setting gets changed between shots:
- How does my camera take pictures of clear glass? How does it react to Chris' lighting techniques?
- What does highly polished metal look like in my smartphone camera's pictures before I offset the camera? How does it react to the effect of the fill card?
- Can it focus on the details of highly dimensional bead embroidery or seed bead off-loom stitches? Does it have a macro mode?
- Do carved gemstone focals show their patterns in my smartphone images? What can I change to make them show up?
- Does my camera's images tend to be darker or lighter, no matter what background or display I'm using?
- Did I take notes? Can I do the same thing twice? Like Adam Savage of Mythbusters says, "The difference between screwing around and science is writing it down."
- And more!
After the Photoshoot
After you take your pictures, what then? There's image editing—a fantastic benefit of photography in the digital age.
Image editing doesn't have to be a big process, involving expensive software and high-powered computers. Your smartphone has a lot of adjustments and filters to experiment with. Chris reminded us that adjustments and filters are like seasoning a meal—a little goes a long way and too much can ruin it. If you absolutely must have photo editing software, high-powered GIMP is free software that works on almost every computer platform. Other popular and affordable options include Ashampoo, Fotor, Paint.NET, Pixlr, Photoscape and Adobe Photoshop Express.
A big tip: save often. Make regular backups of your image collection, to the cloud or on tangible media like thumbdrives or CDs. Once a month or once a quarter is usually enough. Backups are insurance—you never want to have to use it, but you're so happy it's there if you need it.
Final Tips
TL;DR (Too Long; Didn't Read)? Here's a summary of tips and techniques:
- Use the highest quality image settings possible on your camera (smartphone or otherwise)
- Use MAN (manual) or PRO (professional) mode on a smartphone camera
- Use macro mode, not zooming in using the touch screen
- Use a tripod
- Shoot from sideways angle, instead of just straight on
- Set up in a dark room with one light source
- Set the light up on one side, not straight on
- Use a fill card
- Disable the flash—let your desk light, reflectors and mirrors do the work
- Use angles to avoid reflections
- Use the rule of thirds to shoot shiny metals
- Use the rule of thirds to shoot clear items
- Use plain backgrounds—matte white and matte black paper is best
- Use plain displays—matte white and matte black leatherette is best
- Use mirrors to pick out facets
- Manage your files
- Make backups at least once per quarter
All you need to do is practice. You know from making jewelry that we never really get good at anything if we won't take the trouble of practicing.
A reminder from Chris: Sometimes you trade off highlighting one element here at the price of a lesser component over there. You, the designer, need to choose which part of the design is the most important part.
Finally? No picture is ever perfect. And that's okay.
Shop for Your Materials Here:
Have a question regarding this project? Email Customer Service.
Copyright Permissions
All works of authorship (articles, videos, tutorials and other creative works) are from the Fire Mountain Gems and Beads® Collection, and permission to copy is granted for non-commercial educational purposes only. All other reproduction requires written permission. For more information, please email copyrightpermission@firemtn.com.
