Secrets to Seed Beading Video 4: Creating and Looming Custom Patterns Bracelet with Toho Beads® Seed Beads, Miyuki Seed Beads and Silver-Plated Brass Charm

In part 4 of our Secrets to Seed Beading series, Rose shows us the ins and outs of beading on a loom. You'll learn how to create and use a custom pattern using our printable graph paper template. Then finish with an adorable picot edge for a beautiful pastel heart bracelet you'll LOVE.
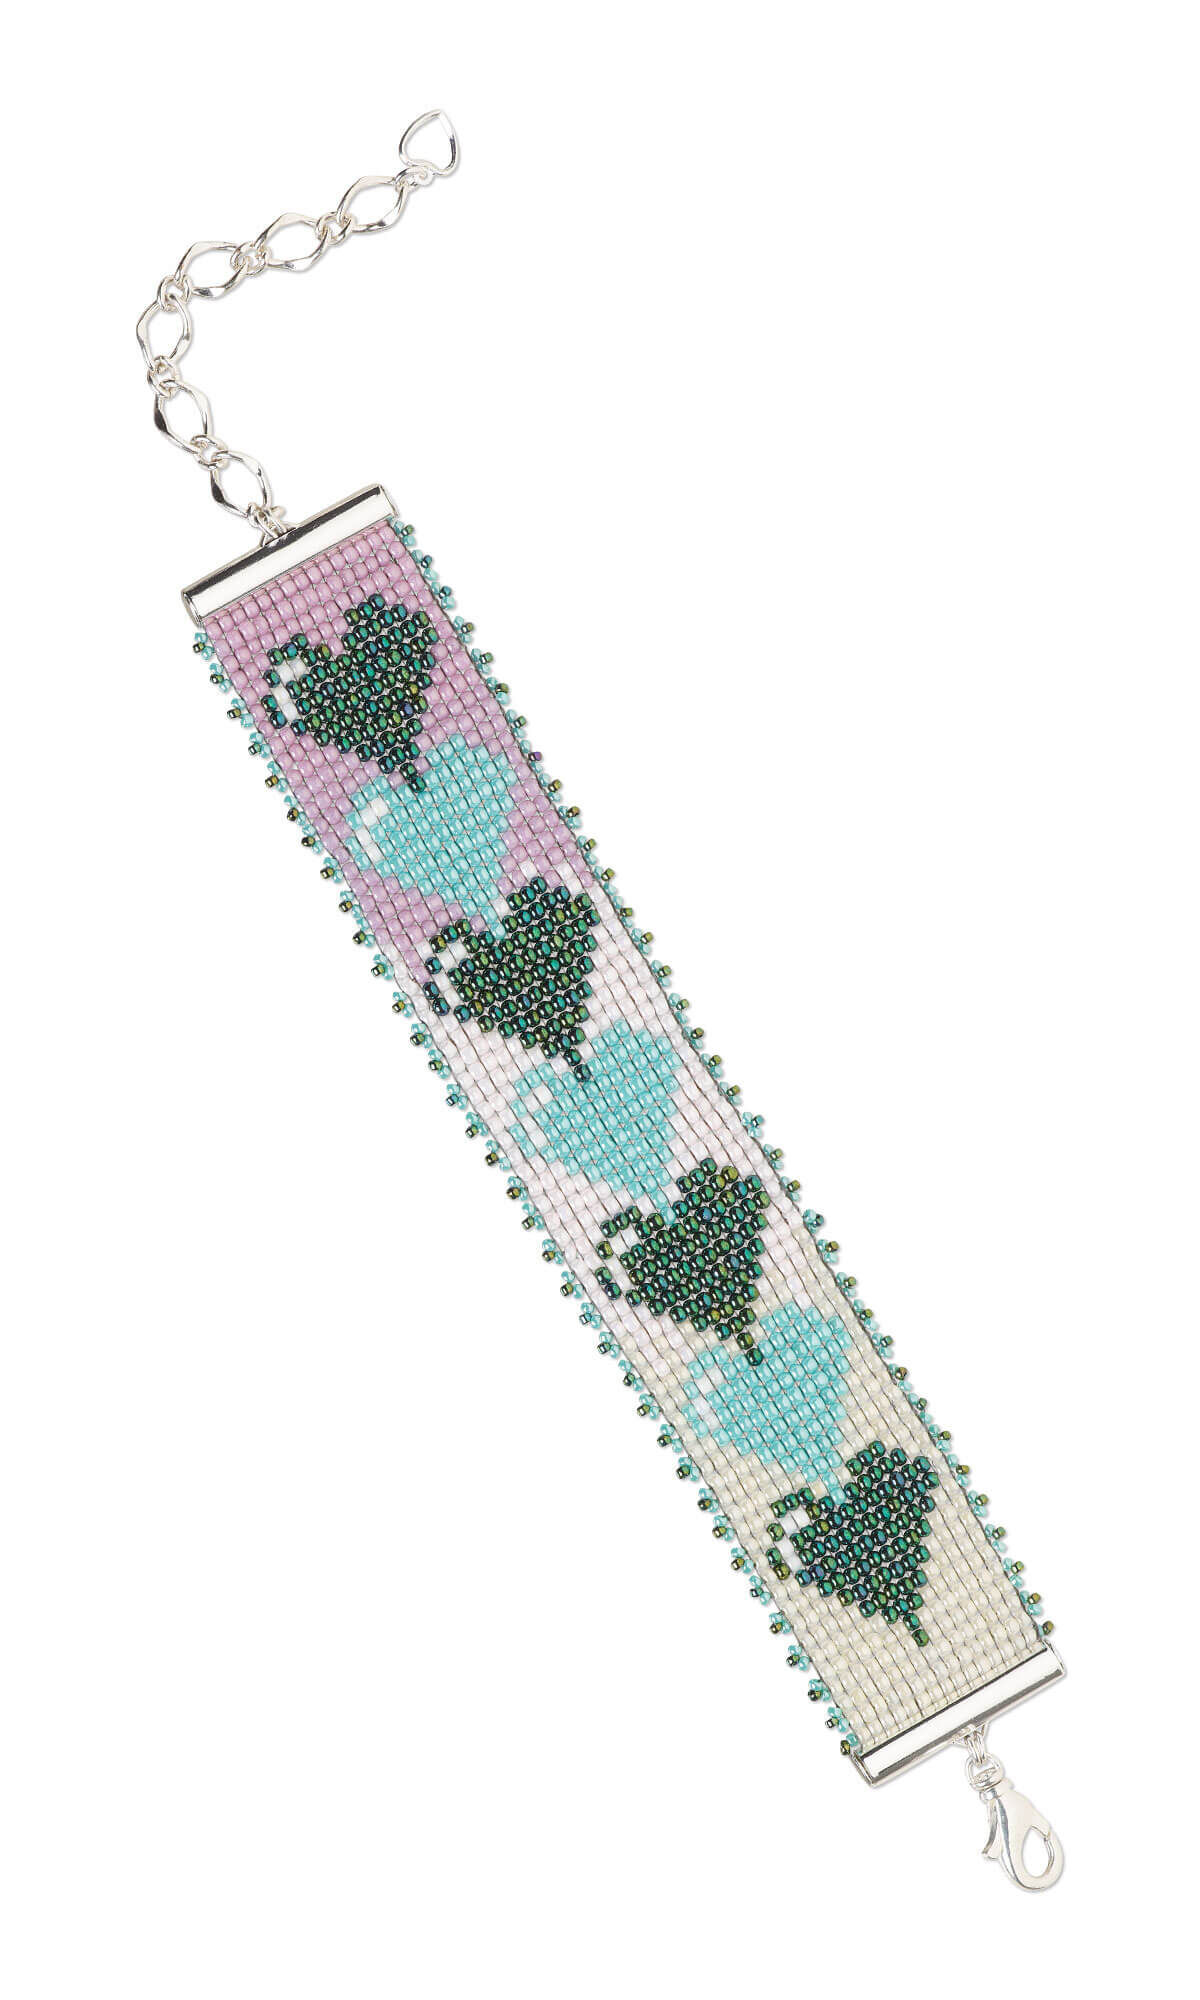


Design Idea NA24
-- Designer --
Rose, Jewelry Designer, Exclusively for Fire Mountain Gems and Beads®
To learn more about Rose Wingenbach, read her jewelry artist success story here.
: : : Materials : : :
Click here to view a full list of materials used in this design.
Please take the creative opportunity to select the products of your choice for this design, offered here at Fire Mountain Gems and Beads. Some materials may not be available or listed.
- Jump ring, silver-plated brass, 4mm round, 2.4mm inside diameter, 20 gauge
- Chain, silver-finished brass, 6mm long and short oval
- Seed bead, Miyuki, glass, opaque luster teal, (RR435), #15 rocaille
- Seed bead, Miyuki, glass, opaque metallic iris dark green, (RR465), #15 rocaille
- Thread, Berkley® FireLine®, gel-spun polyethylene, smoke, 0.13mm diameter 4-fiber braid, 4-pound test
- Clasp, lobster claw, silver-plated brass, 14x8mm with swivel
- Needle, Tulip, nickel- and gold-plated steel, #11 with 0.52mm eye width, 2 inches
- Charm, silver-plated brass, 8x7mm open heart
- Seed bead, TOHO BEADS®, glass, opaque luster baby pink, (TR-11-126), #11 round
- Seed bead, TOHO BEADS®, glass, opaque luster pale mauve, (TR-11-127), #11 round
- Seed bead, TOHO BEADS®, glass, opaque luster blue turquoise, (TR-11-132), #11 round
- Seed bead, TOHO BEADS®, glass, opaque rainbow white, (TR-11-401), #11 round
- Seed bead, TOHO BEADS®, glass, opaque higher-metallic June bug, (TR-11-506), #11 round
- Seed bead, TOHO BEADS®, glass, translucent ceylon banana cream, (TR-11-142), #11 round
- End bar, silver-finished brass, 26x5mm round tube with fold-in ends, 4mm inside diameter
Instructions
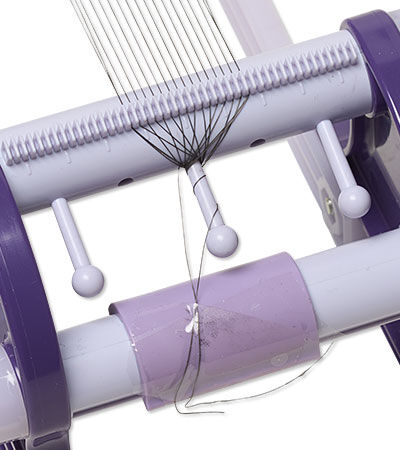
Prepare the loom with 16 warp threads.
Tip: Double the outer threads for additional strength in the finished piece.

Add a beading needle that is at least 2-inches long to an arm-length of Fireline thread. Loosely tie the end of the thread to the loom to maintain tension.
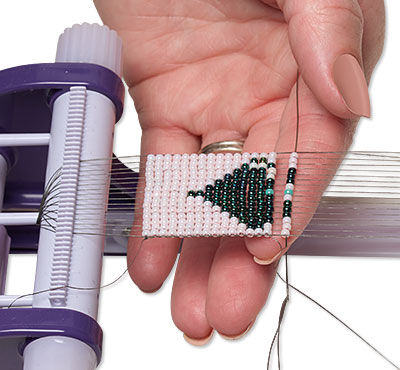
Pick up the beads for Row 1, keeping them on the needle.
Hold the beaded needle under the warp threads, then press up so the beads sit between the warp threads.
Use your finger to hold the beads in place and pull the thread through.
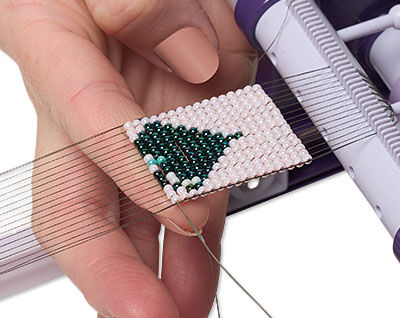
Pass back through the beads, over all the warp threads, and gently pull tight. Do not trim the thread.
Repeat Steps 3 and 4 to complete Rows 2 - 73. Pass back through various beads of the second and third-to-last rows then exit the first bead of the second-to-last row.
Carefully cut the warp threads from the loom, leaving as much length as possible.
Tie pairs of warp threads together snugly against the beading to secure.
Trim the threads using a thread burner.
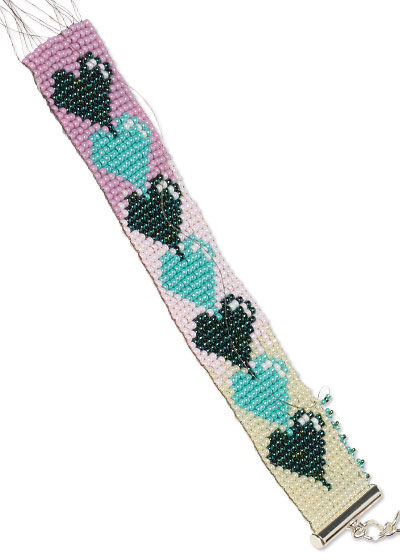
Pick up one #15 luster teal, one #15 rainbow green, and one #15 luster teal. Pass through the next edge bead.
Repeat to add picot down the edge of the beading.
Pass through beads to exit out the second-to-last edge bead on the opposite side of the beading then repeat Step 7 to add picot down the edge.
Pass through various beads to secure the thread, then trim.
Open one end of a tube end. Slide the first row of loomed beads into the tube and then close. Repeat on the opposite end of the beading.
Cut a 2-1/2 inch length of chain.
Add the chain to the loop of one end of the bracelet using a 4mm jump ring. Add a second jump ring parallel to the first to create a double jump ring connection.
Add a lobster claw clasp to the opposite end of the necklace with a double jump ring connection.
Add a heart charm to the end of the chain extender using a single jump ring.
Have a question regarding this project? Email Customer Service.
Copyright Permissions
The pieces featured in the Gallery of Designs are copyrighted designs and are provided for inspiration only. We encourage you to substitute different colors, products and techniques to make the design your own.
All works of authorship (articles, videos, tutorials and other creative works) are from the Fire Mountain Gems and Beads® Collection, and permission to copy is granted for non-commercial educational purposes only. All other reproduction requires written permission. For more information, please email copyrightpermission@firemtn.com.