Jeweled Eggs Hand-Decorating Eggs with Crystal Flat Backs and More
Decorating eggs is one of humanity’s oldest artistic traditions: in 2010, archaeologist Pierre-Jean Texier and his team in Africa discovered decorated pieces of ostrich eggshell that were engraved on over 60,000 years ago. Even that long ago, human beings valued eggs as more than just a food source!
Ancient civilizations in Egypt, around Mesopotamia and on Crete viewed eggs as symbols of life, renewal and royalty. Precious metal eggs were placed in graves and actual eggs were turned into cups and pitchers, then left in religious sanctuaries. Early Christian traditions also incorporated egg decoration, particularly during Easter. In some accounts, eggs were stained red to symbolize the blood of Christ—and those traditions grew and changed through the centuries.
The most elaborate decorated eggs are found in Eastern European nations such as Ukraine, Poland and Croatia. In these styles, wax is applied to make a resist pattern and then the eggs are dyed. More wax is applied, then the egg is dyed again. This is repeated to create layers of color and tone.
And of course, there are the most famous decorated eggs of all: the 50 Imperial Easter Eggs created by the House of Fabergé® for the Tsars of Russia. These glittering wonders are one of the inspirations for the bedazzled Easter eggs trend.
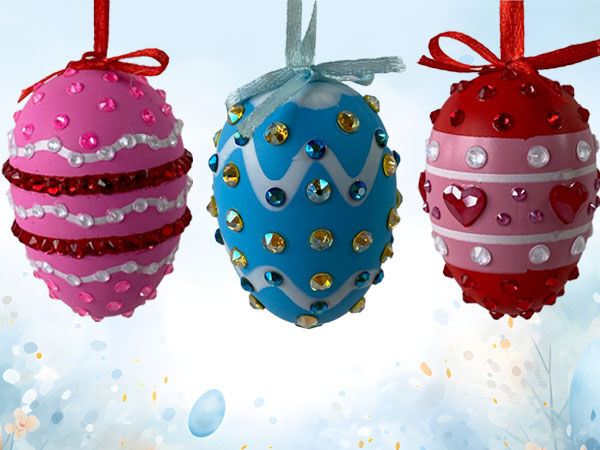
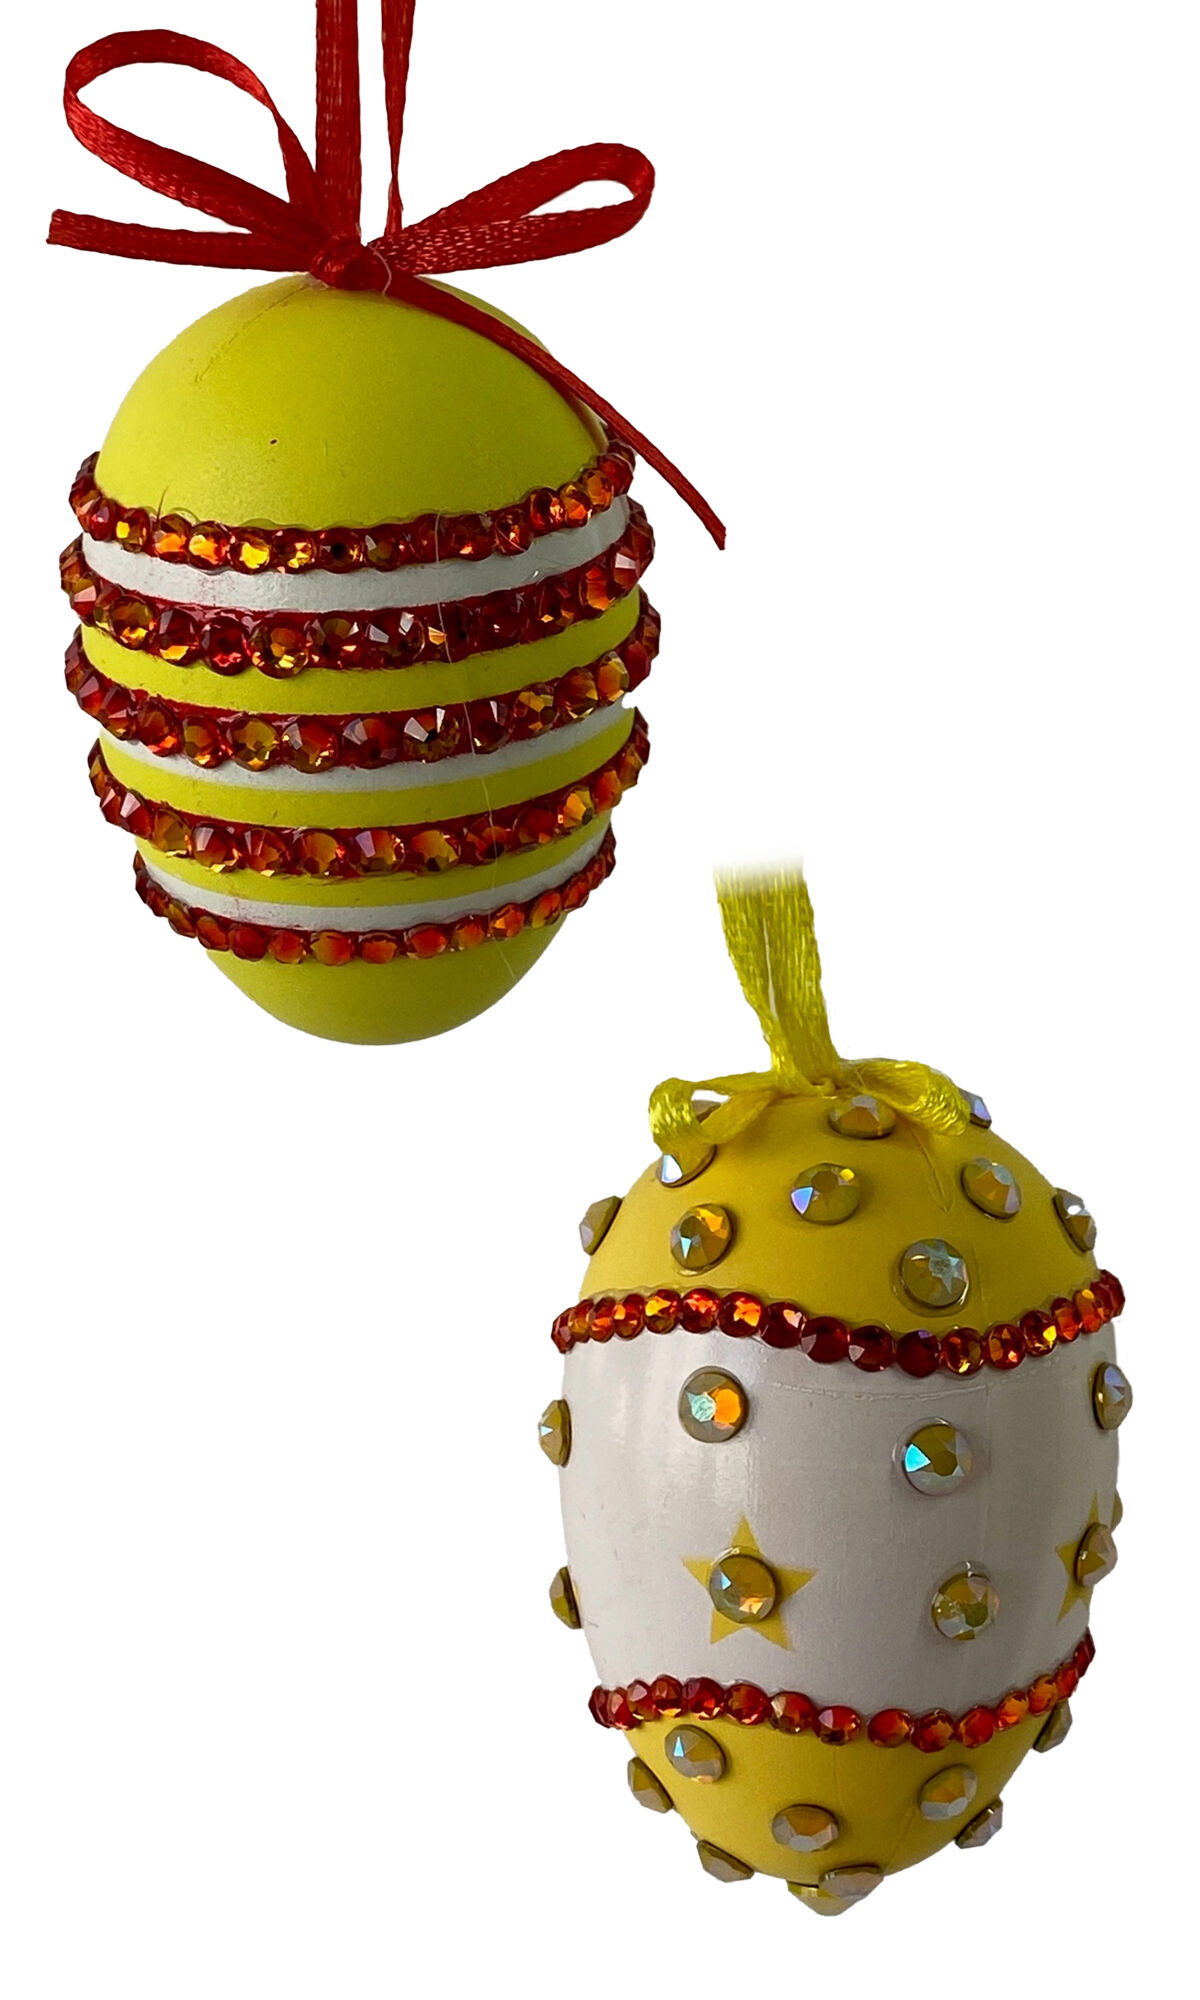
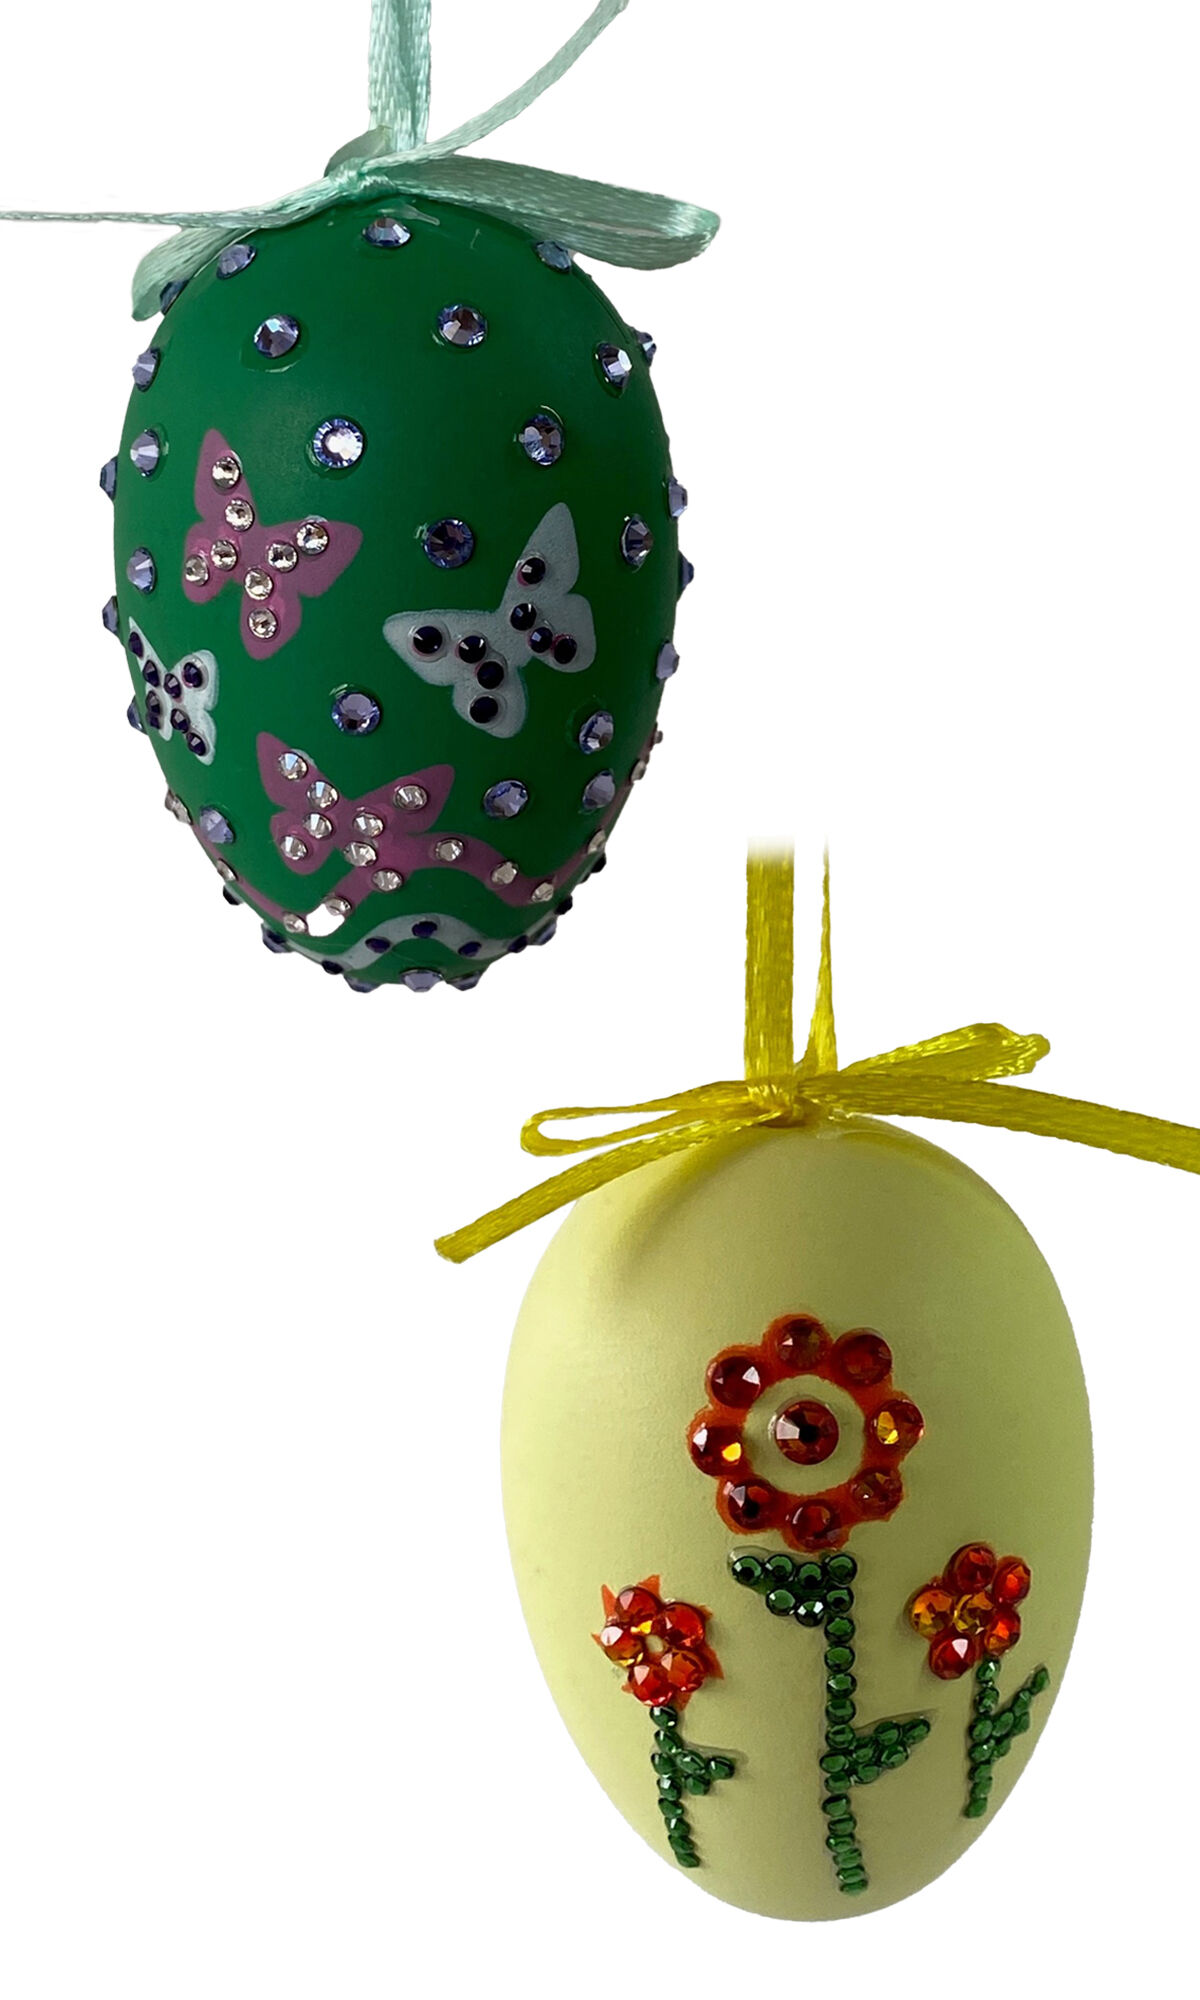
Today, the tradition of decorating eggs with jewels continues in a variety of forms, from high-end crystal designs to fun DIY projects. Whether using Crystal Passions® flat backs, filigree components, ribbon or metallic leaf accents, the process transforms an ordinary egg into a dazzling display piece.
Decorating Eggs: What to Use and How
Add some sparkle to Easter or holiday decorations by creating “Fauxbergé” embellished Easter eggs. It’s a simple process that merely takes time and precision. Just make sure you don’t eat the decorations if using hard-boiled eggs!
If you want to keep these fancy Easter eggs as long-lasting decorations, consider using faux eggs made of wood, ceramic or plastic. Faux eggs can also be drilled for easy hanging. If genuine eggshell is a must, then they need to be blown out to prevent spoilage.
Pro Tip: To blow out an egg, wash eggs thoroughly. Use an awl or reamer to put a small hole in either end—the bottom hole can be slightly larger. Use a long fine knitting needle, skewer or jewelers’ saw blade to break the membrane of the yolk. This will make it easier for the egg’s contents to come out of the bottom of the egg.
Hold the egg over a bowl, to contain the yolk and white. Using your lips, create a tight seal around the top hole in the egg and firmly blow through the egg as if blowing up a birthday balloon. Mix consistent pressure with short, strong bursts to clear the contents. Before decorating, let blown out eggs dry overnight in a gas oven (with the pilot light on) or in a dehydrator.
Here are some methods to achieve different styles of jeweled eggs:
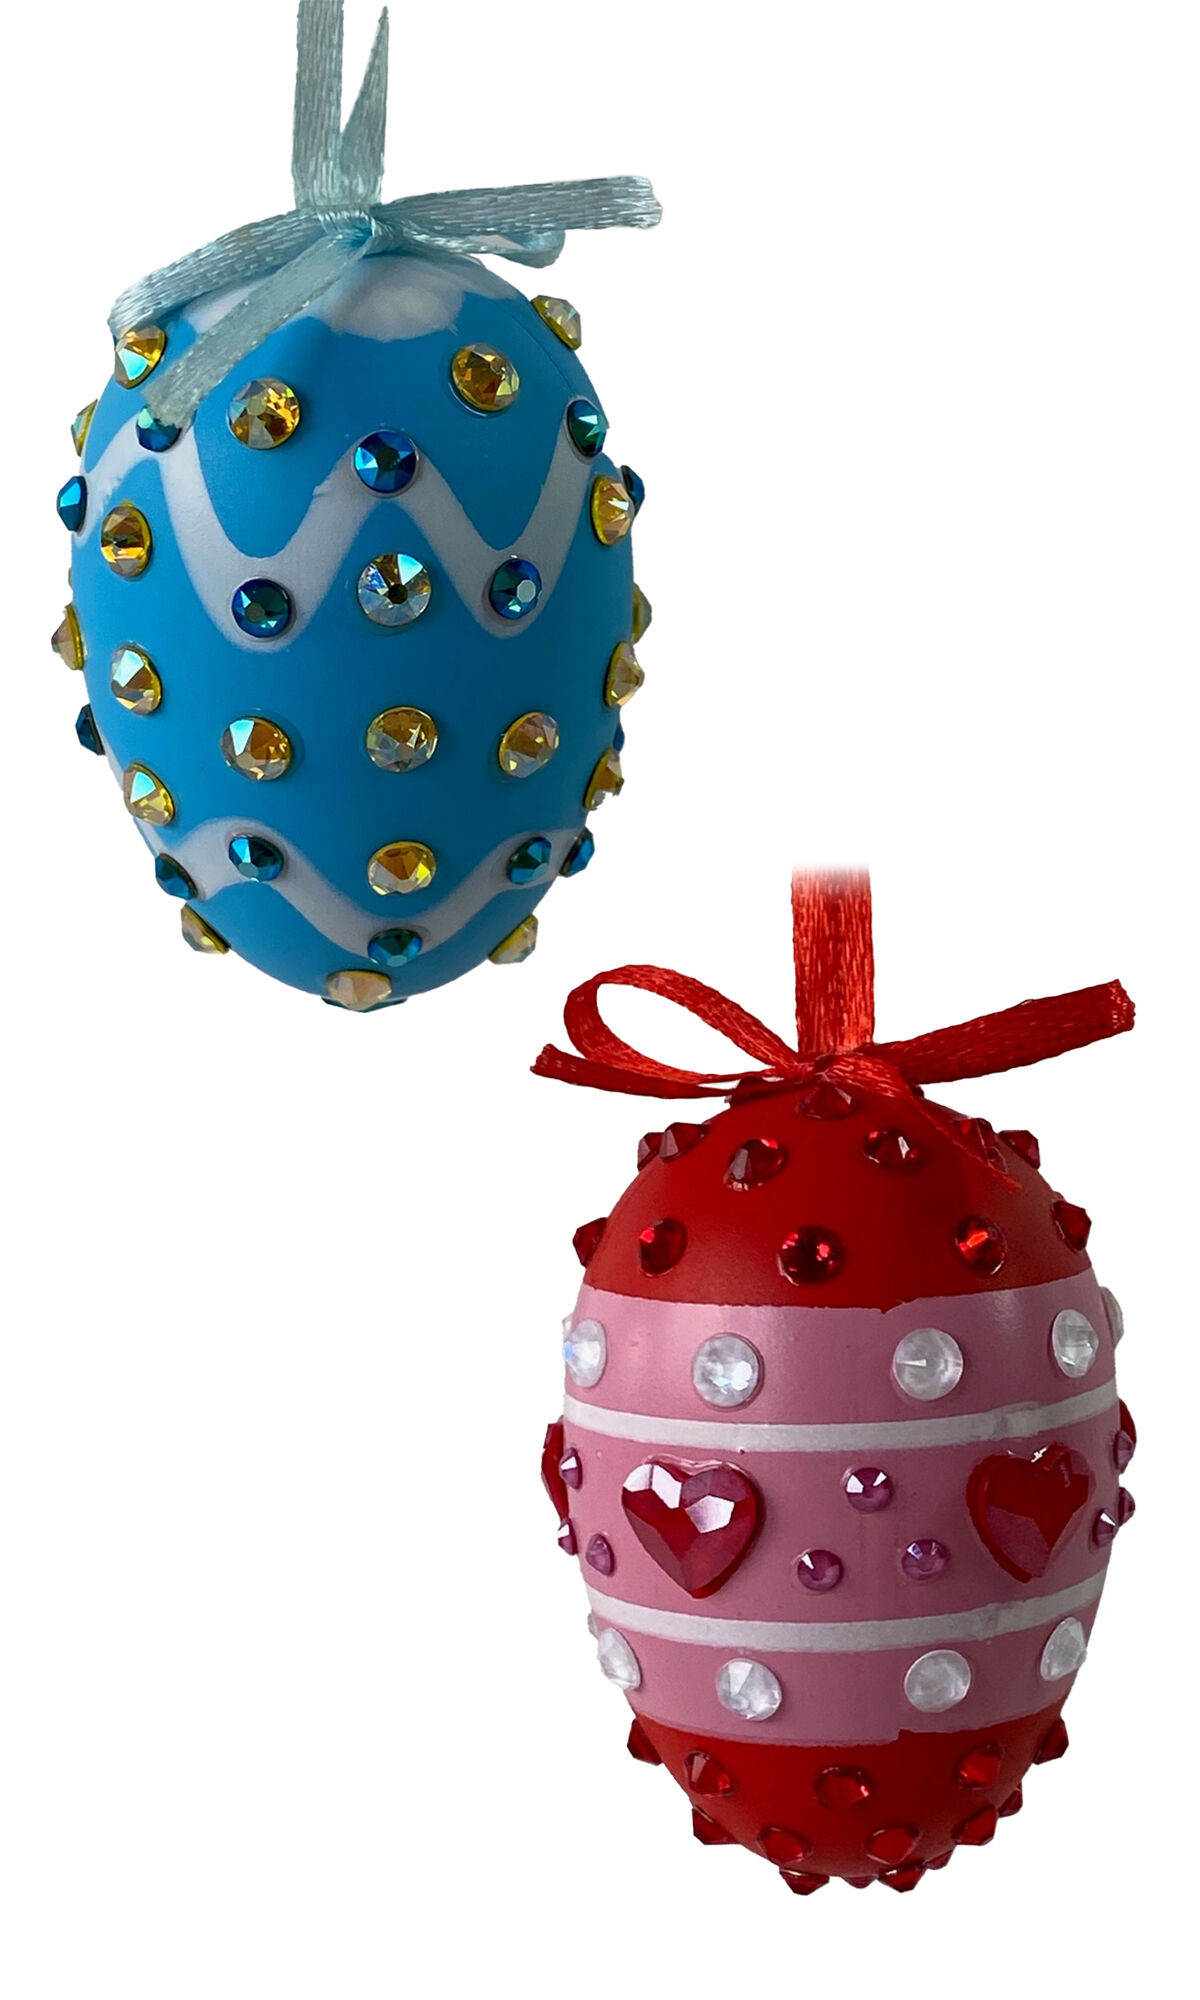
1. Crystal Passions Flat Backs Easter Eggs
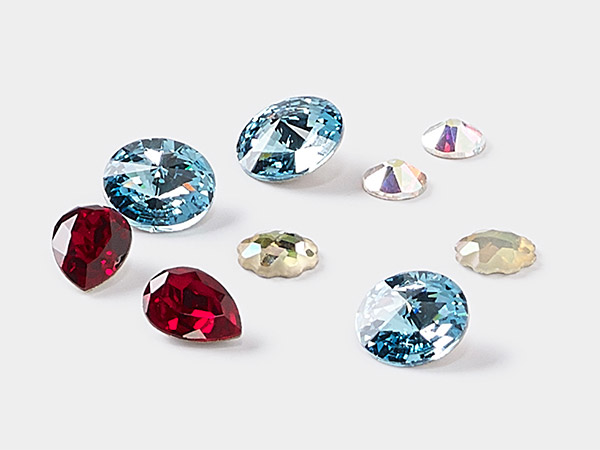
For a truly luxurious touch, non-hotfix crystal or crystal pearl flat backs provide a brilliant way to decorate eggs. You’ll need:
- Crystal flat back rhinestones
- Reusable decorative eggs or hard-boiled eggs
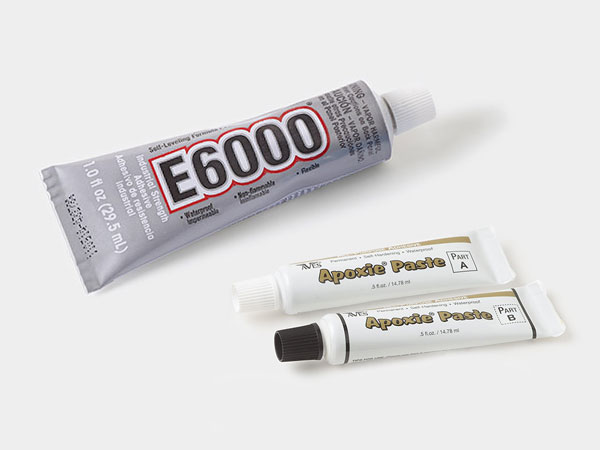
- Clear-drying glue
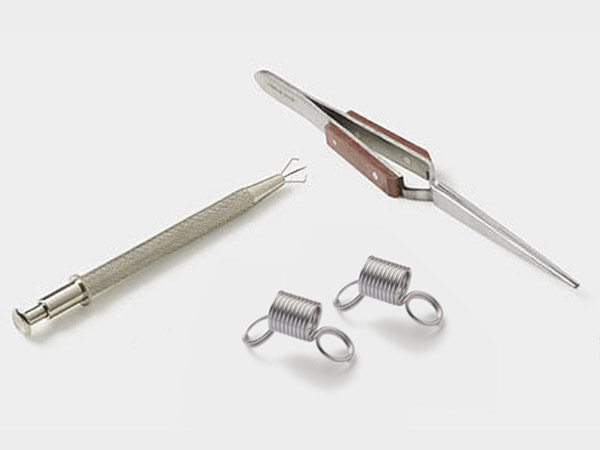
- Crystal Katana or other positioner tools for precise placement
- Ribbon for hanging
Steps:
- Plan your design by selecting crystal colors and patterns.
- Apply a small dot of glue to the egg where you want to place the crystal.
- Use the Crystal Katana to carefully set each crystal, holding it in place for a few seconds.
- Allow the egg to dry completely before handling.
- Add hanging ribbon.
Drilled faux eggs and blown-out natural eggs can be hung by threading a ribbon through the egg from bottom to top. Be sure to add a knot or bead at the bottom to prevent the ribbon from pulling through.
Solid faux eggs and hard-boiled natural eggs can be hung by tying a bow in one end of the ribbon and gluing it to the narrow end of the egg.
If you’re jewelling the split plastic or acrylic decorative eggs, be sure to include an inner surprise!
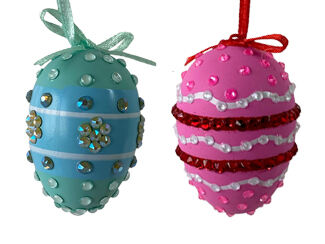
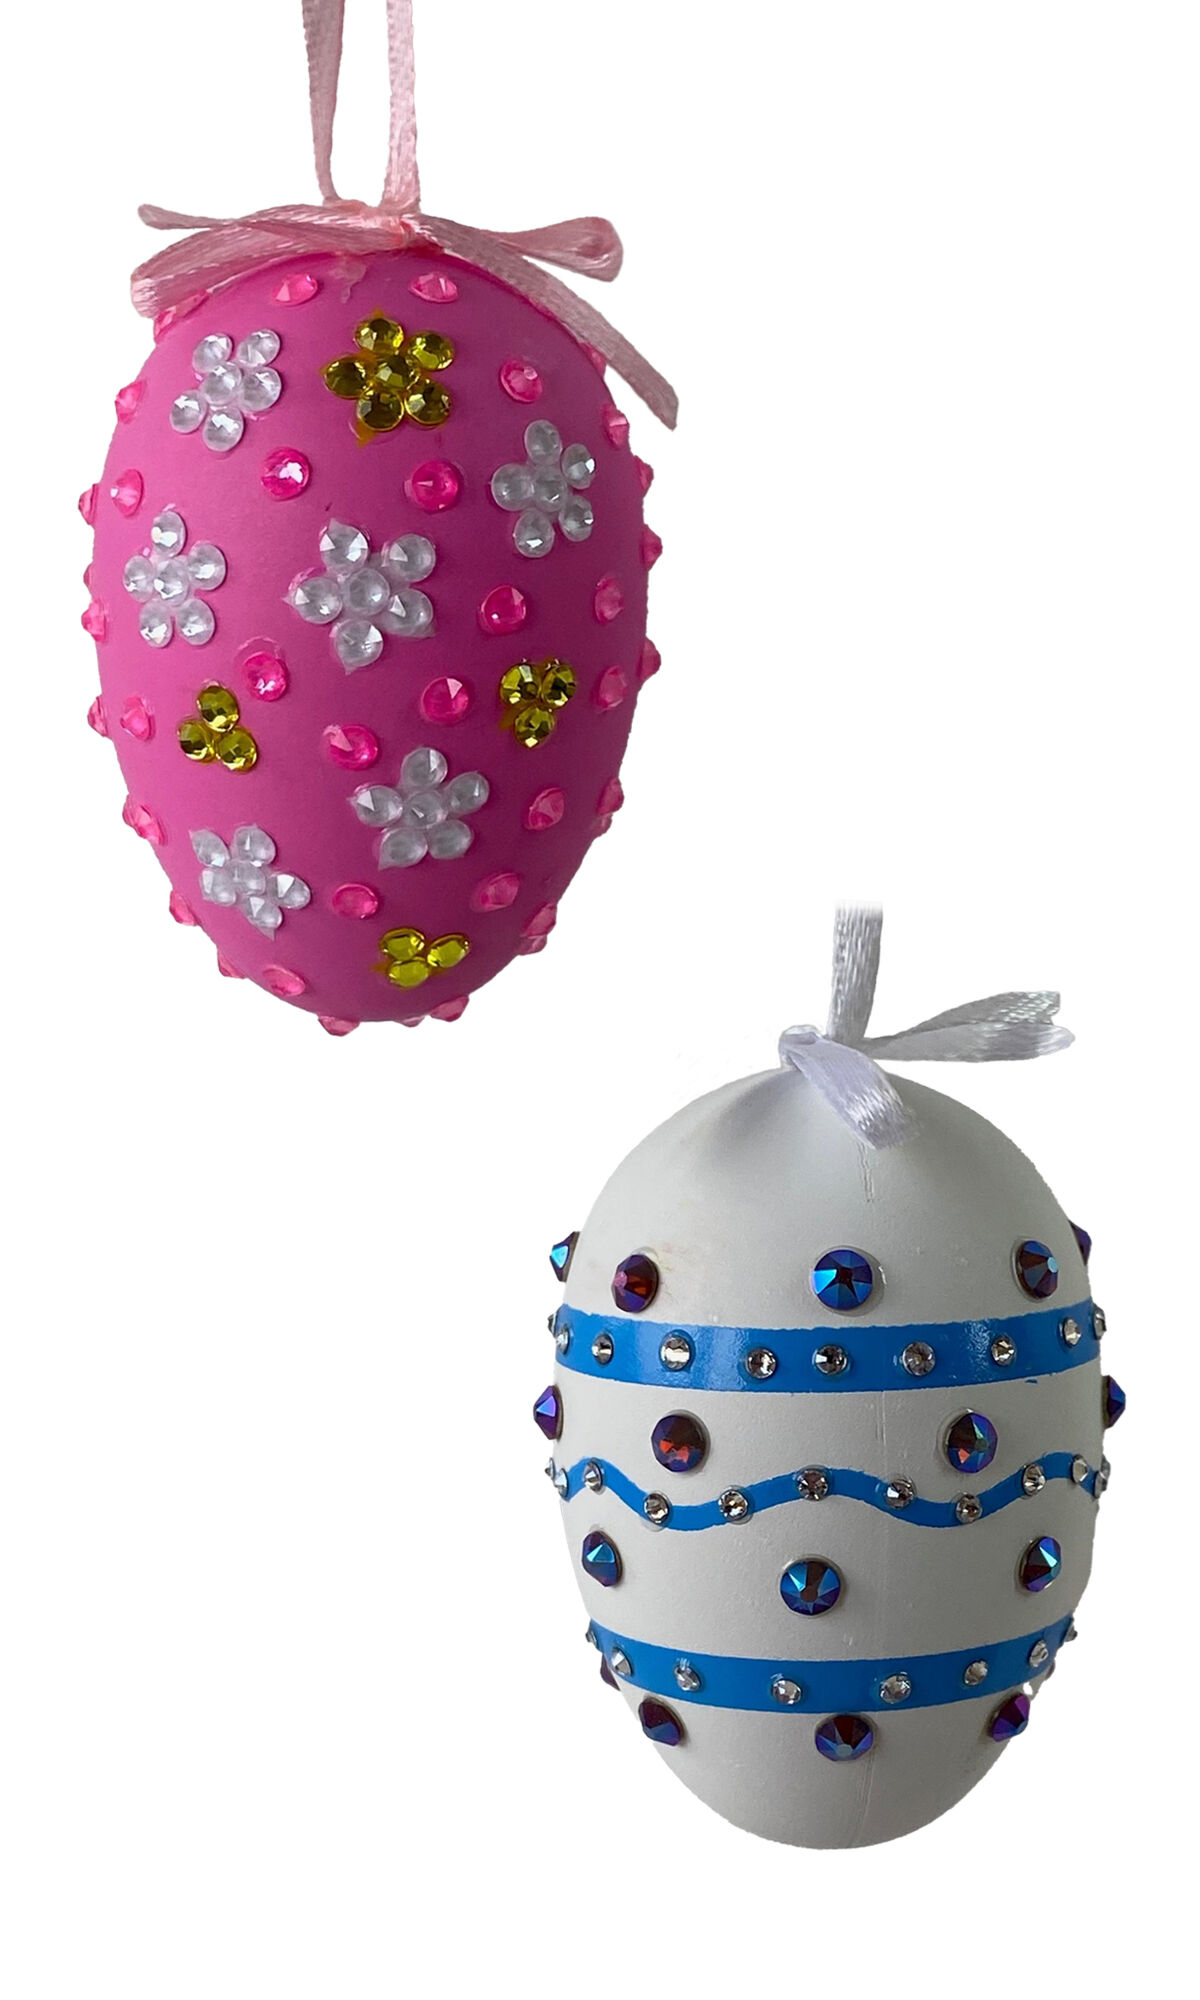
2. Rhinestone Easter Eggs
For an easier and more budget-friendly option, glass flat backs or acrylic rhinestones can be used to create beautiful eggs. This is especially great for supervised children’s craft projects.
Materials:
- Hard-boiled eggs or faux eggs
- Adhesive-backed rhinestones or rhinestones and clear-drying glue
- Art Edge™ glitter adhesive strips
- Small scissors (for trimming glitter strips)
- Ribbon for hanging
Steps:
- Peel adhesive rhinestones off any backing and place them onto the egg in the desired pattern.
- For glitter strip designs, trim to fit the egg's curves.
- Adjust as needed—adhesive rhinestones can be repositioned before finalizing the design.
- Add hanging ribbon.
3. Metallic Easter Eggs
For a regal finish, metallic coatings can add an elegant touch to dyed eggs. Eggs can be coated in metallic color using either sheets of metal leaf or by coating in adhesive and dipping in colorful mica powders.
Materials:
- Hard-boiled eggs (dyed or natural)
- Metal leaf sheets OR mica powders
- Adhesive (Mod Podge® or Mona Lisa™ Metal Leaf™ adhesive)
- Soft brush
- Ribbon for hanging
Steps:
- Apply adhesive to areas where you want the metal leaf or mica powder to stick.
- For metallic leaf, gently place the leaf onto the adhesive and smooth it with the soft brush.
- For mica powder, carefully trickle powder over the adhesive areas until all adhesive is covered with mica powder, or roll the egg through a low wide container filled with the mica powder color of choice.
If applying multiple colors of mica powders, wait for the adhesive behind the first color to dry fully before adding the adhesive for a second color. - Let dry.
- Metal leaf can be lightly buffed for a polished finish.
- Add hanging ribbon.
4. Découpage and Embellished Easter Eggs
For those who prefer a mix of textures, combining découpage with jewels creates a lively and colorful effect.
Materials:
- Hard-boiled eggs (dyed or natural)
- Decorative paper, dried flowers or fabric
- Mod Podge, Skinny Glue™ or diluted Elmer’s glue
- Rhinestones, mica powders or glitter
- Craft brush
- Ribbon for hanging
Steps:
- Cut out small paper designs or arrange dried flowers.
- Use a brush to apply glue to the egg’s surface, then carefully place decorations.
- Let dry and add the adhesive for any glitter or mica powder.
- Let dry and add rhinestones for a touch of sparkle.
- Let fully dry.
- Add hanging ribbon.
Decorating eggs is a time-honored tradition that artists can take to the next level with crystal and metallic adornment. Embellish in a single color for classic elegance, dye and then embellish with a gradient of shades for a stunning ombre effect, add crystal designs in floral patterns or geometric designs—and more! Create your own timeless masterpieces or just have a lot of sparkly fun by bejewelling and bedazzling eggs.
Shop for Your Materials Here:
Have a question regarding this project? Email Customer Service.
Copyright Permissions
All works of authorship (articles, videos, tutorials and other creative works) are from the Fire Mountain Gems and Beads® Collection, and permission to copy is granted for non-commercial educational purposes only. All other reproduction requires written permission. For more information, please email copyrightpermission@firemtn.com.
