Bib-Style Necklace and Earring Set with Gold-Filled Chain and Gold-Filled Beads
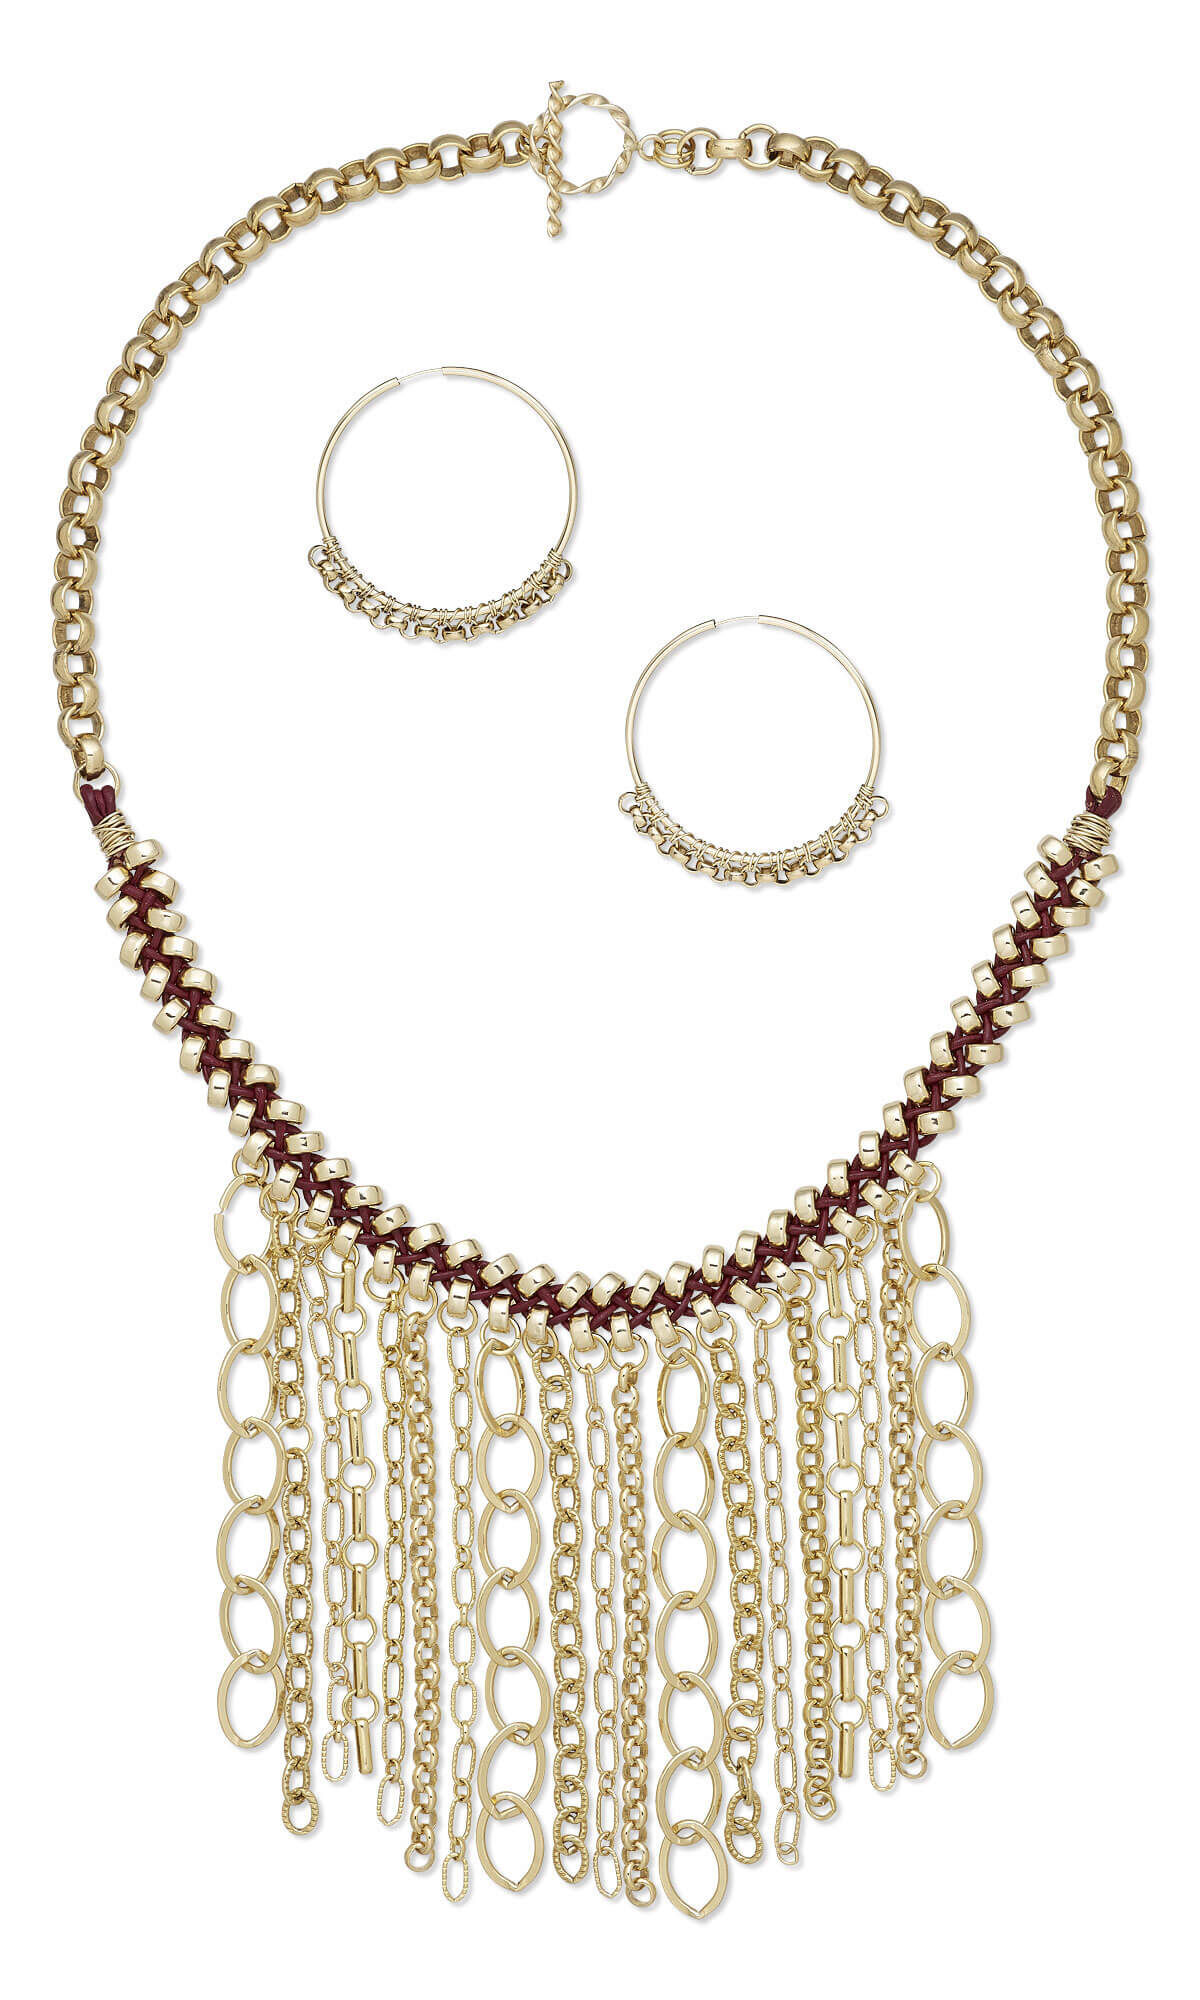

Design Idea E513
Chain Falls
-- Designer --
Jamie, Exclusively for Fire Mountain Gems and Beads®
To learn more about Jamie Smedley, read her jewelry artist success story here
: : : Materials : : :
Click here to view a full list of materials used in this design.
Please take the creative opportunity to select the products of your choice for this design, offered here at Fire Mountain Gems and Beads. Some materials may not be available or listed.
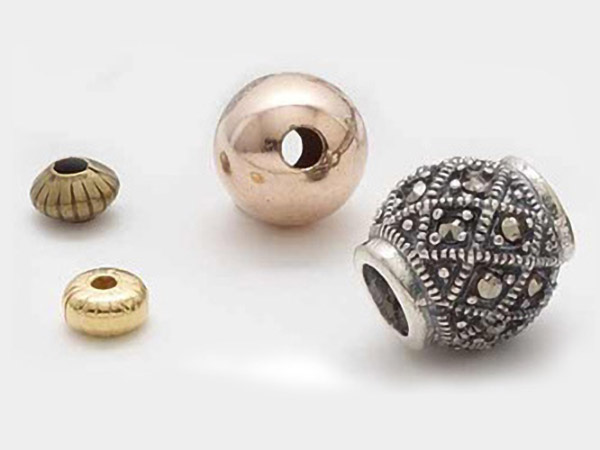
- Bead, 14Kt gold-filled, 5x2.5mm smooth rondelle
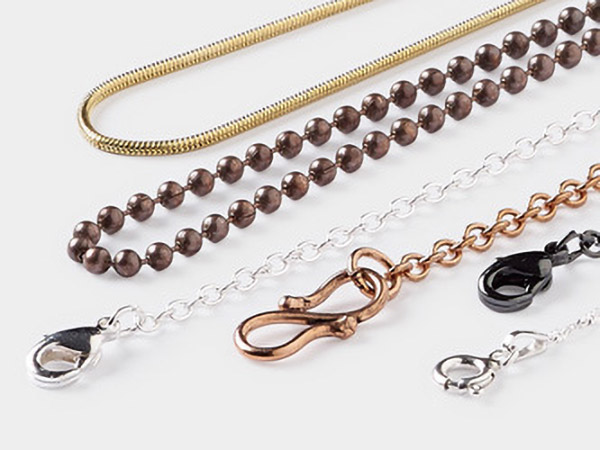
- Chain, 14Kt gold-filled, 11x10mm flat cable
- Chain, 14Kt gold-filled, 3mm long and short textured oval
- Chain, 14Kt gold-filled, 4mm rolo
- Chain, 14Kt gold-filled, 5mm bar and link
- Chain, 14Kt gold-filled, 6.5x5mm textured flat cable
- Chain, 14Kt gold-filled, 6mm rolo
- Clasp, toggle, 12Kt gold-filled, 12mm fancy round
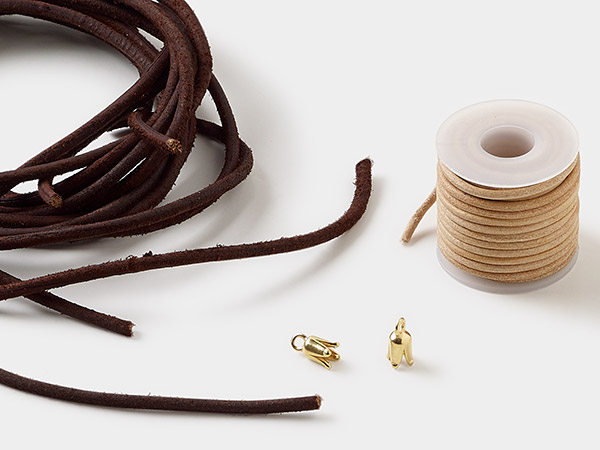
- Cord, leather (dyed), rose, 1-1.2mm round
- Earring, 14Kt gold-filled, 65-70mm round hoop with endless-loop closure
- Jump ring, 14Kt gold-filled, 5mm round, 3mm inside diameter, 18 gauge
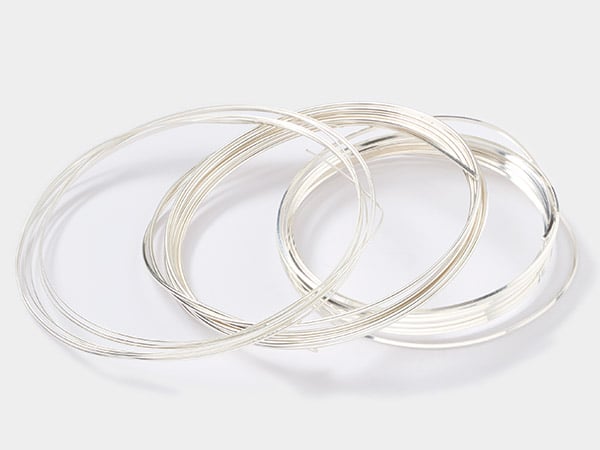
- Wire, 12Kt gold-filled, dead-soft, round, 22 gauge
Instructions
Necklace Instructions
Using scissors cut three 35-inch lengths of rose leather cord.
Using flush-cutters, cut the following:
- Six 2-3/4 inch lengths of gold-filled ribbed ring cable chain
- Four 2-3/4 inch lengths of gold-filled 4mm rolo chain
- Three 2-3/4 inch lengths of gold-filled 5mm ribbed cable chain
- Two 2-3/4 inch lengths of gold-filled 5mm round with 7x2mm link chain
- Four 3-inch lengths of gold-filled 10mm flat cable chain
- Two 4-1/2 inch lengths of gold-filled 6mm rolo chain
- Two 15-inch lengths gold-filled 22-gauge wire
Match up the ends of the three 35-inch lengths of rose leather cord. Pass the leather cord through the last link on one 4-1/2 inch length of gold-filled 6mm rolo chain and fold the last 3/8 inch back over on itself. Tightly wind one 15-inch length of gold-filled 22-gauge wire around the strands of cord for 10 to 12 wraps to secure the cords onto the chain. Cut any excess wire using flush-cutters and tuck the end of the wire under the last loop of wire.
Use a pin or tape to secure the chain to the work surface.
Separate the cords into three strands and string one gold-filled 5x2.5mm rondelle onto the first and third strands. Make the first basic three-strand braid, making sure both of the rondelles create a diagonal going down on the outside on each side. Continue to add one gold-filled 5x2.5mm rondelle onto each of the outside strands after each braid to attach thirty-six sets of rondelles. The finished braid should measure approximately 7 inches.
Repeat Step 3 to secure the opposite ends of the three rose leather cords to the second 4-1/2 inch length of gold-filled 6mm rolo chain using the second 15-inch length of wire.
Using a pair of chain-nose pliers and flat-nose pliers, open a 5mm jumpring. Pass the jumpring through the loop on the ring portion of the toggle clasp and the first link on the first 4-1/2 inch length of gold-filled 6mm rolo chain. Close the jumpring. Repeat to attach a second 5mm jumpring next to the first.
Repeat to attach the bar portion of the toggle clasp to the first link on the second 4-1/2 inch length of gold-filled 6mm rolo chain using two 5mm jumprings.
Open a 5mm jumpring. Pass it through the first link on one 3-inch length of gold-filled 10mm flat cable chain and the 9th gold-filled 5x2.5mm rondelle on the bottom of the braided leather cord. Close the jumpring.
Repeat to attach one 3-inch length of gold-filled 10mm flat cable chain to the 16th, 20th, and 27th gold-filled 5x2.5mm rondelle.
Repeat to attach one 2-3/4 inch length of gold-filled 5mm ribbed cable chain to the 10th, 17th, and 21st gold-filled 5x2.5mm rondelle.
Repeat to attach one 2-3/4 inch length of gold-filled ribbed ring cable 6x3mm oval/3mm round chain to the 11th, 13th, 15th, 18th, 22nd and 25th gold-filled 5x2.5mm rondelle.
Repeat to attach 2-3/4 inch length of gold-filled 5mm round with 7x2mm link chain to the 12th and 24th gold-filled 5x2.5mm rondelle.
Repeat to attach 2-3/4 inch length of gold-filled 4mm rolo chain to the 14th, 19th, 23rd and 26th gold-filled 5x2.5mm rondelle.
Earring Instructions
Using flush-cutters, cut two 28-inch lengths of gold-filled 22-gauge wire and two 3-inch lengths of gold-filled 6mm rolo chain.
Starting 2 inches from the end of the insert portion of the hoop earring, wrap the end of one 28-inch length of gold-filled 22-gauge wire tightly around the hoop for 3 wraps to secure the wire to the hoop.
Pass the wire through the first link on one 3-inch length of gold-filled 6mm rolo chain and back around the hoop for two wraps.
Wrap the wire around the hoop for two wraps.
Continue to wrap the wire for two wraps through every other link on the chain and two wraps around only the hoop down the length of the chain.
Wrap the wire around the hoop for three wraps after the last link so the chain is secured to the hoop.
Cut any excess wire using flush-cutters and tuck the end of the wire against the last loop of wire.
Repeat to create the second earring.
Shop for Your Materials Here:
Have a question regarding this project? Email Customer Service.
Copyright Permissions
All works of authorship (articles, videos, tutorials and other creative works) are from the Fire Mountain Gems and Beads® Collection, and permission to copy is granted for non-commercial educational purposes only. All other reproduction requires written permission. For more information, please email copyrightpermission@firemtn.com.
