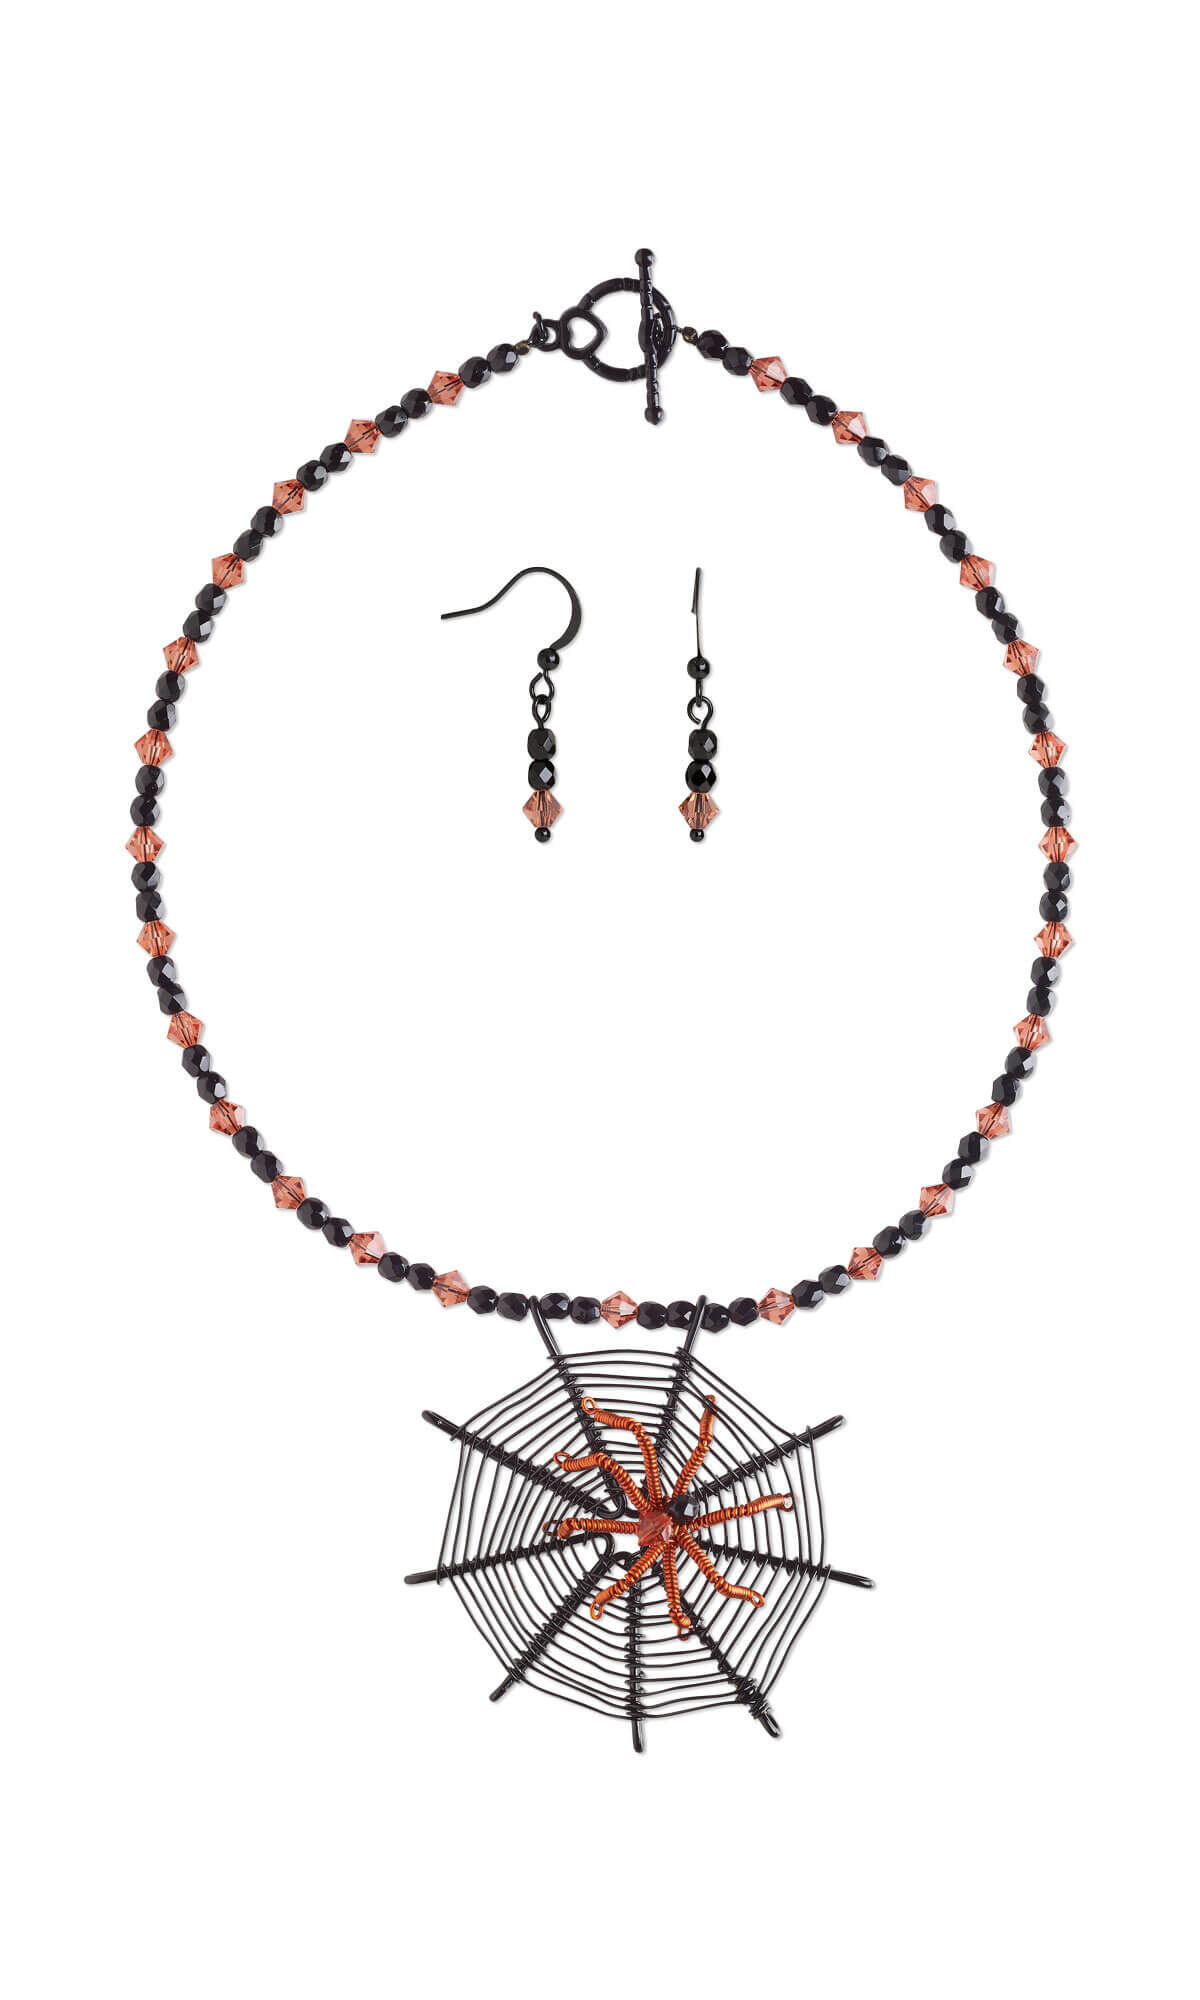
Choker-Style Necklace and Earring Set with Preciosa Czech Crystal Beads, Czech Fire-Polished Glass Beads and Wirework


Design Idea MG28
Spin a Spooky Web
-- Designer --
Patti, Jewelry Designer, Exclusively for Fire Mountain Gems and Beads®
To learn more about Patti Miller, read her jewelry artist success story here.
: : : Materials : : :
Click here to view a full list of materials used in this design.
Please take the creative opportunity to select the products of your choice for this design, offered here at Fire Mountain Gems and Beads. Some materials may not be available or listed.
- Bead, Czech fire-polished glass, opaque jet, 4mm faceted round
- Bead, Preciosa Czech crystal, padparadscha, 5mm faceted bicone
- Beading wire, Accu-Flex®, nylon and stainless steel, midnight black, 49 strand, 0.019-inch diameter
- Clasp, toggle, black-finished brass, 16x14mm with hearts
- Coating, Tool Magic®, rubber, white, for plier tips
- Crimp, TierraCast®, black-plated brass, 2mm tube with 1.2mm hole
- Ear wire, electro-coated brass, assorted colors, 19mm flat fishhook with 3mm ball and open loop, 21 gauge
- Head pin, electro-coated brass, black, 1-1/2 inches with 2mm ball, 21 gauge
- Jump ring, electro-coated brass, black, 4mm round, 2.4mm inside diameter, 20 gauge
- Wire, ParaWire™, black enamel copper, round, 16 gauge
- Wire, ParaWire™, black enamel copper, round, 24 gauge
- Wire, Zebra Wire™, color-coated copper, orange, round, 22 gauge
- Adhesive, epoxy, Devcon® 2 Ton® Clear Epoxy, 30-minute, 2-part
Instructions
Necklace Instructions
Coat the flat-nose and chain-nose pliers in Tool Magic® and let dry.
Cut a 28-inch length of 16-gauge wire.
Approximately 1 inch from one end of the wire make a 180-degree bend, leaving a small, rounded gap at the end. Make another 180-degree bend. Spread the tail to a 45-degree angle.
Repeat to create a total of eight spokes. Wrap the tail twice around the last spoke then trim the wire and tuck in the tail to hide it.
Cut an 80-inch length of 24-gauge wire.
Wrap the end of the wire three times around the bottom of the first spoke.
Pull the wire over to the next spoke, wrap around it once then continue to the next spoke. Repeat this process until the web is created. Trim the remaining wire and tuck in the tail.
Cut a 46-inch length of 22-gauge wire.
Approximately 2-1/2 inches from the end of the wire make a 180-degree bend. Wrap the long tail around the short tail then make another 180-degree bend in the long tail.
Repeat this process to create eight legs. Pass a padparadscha bicone and a jet round bead onto the short tail and bend so that the beads are on top of the legs. Bend the bare tail back under the beads and cut between the beads. Wrap the long tail around the bare wire and cut short.
Use a toothpick to apply a small amount of Devcon® 2 Ton® epoxy to secure the end of the tails to the center of the legs. Allow to dry.
Use flat-nose pliers to bend each leg into shape and bend feet outward on each leg.
Pass several legs through the web and use a small amount of Devcon epoxy underneath the web to secure the spider.
Cut a 17-inch length of Accu-Flex® professional quality beading wire.
Bend the end of the beading wire to create a loop approximately 1/4 inch long. String a crimp onto the beading wire and push up to the loop. Crimp to secure the loop.
String two jet round beads and one padparadscha bicone bead. Repeat this pattern a total of 13 times.
String two jet round beads, one spoke from the web, two jet round beads, one padparadscha bicone bead, two jet round beads and the next spoke from the web. Repeat the pattern from Step 13 in the opposite direction.
Repeat Step 12 to secure the strand.
Open a jump ring. Slide on one end of the strand and half of a clasp. Close the jump ring. Repeat on the other end of the strand to complete the necklace.
Earring Instructions
String a padparadscha bicone bead and two jet round beads onto a head pin. Form a simple loop. Attach to an ear wire. Repeat to create a second earring.
Have a question regarding this project? Email Customer Service.
Copyright Permissions
The pieces featured in the Gallery of Designs are copyrighted designs and are provided for inspiration only. We encourage you to substitute different colors, products and techniques to make the design your own.
All works of authorship (articles, videos, tutorials and other creative works) are from the Fire Mountain Gems and Beads® Collection, and permission to copy is granted for non-commercial educational purposes only. All other reproduction requires written permission. For more information, please email copyrightpermission@firemtn.com.