Ear Cuffs with Czech Pressed Glass Beads and Wirework
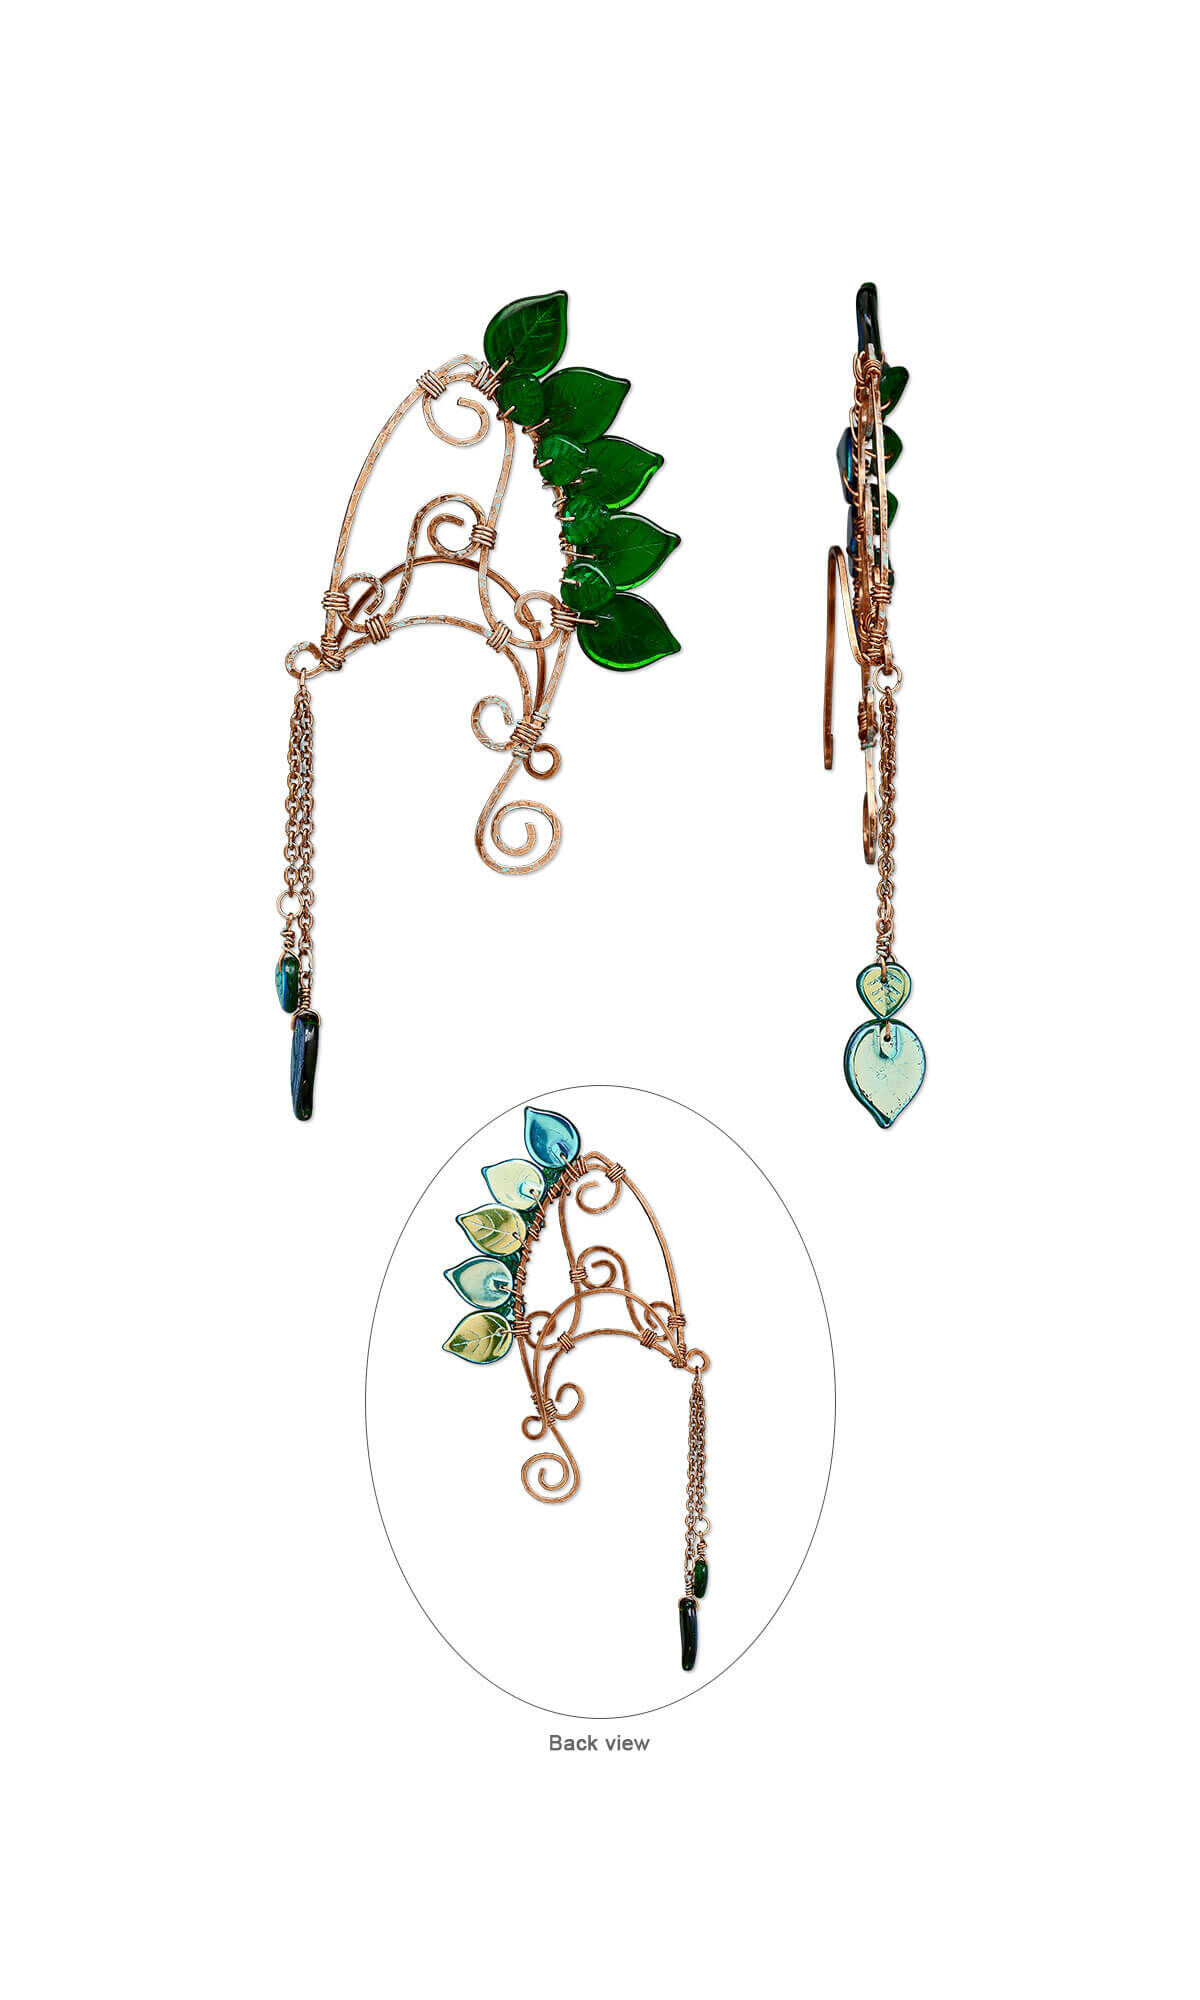



Design Idea G917
Dryad’s Mark
-- Designer --
Rebekah, Content Support Technician, Exclusively for Fire Mountain Gems and Beads®
: : : Materials : : :
Click here to view a full list of materials used in this design.
Please take the creative opportunity to select the products of your choice for this design, offered here at Fire Mountain Gems and Beads. Some materials may not be available or listed.
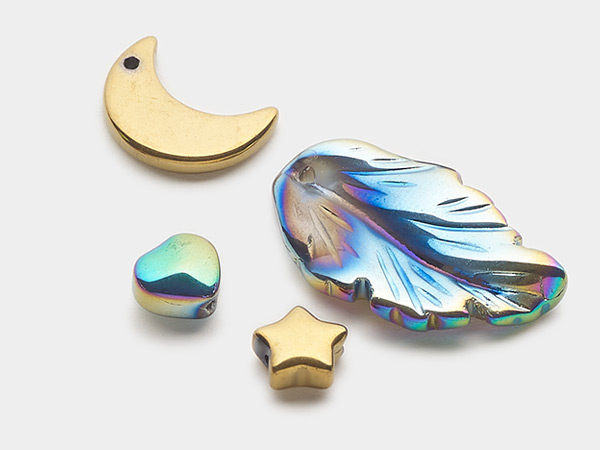
- Bead, Czech pressed glass, emerald green AB, 18.5x14mm top-drilled leaf
- Bead, Czech pressed glass, emerald green AB, 9x8.5mm top-drilled leaf
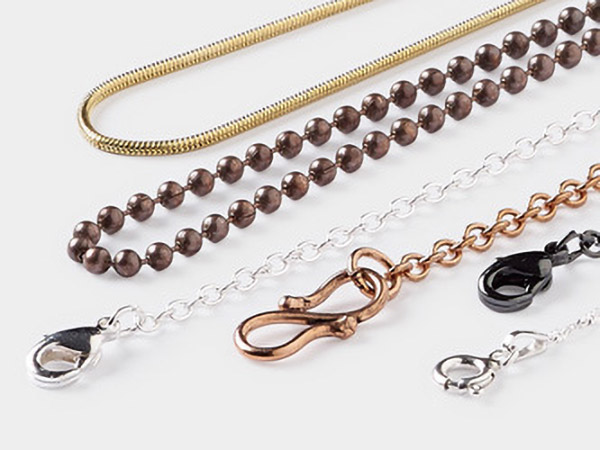
- Chain, antique copper-plated brass, 2.5mm cable, 36 inches with S-hook clasp
- Jump ring, clear-coated copper, 5x4.5mm oval, 3.8x3.2mm inside diameter, 22 gauge
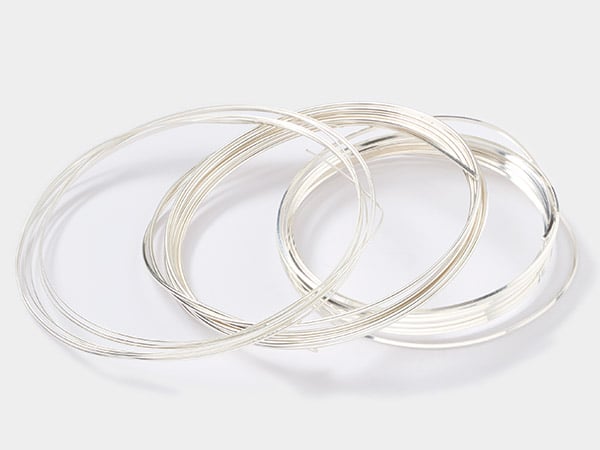
- Wire, copper, half-hard, round, 22 gauge
- Wire, copper, half-hard, square, 16 gauge
Instructions
Cut the following lengths:
- Copper 16-gauge wire:
- Two 3-inch lengths
- Four 4-inch lengths
- Two 11-inch lengths
- Copper 22-gauge wire:
- 18 6-inch lengths
- Two 15-inch lengths
- Two 3-inch lengths of 2.5mm cable chain
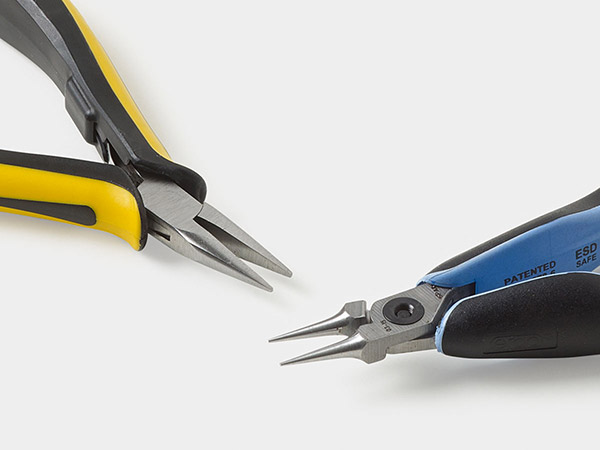
Use round-nose pliers to create an 80-degree angle approximately 5 inches from one end of one 11-inch length of square wire. (This will be the point of the elf ear.)
Form a loose wire spiral, in the opposite direction of the 80-degree bend, on the end of the shorter end of the wire leaving approximately 3 inches between the spiral and the angel in the wire. Use your fingers to create a gentle curve along the 3-inch center. (This will set along the outer edge, helix, of the ear.)
Gently curve the opposite end of the wire, working from the angle for approximately 2 inches, then set the piece aside. (This will set along the front edge of the ear.)
Form a loose spiral on one end of one 4-inch length of wire then gently curve the wire to line the inside edge (antihelix) of the ear, approximately 1-1/4 inches. Form a small spiral in the opposite direction on the opposite end of the wire then trim excess.
Use a second 4-inch length and one 3-inch length of wire to form pleasing curved shapes with a spiral on each end. (These will fit inside the pointed section of wire.)
Repeat Steps 3 and 4 to create a duplicate of each piece for the other ear cuff.
Place one set of wire pieces onto a steel block then use a texturing hammer to quickly strike each piece just enough to transfer the pattern. Repeat to texture the second set on the opposite sides.
Bend the straight end of one ear cuff, at the base of the front edge, toward the back side (non-hammered) and up toward the point. Curve the straight end to line the back of the ear, approximately 2 inches. (This will hold the ear cuff in place on the ear.) Form a small spiral on the end then trim excess wire.
Repeat on the second ear cuff bending the wire in the opposite direction.
Place the small spiral of the first corresponding 4-inch length of curved wire (beginning of Step 3) over the bent area, at the base of the front edge. Use one 6-inch length of 22-gauge wire to create several neat side by side wraps to bind the two pieces together. Repeat to bind the opposite end of the curved wire to the back edge of the ear cuff.
Use 6-inch lengths of wire to bind one spiral on the second 4-inch length of curved wire to the front side next to the point and the opposite spiral to the previous wire curve (base of the ear cuff). Repeat binging the 3-inch curved wire to the base, the front edge and the opposite spiral to one point on the previous spiral, toward the center.
Use one 15-inch length of 22-gauge wire to create approximately two wraps, beginning just below the point on the back edge of the ear cuff. String one emerald green 18.5x4mm leaf then continue to create approximately three wraps. Repeat to attach one emerald 9x8.5mm leaf so it overlaps in front of the previous.
Repeat to wire wrap four sets of leaves then attach one last 18.5x4mm leaf and secure the wire. Trim excess wire.
String one 18.5x4mm leaf onto one 6-inch length of wire then form a briolette wrapped loop creating a 18.5x4mm leaf drop. Repeat to create a second 18.5x4mm leaf drop and two 9x8.5mm leaf drops.
Use 5x4.5mm oval jump rings to attach one 9x8.5mm leaf drop to the first link on each length of chain and one 18.5x4mm leaf drop to the last link.
Pass one 5x4.5mm oval jump ring through the 17th link, from the small leaf, on one length of chain and the small loop on the base of the ear cuff.
Repeat Steps 6 - 8 to finish the second ear cuff. Use an artist's brush to apply Gilder's Paste® to the front side and the chain of each ear cuff then set aside to dry completely.
Shop for Your Materials Here:
Have a question regarding this project? Email Customer Service.
Copyright Permissions
All works of authorship (articles, videos, tutorials and other creative works) are from the Fire Mountain Gems and Beads® Collection, and permission to copy is granted for non-commercial educational purposes only. All other reproduction requires written permission. For more information, please email copyrightpermission@firemtn.com.
