Cupcake Earrings with Czech Fire-Polished Glass Beads, Crystal Passions® Beads and Gold-Plated Drops and Findings
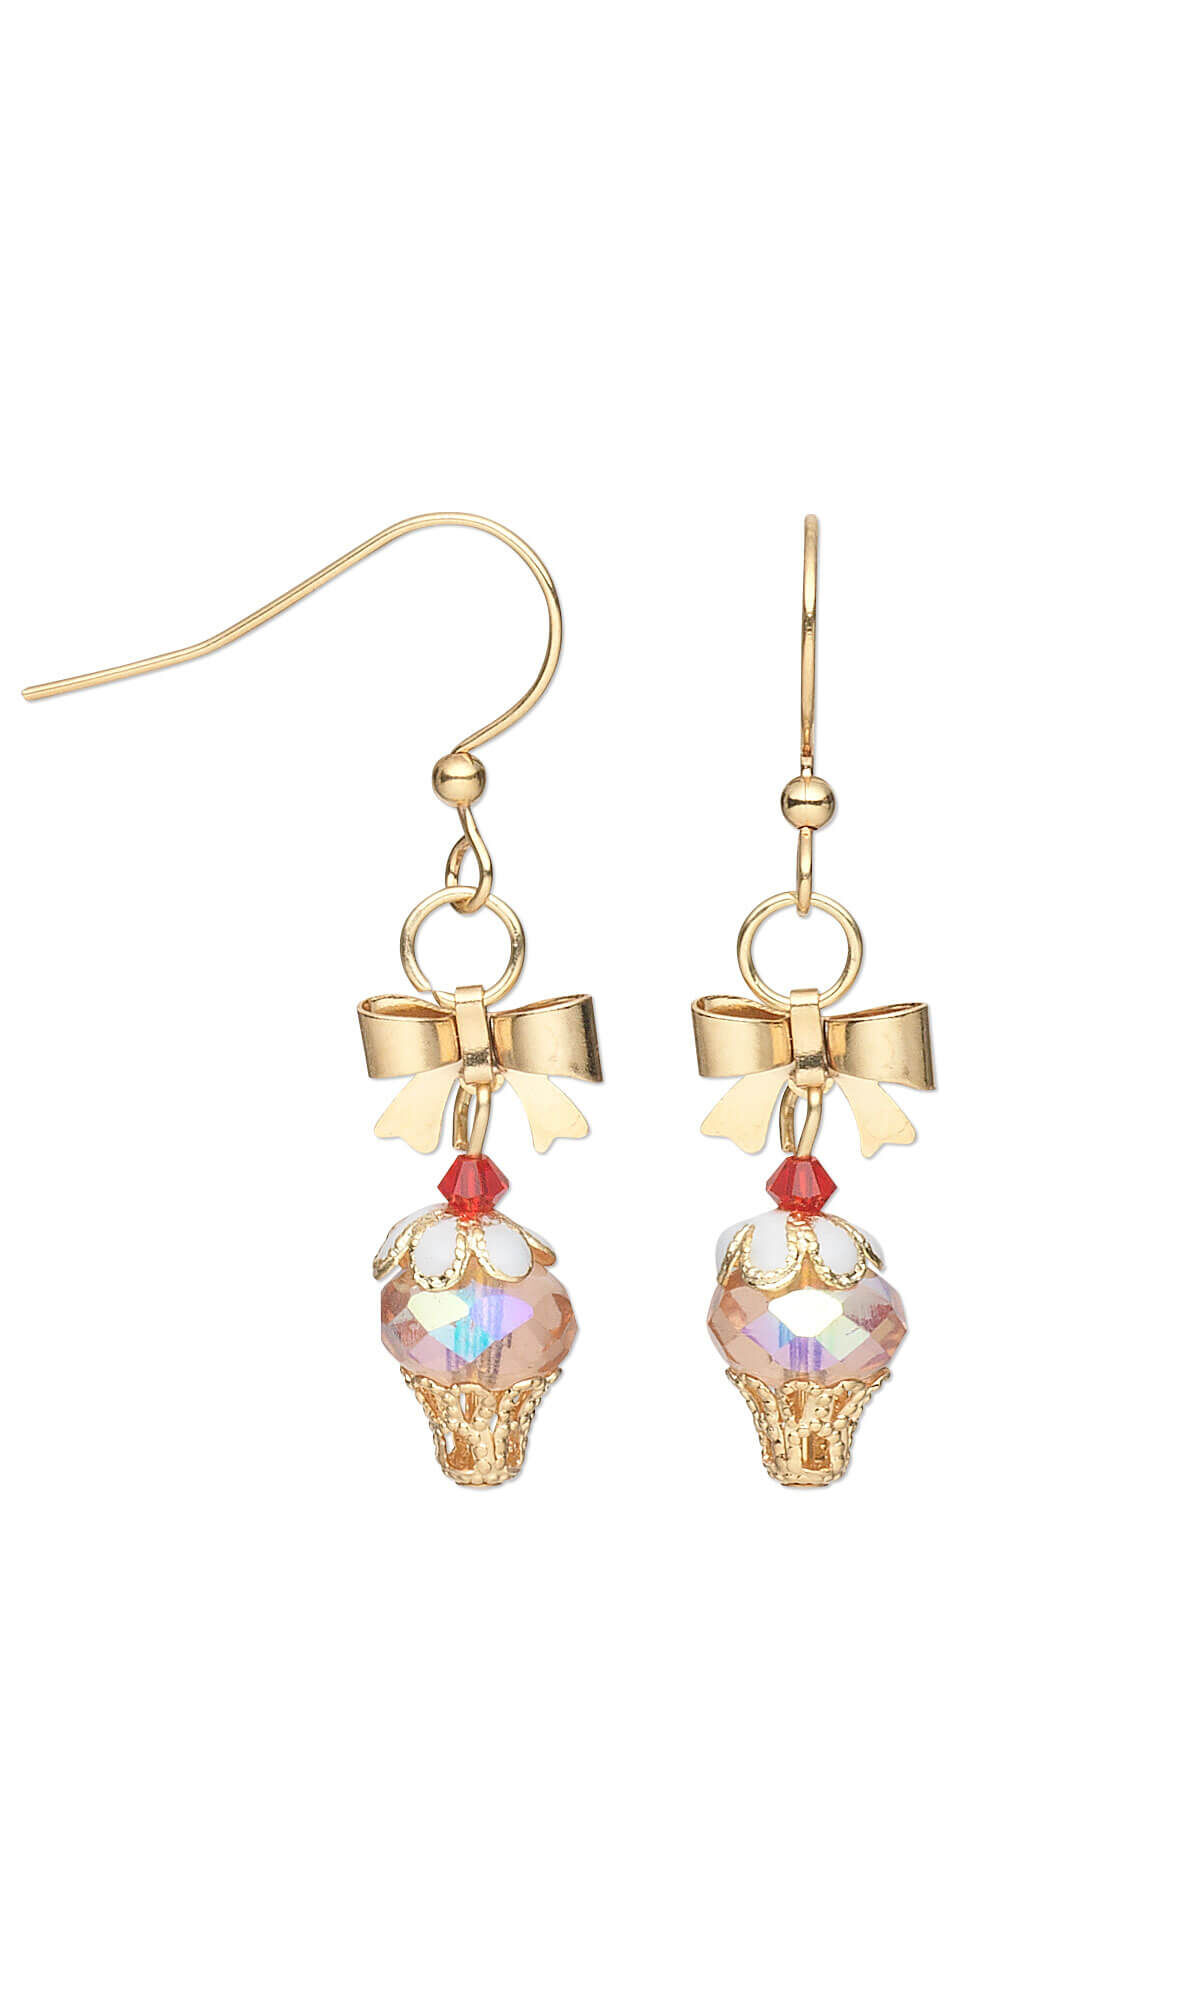

Design Idea 934X
Tasty Cakes
-- Designer --
by Jamie Smedley, Exclusively for Fire Mountain Gems and Beads®
To learn more about Jamie Smedley, read her jewelry artist success story here
: : : Materials : : :
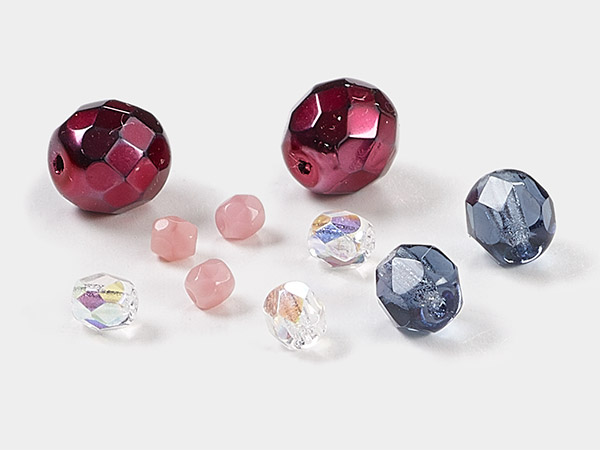
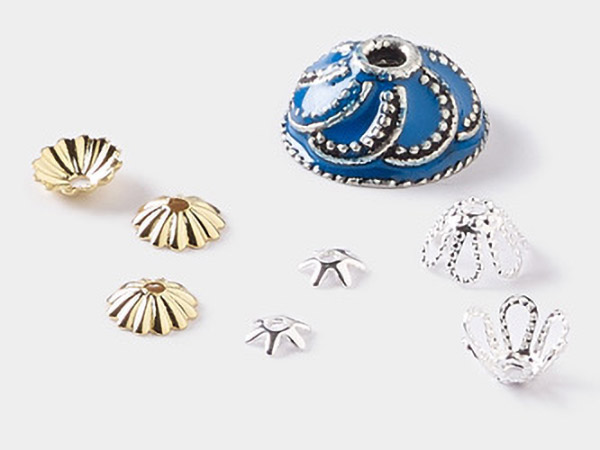
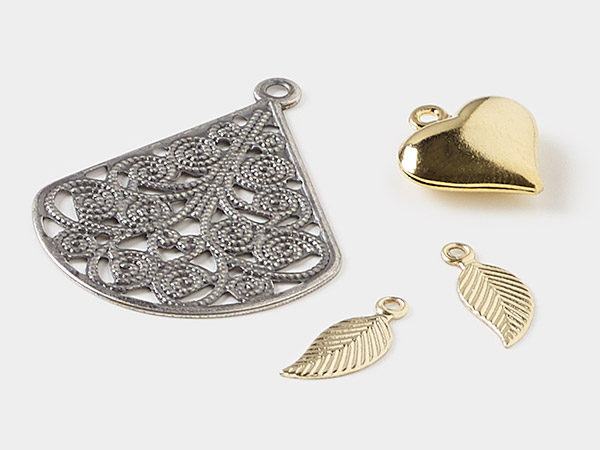
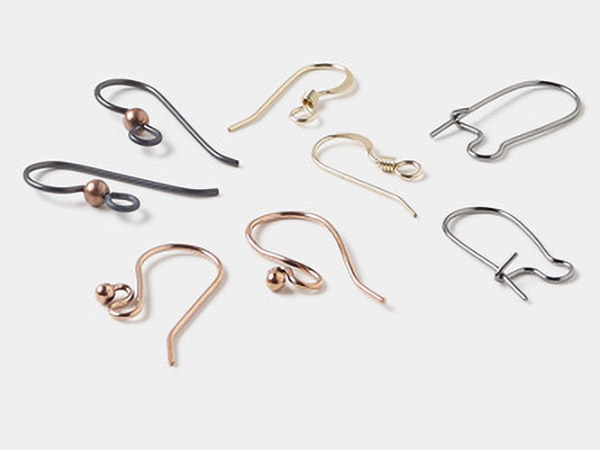
Please take the creative opportunity to select the products of your choice for this design, offered here at Fire Mountain Gems and Beads.
Instructions
The days of summer are sweetened with jewelry designs and accessories inspired by a mouthwatering parade of treats and confections. Make a delicious pair of frosted cupcake earrings using sugar-tinted glass, whipped-cream white cloisonné bead caps, a sparkling red crystal cherry-on-top and a dainty accent bow for adorable, guilt-free style.
String onto one headpin:
- One basket bead cap
- One 9x5mm faceted rondelle bead
- One 7mm cloisonné bead cap, white
- One 3mm crystal bicone
Using the chain-nose pliers, grip the wire, as close as possible, to the 3mm bicone bead then bend the wire to form a 90 degree (right) angle.
Using the side-cutting pliers, cut the headpin to approximately 1/4 inch past the bend.
Using a permanent marker, make a small mark 1/8 inch up from the tip of your round-nose pliers.
The mark gives you a place to come back to each time you make a loop, so the loops are consistent as well as denotes the best spot for making loops with 1/4 inch of wire. If you want larger loops, leave 3/8 inch of wire past the bend and work further down the barrel on your round-nose pliers.
Grasp the clipped end of the wire at the marked area of your round-nose pliers. While pressing the thumbnail of your non-dominant hand into the 90 degree angle of the wire, rotate the pliers away from your body so that the wire is wound around the barrel, forming a complete circle, centered over the beads. If necessary, adjust the loop so it is centered.
Using the chain-nose pliers, open the simple loop by gently twisting up on the open side of the loop, being careful to maintain the rounded shape of the loop.
Thread the opened loop through the bottom loop of the bow component. Close the loop on the headpin.
It may be necessary to slightly unfold the ''knot'' of the bow drop to accommodate the jumpring. To do this, use your chain-nose pliers unwrap the bow tab, reposition it by folding it down with your round-nose pliers so that there is a small gap at the top where the tab wraps around the center of the bow.
Using two pairs of flat-nose pliers (or one pair of chain-nose pliers and flat-nose pliers), twist open a 5mm jumpring and thread it through the top of the bow's knot and through the loop on an earwire. Close the jumpring.
Note: After threading the earwire onto the jumpring, dangle the earring to make sure that the bow will be showing right side out before closing the jumpring.
Have a question regarding this project? Email Customer Service.
Shop for Your Materials Here:
Copyright Permissions
The pieces featured in the Gallery of Designs are copyrighted designs and are provided for inspiration only. We encourage you to substitute different colors, products and techniques to make the design your own.
All works of authorship (articles, videos, tutorials and other creative works) are from the Fire Mountain Gems and Beads® Collection, and permission to copy is granted for non-commercial educational purposes only. All other reproduction requires written permission. For more information, please email copyrightpermission@firemtn.com.
