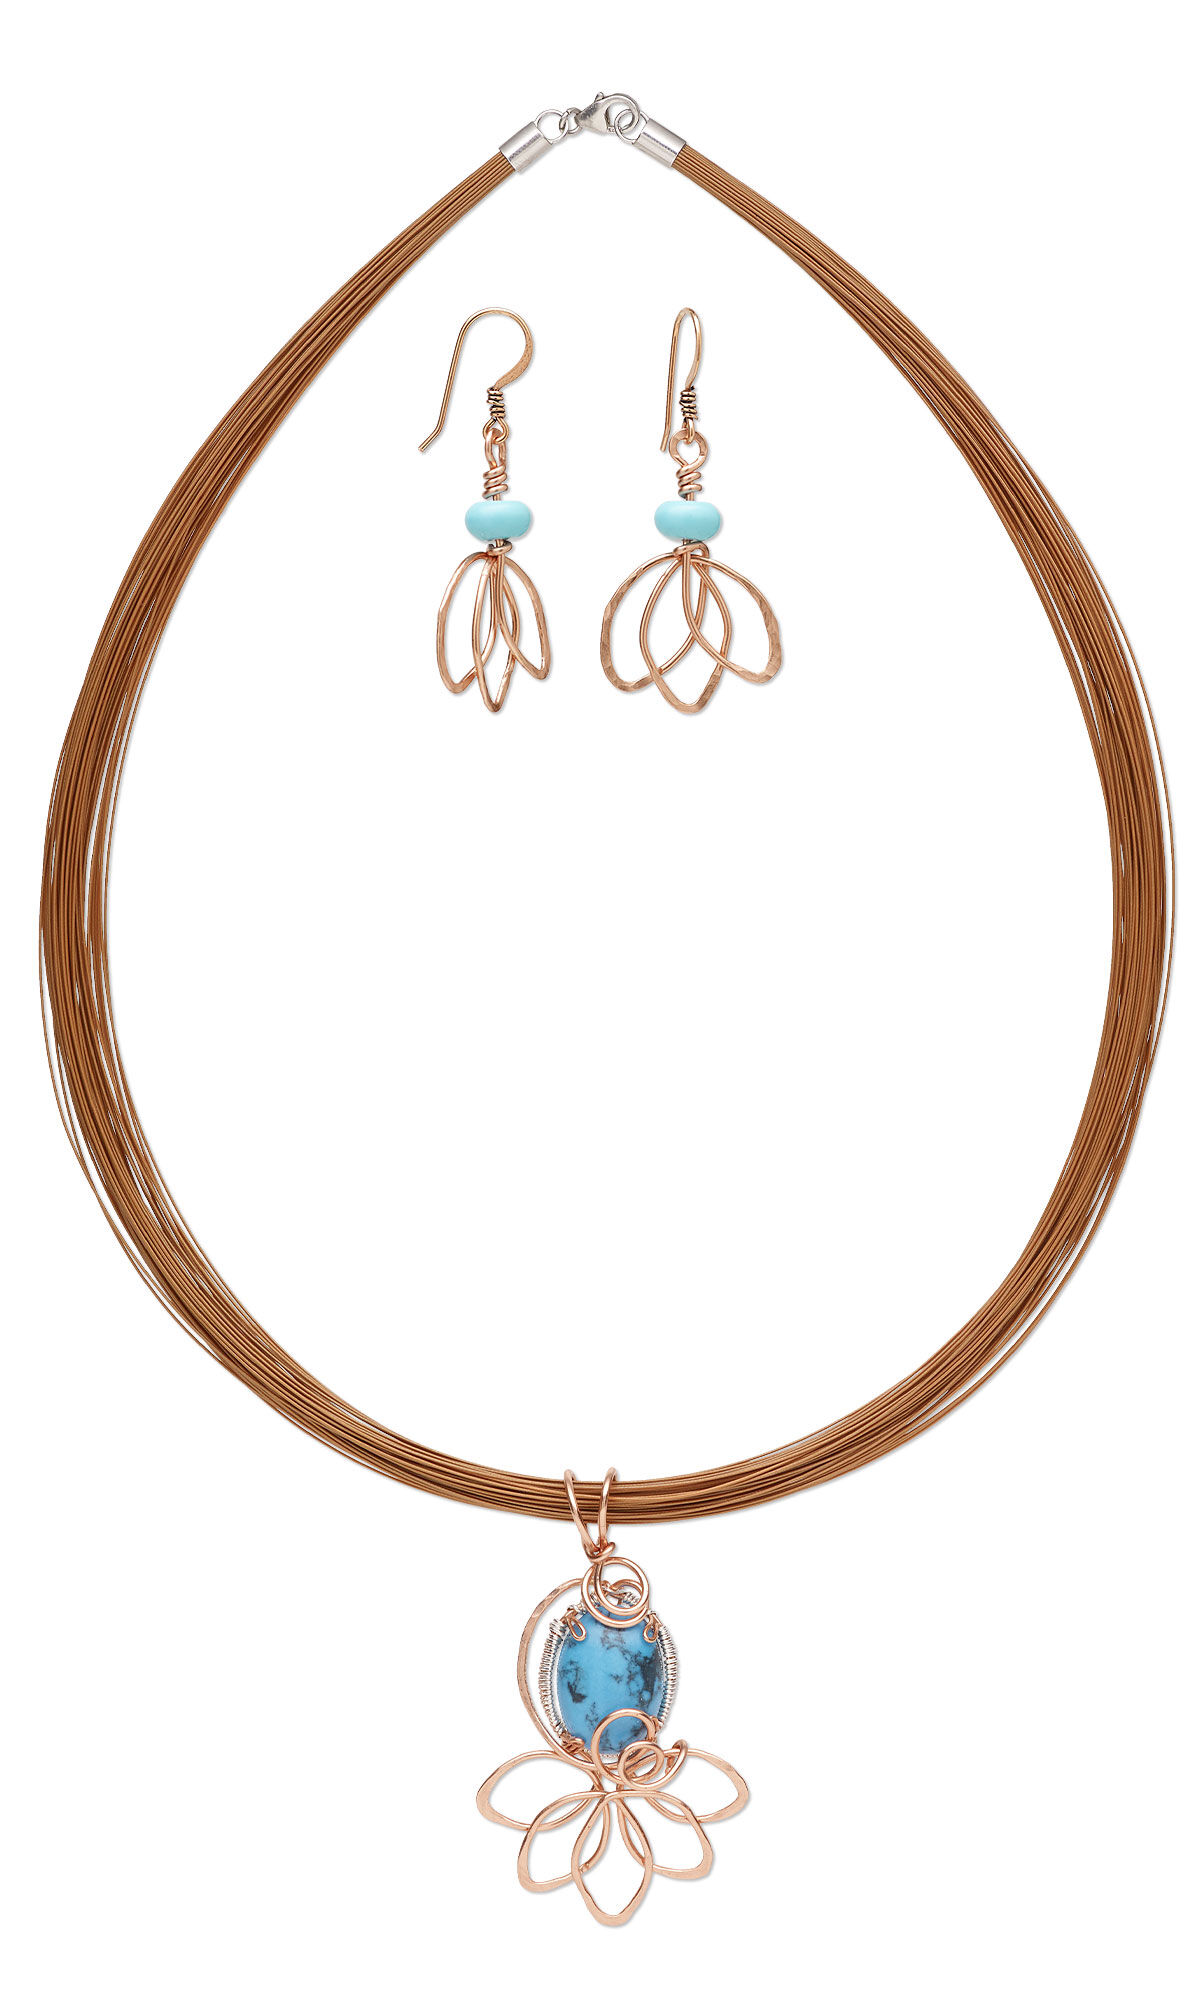
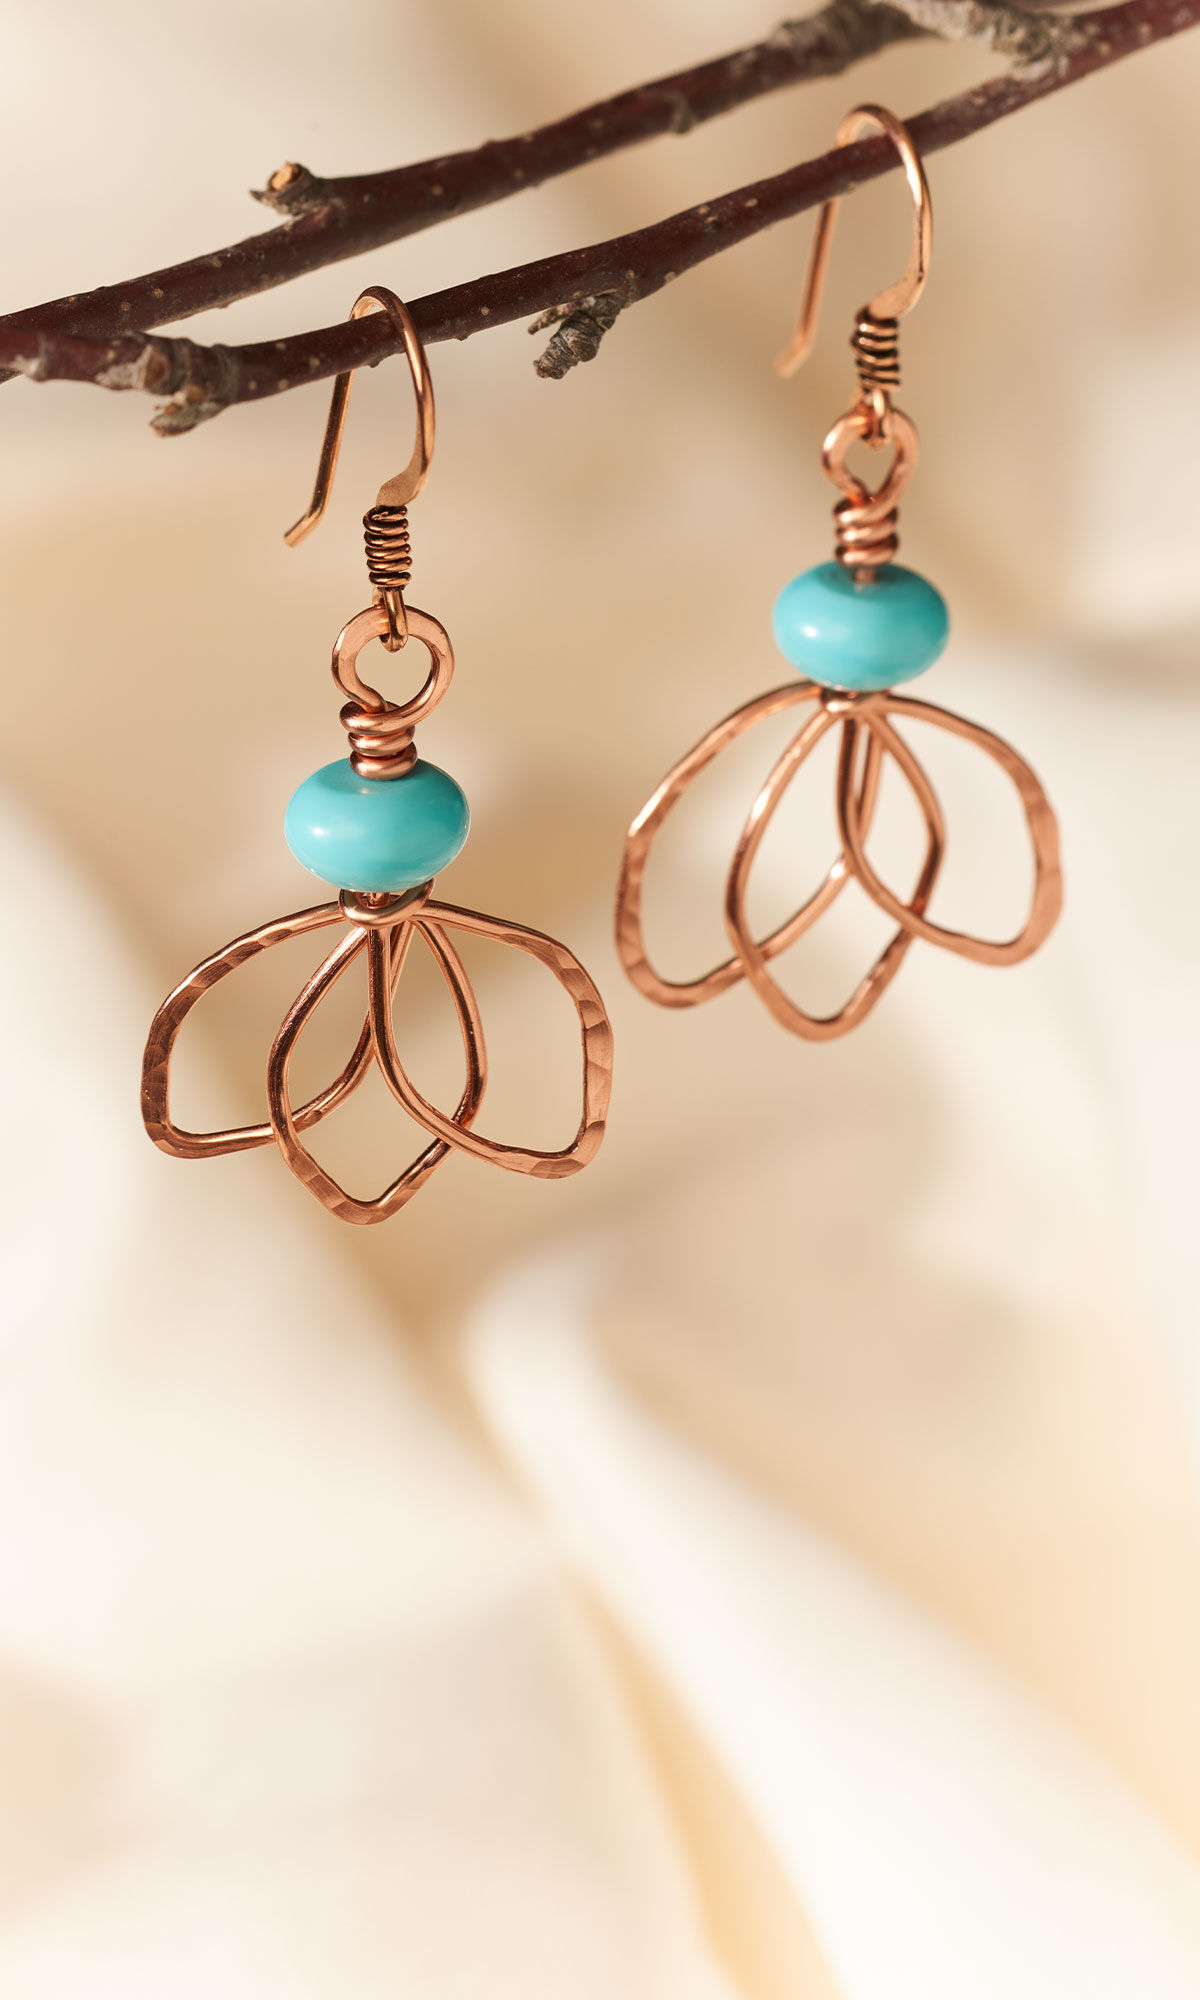
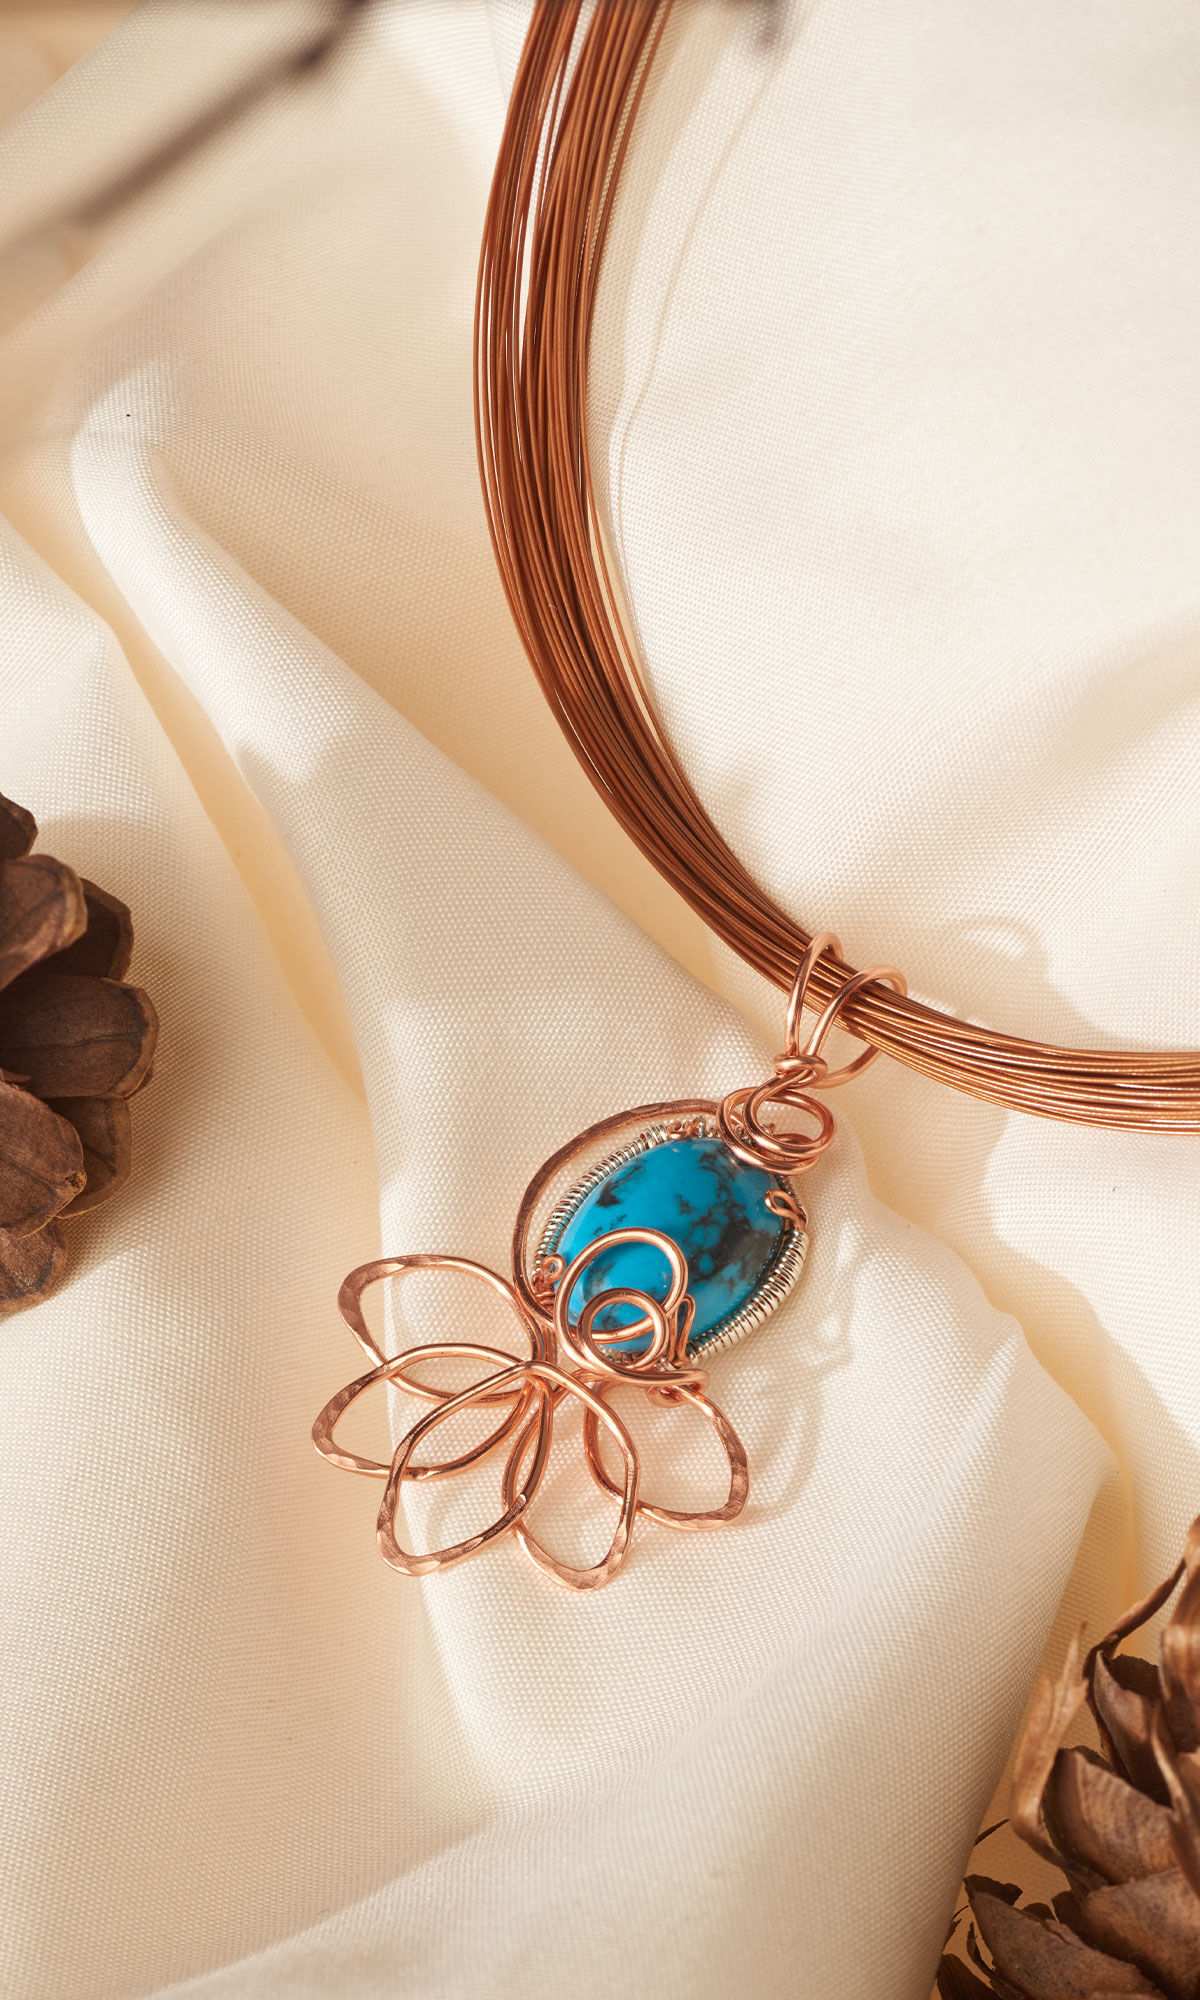
Multi-Strand Necklace and Earring Set with Turquoise Gemstone Cabochon, Imitation Turquoise Beads and Wirework


Design Idea RE2F
-- Designer --
Patti, Jewelry Designer, Exclusively for Fire Mountain Gems and Beads®
To learn more about Patti Miller, read her jewelry artist success story here.
: : : Materials : : :
Click here to view a full list of materials used in this design.
Please take the creative opportunity to select the products of your choice for this design, offered here at Fire Mountain Gems and Beads. Some materials may not be available or listed.
- Ear wire, antique copper-plated copper, 17mm flat fishhook with 3mm coil and open loop, 20 gauge
- Wire, ParaWire™, copper, round, 18 gauge
- Bead, "turquoise" (resin) (imitation), blue, 8x5mm rondelle
- Cabochon, turquoise (assembled), 18x13mm calibrated oval, Mohs hardness 5 to 6
- Wire, Zebra Wire™, natural copper, round, 22 gauge
- Necklace, sterling silver and nylon-coated stainless steel, copper, 48-50 strand, 18 inches with lobster claw clasp
- Wire, sterling silver, dead-soft, half-round, 24 gauge
- Pliers, wire-wrapping, stainless steel and PVC plastic, black, 6 inches
- Chasing hammer, steel and rubberwood, natural, 28mm convex head and 14mm ball head, 10 inches
Instructions
Necklace Instructions
Cut the Wire
Cut one 18-inch length of 18-gauge round copper wire, one 18-inch length of 24-gauge half-round sterling silver wire, and one 16-inch length of 22-gauge round copper wire.
Create the Lotus Flower
To create the center lotus petal in the pendant, find the center of the 18-gauge round copper wire, then make a bend curving the sides slightly out and back in.
At the top of the petal you just made, bend the tail outward and slightly curve the wire out and inward to create half of the next petal. Make a bend and bring the wire back up, curving outward slightly then back in.
Repeat the above to make the third petal.
Make the petals on the opposite side of the center petal in the same manner as you made the first two petals.
Adjust bends and curves as needed until you are happy with the shape of your lotus.
Place each petal edge, one at a time, on the edge of a steel block, then hammer lightly with a convex-domed chasing hammer to apply a hammered finish to the edges. Do not hammer where the wires cross.
Create the Cabochon Setting
Curve each tail to fit the circumference of the 18x13mm cabochon, crossing the wires at the top. Set aside.
To create the prongs that hold the cabochon, find the center of the 16-inch 22-gauge round copper wire. Using the center of the wire as the bottom, form the wire to fit the circumference and shape of the 18x13mm cabochon, bending the wire out 45 degrees for 4mm then bend it back on itself and back 45 degrees. Create four of these prongs at even intervals, at about eight o’clock and ten o’clock on the left and at about four o’clock and two o’clock on the right. Then curve the tails inward to complete the oval and cross the tails. The prongs should be bent to point upward when the cabochon is placed inside the oval of prongs.
Place the 22-gauge oval of prongs on top of the 18-gauge oval at the top of the lotus flower, making sure they align and will fit around the outside of the cabochon snugly. Make any adjustments needed.
Starting at the top of the ovals, marry the ovals by wrapping the 18-inch 24-gauge half-round sterling silver wire around both ovals tightly, passing behind each prong, all the way around. Trim and tuck in the tails.
To create the backing for the cabochon, cross the 22-gauge wire tails over the back of the oval prong piece then secure them at about 4 o’clock and 8 o’clock to the 18-gauge copper wire between the oval and the top petals. Tuck in and trim the tails.
Set the cabochon inside the oval prong piece, facing front. Use round-nose pliers to round the prongs to fit on the cabochon snugly. Then use a burnisher to massage the prongs securely over the cabochon. It will not be 100% secure yet.
Finish the Pendant
Looking at the pendant from the back, pick up the 18-gauge tail that is coming from the left side of the oval, crossing its counterpart, and pointing to the right. About 3mm from the crossing point, curve the wire out and down, then back in to echo the prongs’ oval shape, but standing out a bit. Pull the wire out enough to place the newly curved oval section on the edge of a steel block, and hammer lightly on the front side to apply a hammered finish.
Bring the same tail upwards and make an approximately 8mm loop, then a 5mm loop, positioning them in a pleasing way at the bottom front of the cabochon. Push the loops down to help secure the cabochon in place. Looking from the back, wrap the tail once around the top petal on the left. Then trim tail.
Pick up the remaining 18-gauge copper wire tail at the top of the pendant. Make an approximately 8mm loop to lay over the top front of the cabochon, then make an approximately 5mm loop to lay over the first loop. Push the loops down to help secure the cabochon. Use the middle step of wire-wrapping pliers to create a double loop to make the bail, then wrap the tail twice around the 18-gauge copper wire between the double loop and the 8mm and 5mm loops. Trim and tuck in the tail at the back. To finish, spread the bail loops apart about 3mm.
Finish the Necklace
Thread the pendant onto the multi-strand necklace.
Earring Instructions
Cut the Wire
Cut one 12-inch length of 18-gauge round copper wire.
Create the Lotus Flower
Find the center of the 12-inch 18-gauge round copper wire. Two inches from center, make a bend, then bend the wire outward then in to create the center lotus petal.
At the top of the petal you just made, bend the tail outward and slightly curve the wire out and inward to create half of the next petal. Make a bend and bring the wire back up, curving outward slightly, then back in. Repeat on the opposite side to create the last petal.
Wrap the short tail around the longer tail snugly against the top of the lotus flower. Trim and tuck in the tail.
Finish the Earring
Thread an 8x5mm “turquoise” rondelle onto the remaining tail. Then make a wrapped loop.
Place each petal edge, one at a time, on the edge of a steel block, then hammer lightly with a convex-domed chasing hammer to apply a hammered finish to the edges. Do not hammer where the wires cross.
Place the loop at the top of the earrings on the edge of a steel block and apply a hammered finish.
Attach the ear wire to the top loop.
Create Second Earring
Repeat steps 1 through 3 for the second earring.
Copyright Permissions
The pieces featured in the Gallery of Designs are copyrighted designs and are provided for inspiration only. We encourage you to substitute different colors, products and techniques to make the design your own.
All works of authorship (articles, videos, tutorials and other creative works) are from the Fire Mountain Gems and Beads® Collection, and permission to copy is granted for non-commercial educational purposes only. All other reproduction requires written permission. For more information, please email copyrightpermission@firemtn.com.