Bracelet with Preciosa Seed Beads and Silver-Finished "Pewter" Charm
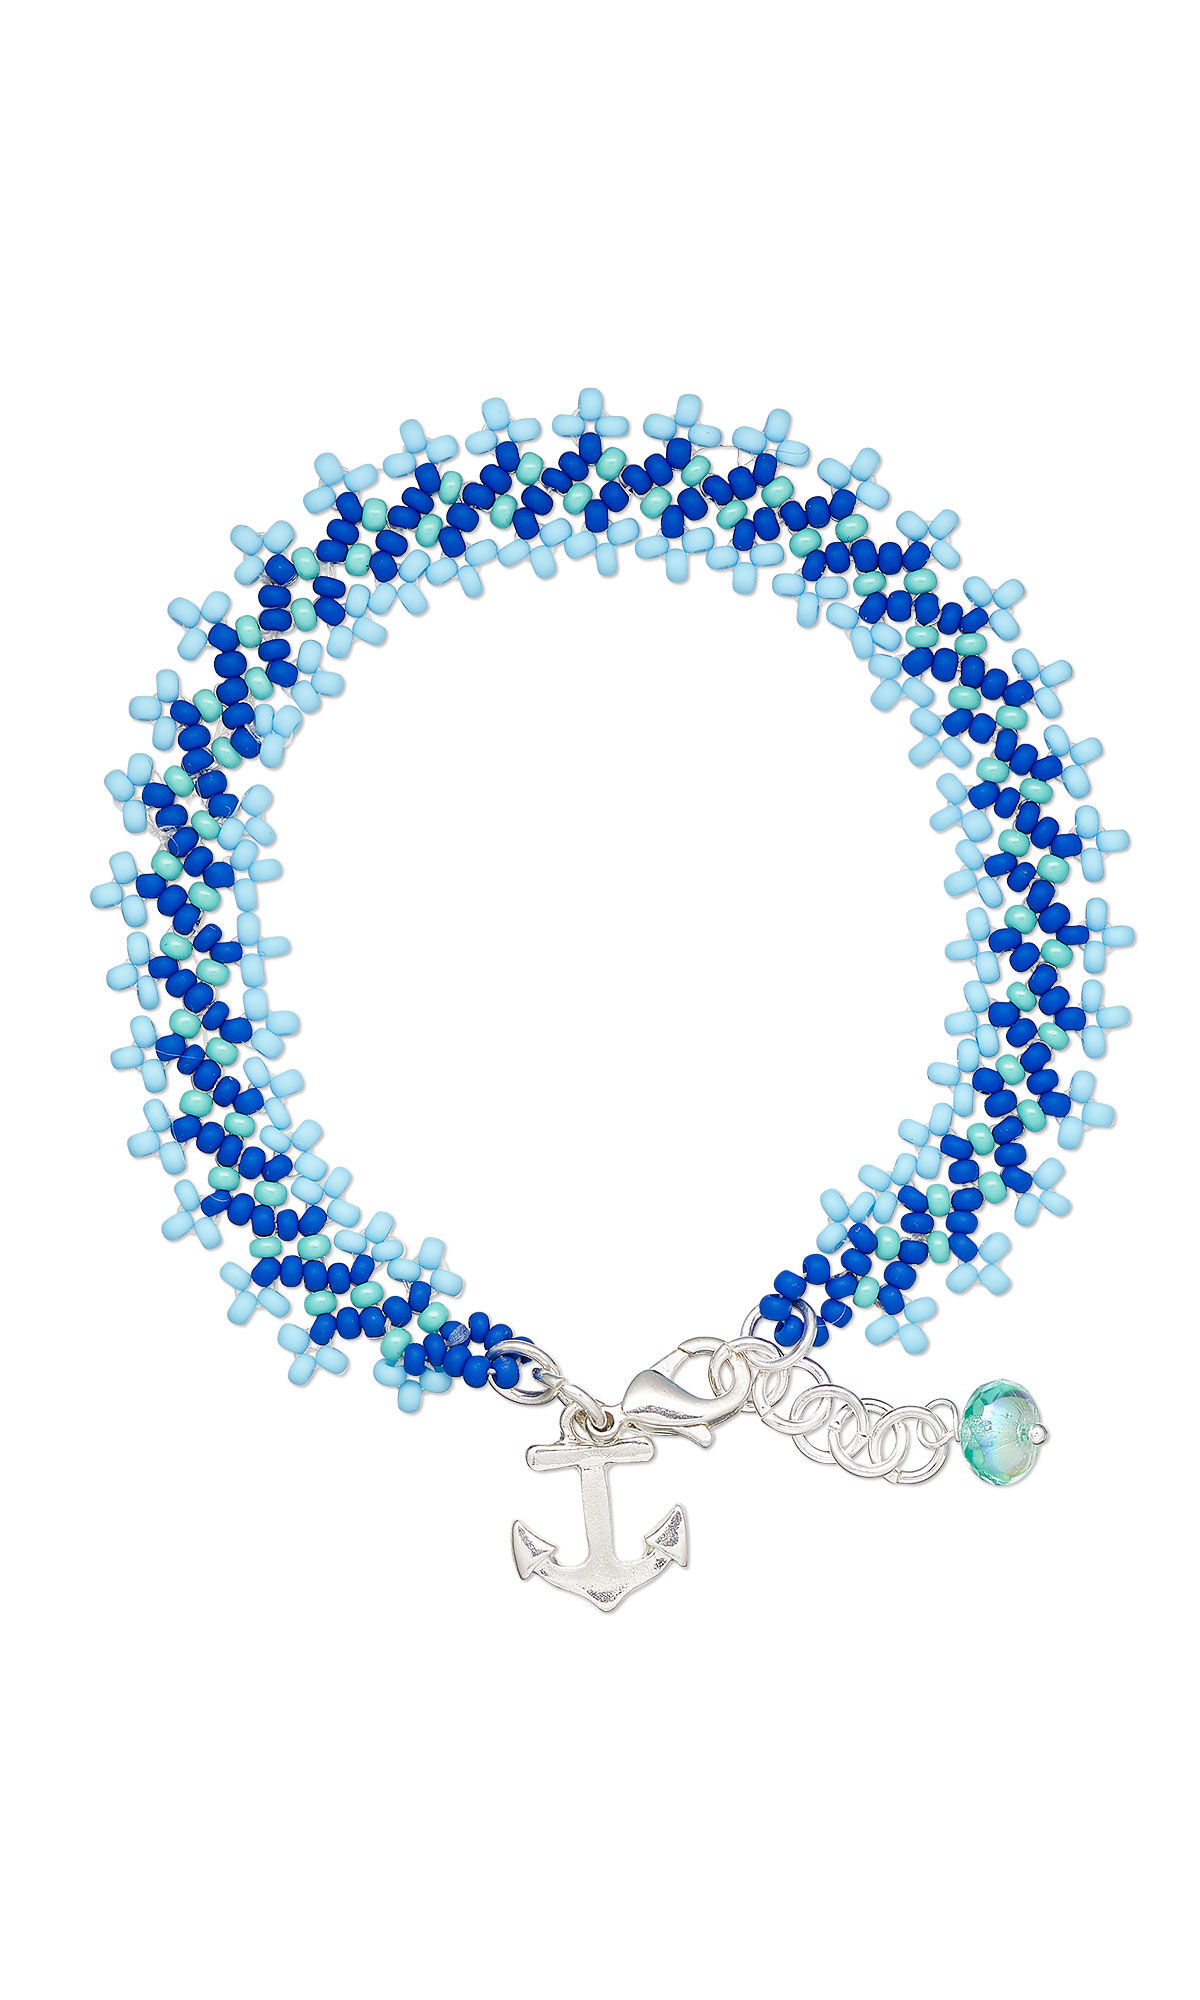

Design Idea RF36
-- Designer --
Elaine, Jewelry Designer, Exclusively for Fire Mountain Gems and Beads®
To learn more about Elaine Young, read her jewelry artist success story here.
: : : Materials : : :
Click here to view a full list of materials used in this design.
Please take the creative opportunity to select the products of your choice for this design, offered here at Fire Mountain Gems and Beads. Some materials may not be available or listed.
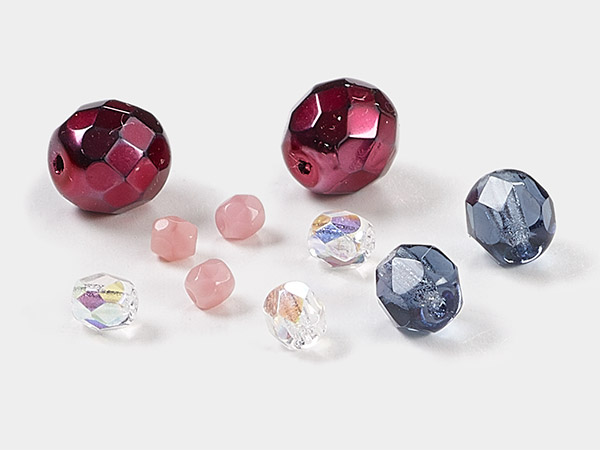
- Bead, Czech fire-polished glass, light aqua AB, 7x5mm faceted rondelle
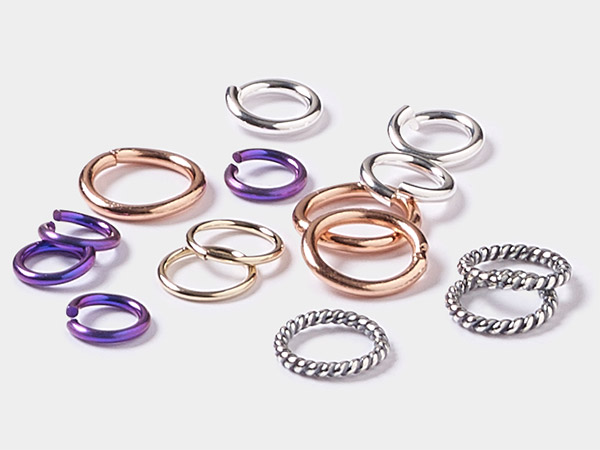
- Jump ring, silver-plated brass, 5.5mm round, 3.5mm inside diameter, 18 gauge
- Thread, Nymo®, nylon, white, size D
- Head pin, silver-plated brass, 1-1/2 inches with 1.5mm ball, 24 gauge
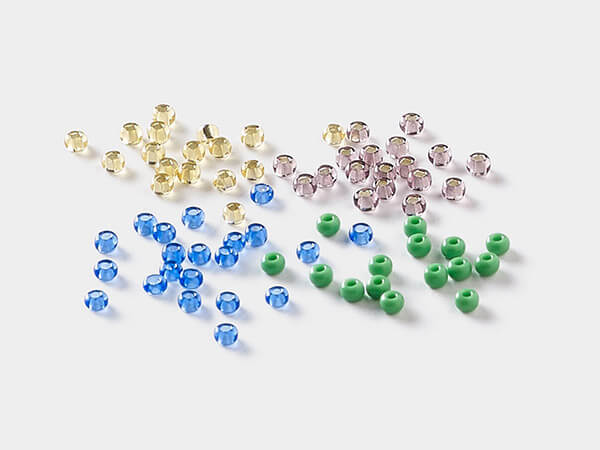
- Seed bead, Preciosa Ornela, Czech glass, opaque matte sky blue, #10 rocaille
- Seed bead, Preciosa Ornela, Czech glass, opaque matte blue, #10 rocaille
- Seed bead, Preciosa Ornela, Czech glass, opaque seafoam green, #10 rocaille
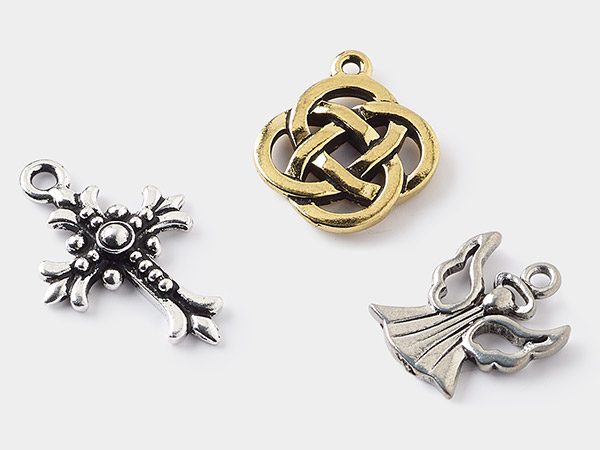
- Charm and drop, Charmed, glass and silver-finished "pewter" (zinc-based alloy), white, 10mm-15x14mm assorted nautical theme with 6mm jump ring and lobster claw clasp
Instructions
Necklace Instructions
Cut 36 inches of Nymo® size D nylon beading thread and use it to thread a #11 beading needle .
Add 7 matte blue Preciosa #10 seed beads and pull to the bottom of the thread, leaving about 8 inches at the end. Then draw the needle through the beads again, starting from the bottom. Pull it taut to make the beads into a small loop.
Thread the needle into the first, second and third beads again, and pull the thread through. Then thread the needle into the fourth bead and pull the thread through. You should now have a small loop with four beads on top and three on the bottom.
String four Preciosa #10 seed beads onto the needle in this order: matte blue, seafoam green, matte blue, seafoam green. String the needle through the other side of the bead it’s sticking out of (the last bead in the loop you created in Step 1) and pull the thread tight, making a 4-bead square.
Put the needle and thread through the matte blue bead on the bottom of the square you just made.
String a matte blue bead onto the needle. Thread the needle into the seafoam green bead next to the matte blue bead through which you just strung the thread. Pull the thread tight.
String a matte blue bead onto the needle. Thread the needle into the matte blue bead next to the seafoam green bead through which you just strung the thread. Pull the thread tight.
String a matte blue bead onto the needle. Thread the needle into the seafoam green bead next to the matte blue bead through which you just strung the thread. Pull the thread tight. This should create a square with 3 matte blue beads on opposite sides.
Thread your needle through the 3 matte blue beads on the side of the square closest to the circle you made in the beginning. Your needle should now be coming out of a matte blue bead ready to go into a seafoam green bead.
Thread your needle through the seafoam green bead and pull the thread tight. Then thread your needle through the matte blue bead starting at the opposite side of the bead from where the seafoam green bead you just came out of is. Pull the thread tight.
You should be at the outside corner of the square you just made.
Repeat Step 2 over and over until you reach the bracelet’s desired length.
Draw the thread through the top matte blue bead at one end of the bracelet.
Thread three #10 matte sky blue beads onto the needle. Draw the thread through the matte blue bead, creating a triangle of three matte sky blue beads.
Draw the thread through the nearest seafoam green bead. Then draw the thread through the three matte blue beads next to it. You should end up with the thread coming out of the next matte blue bead on the side of the bracelet on which you are working.
Continue this process along both sides of the bracelet.
When you finish adding picot trim to both sides of the bracelet, thread the needle through the three beads in the final triangle and pull the thread tight. Then weave your thread securely through a few beads. Tie it off with a surgeon’s knot and trim the excess thread.
Add a 5.5mm jump ring to one end of the bracelet. Add a nautical-themed charm and a clasp to the jump ring. For instructions on opening and closing jump rings, watch the video or read the instructions.
Attach six 5.5mm jump rings in a straight line to the other end of the bracelet.
Put a light aqua AB Czech fire-polished bead onto a 1.5-inch head pin with a ball ending. Create a simple loop in the head pin. For instructions on making a simple loop, watch the video or read the instructions. Attach the loop to the last jump ring in the sequence.
Shop for Your Materials Here:
Copyright Permissions
The pieces featured in the Gallery of Designs are copyrighted designs and are provided for inspiration only. We encourage you to substitute different colors, products and techniques to make the design your own.
All works of authorship (articles, videos, tutorials and other creative works) are from the Fire Mountain Gems and Beads® Collection, and permission to copy is granted for non-commercial educational purposes only. All other reproduction requires written permission. For more information, please email copyrightpermission@firemtn.com.
