Choker Necklace and Earring Set with Delica® Seed Beads, Vitrearc© Enamel and Copper Sheet
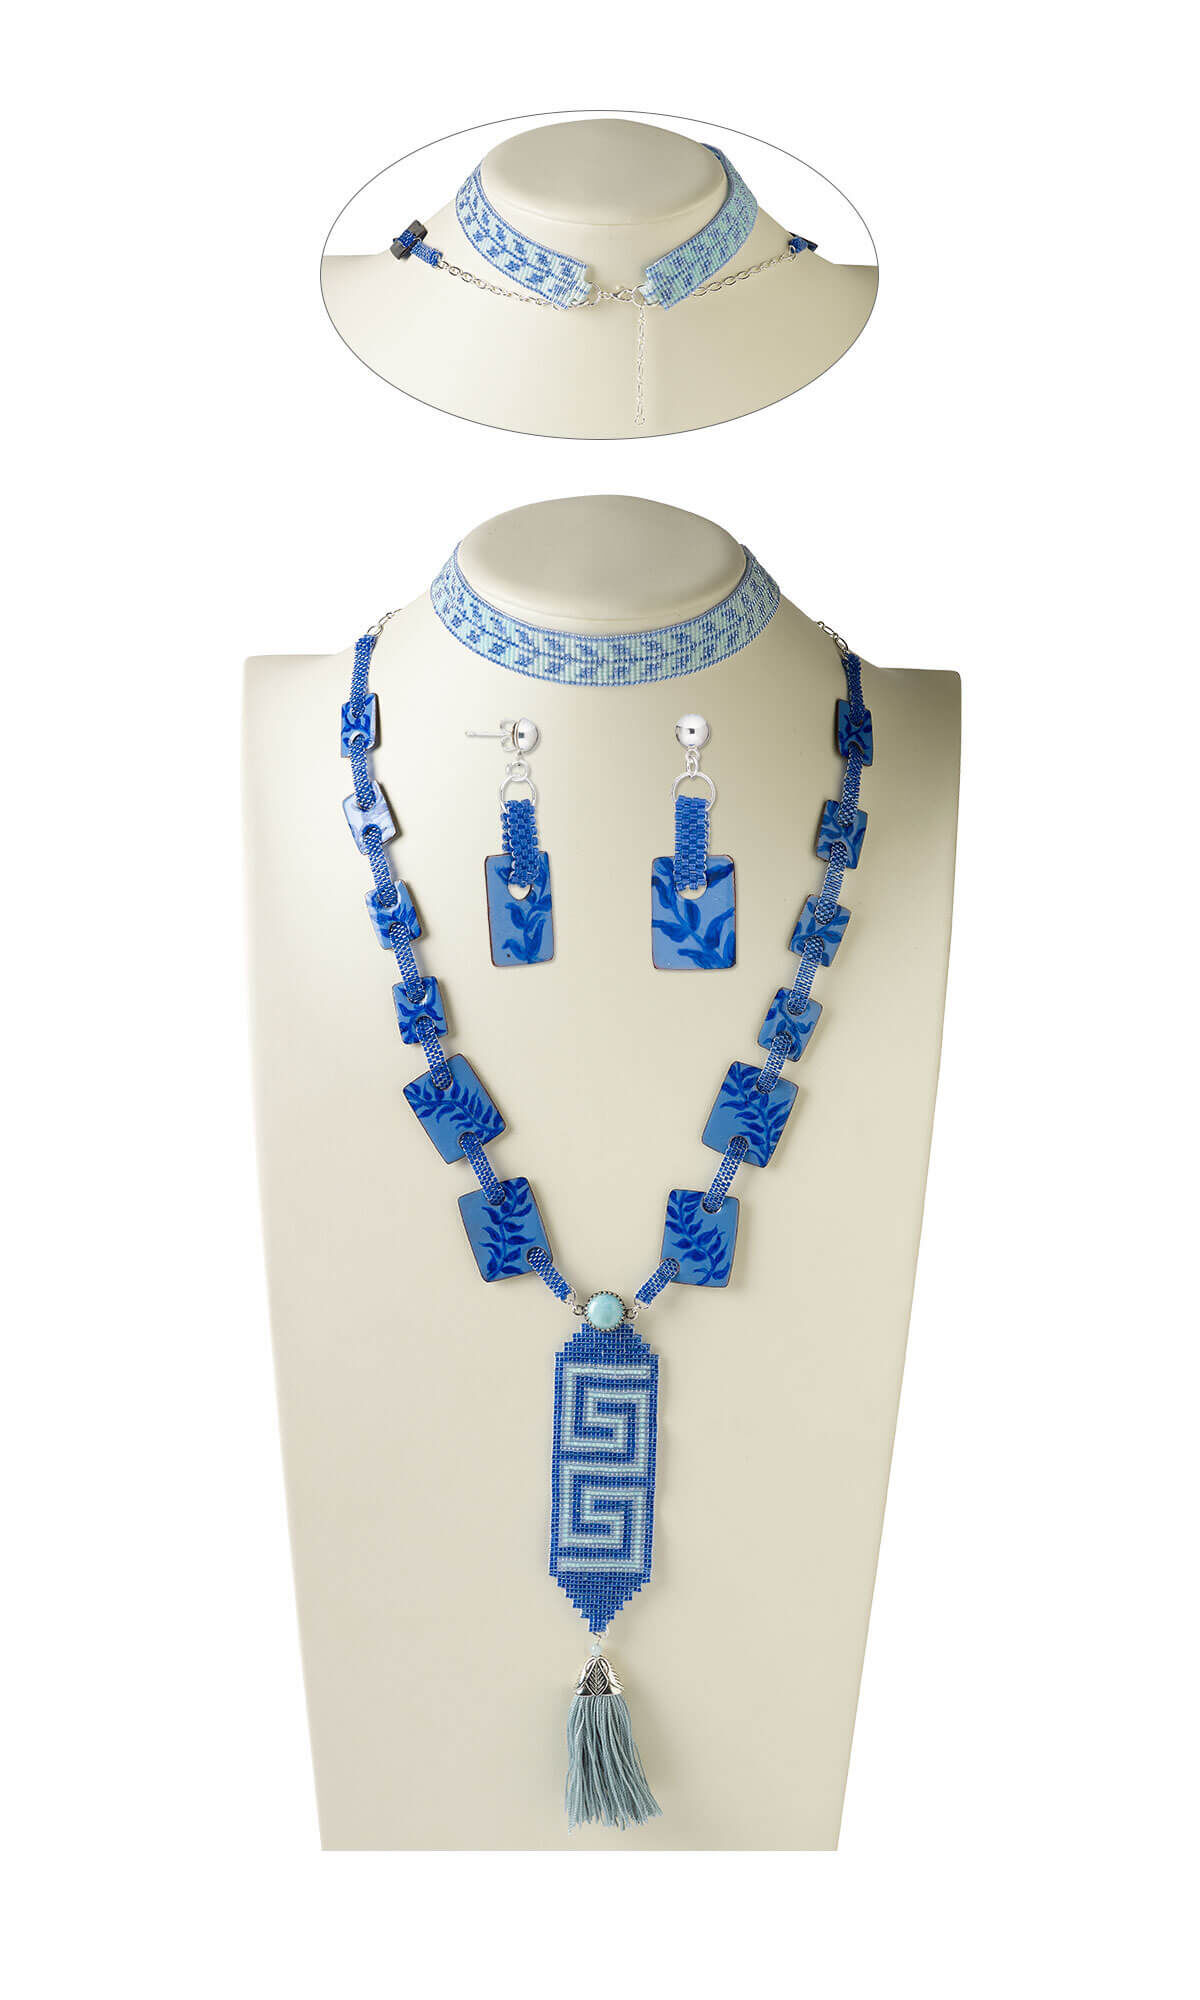



Design Idea H55T
Off the Coast of Corinth
-- Designer --
Jude, Jewelry Artist, Exclusively for Fire Mountain Gems and Beads®
To learn more about Jude Wroblewski, read her jewelry artist success story here.
: : : Materials : : :
Click here to view a full list of materials used in this design.
Please take the creative opportunity to select the products of your choice for this design, offered here at Fire Mountain Gems and Beads. Some materials may not be available or listed.
- Thread, Purely Silk™, pale green, size F
- Thread, Berkley® FireLine®, gel-spun polyethylene, crystal, 0.15mm diameter 4-fiber braid, 6-pound test
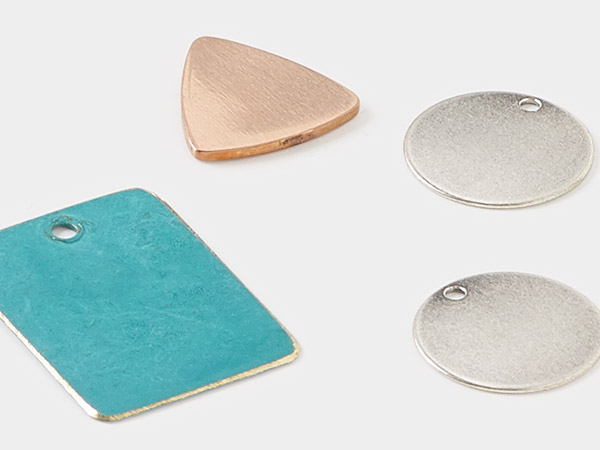
- Sheet, copper, half-hard, 6x6-inch square, 24 gauge
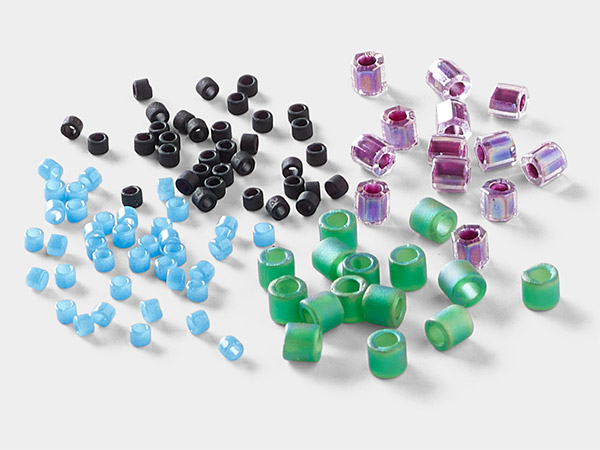
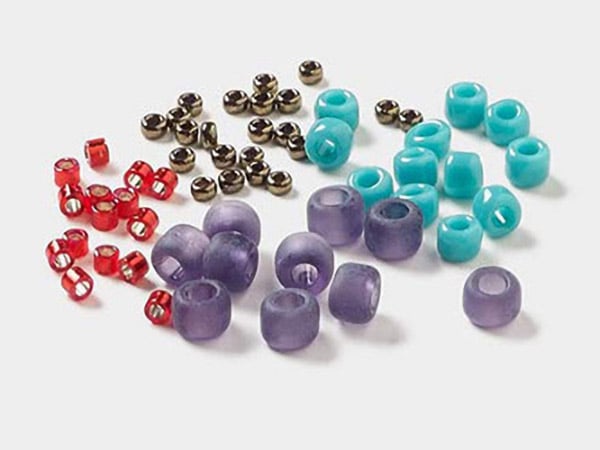
- Seed bead, Delica®, glass, translucent glazed luster pale sky blue, (DB1475), #11 round
- Seed bead, Delica®, glass, translucent blue-lined luster aqua, (DB0285), #11 round
- Seed bead, Delica®, glass, translucent aqua mist-lined luster crystal clear, (DB0078), #11 round
- Seed bead, Delica®, glass, opaque color-lined luster blue, (DB0243), #11 round
- Porcelain paint, Pebeo, assorted colors
- Link, JBB Findings, antique silver-plated brass, 13.5mm round with open back and decorative trim, 12mm round bezel setting
- Jump ring, silver-plated brass, 8mm round, 6.4mm inside diameter, 20 gauge
- Jump ring, silver-plated brass, 6mm round, 4.4mm inside diameter, 20 gauge
- Jump ring, silver-plated brass, 4mm round, 2.4mm inside diameter, 20 gauge
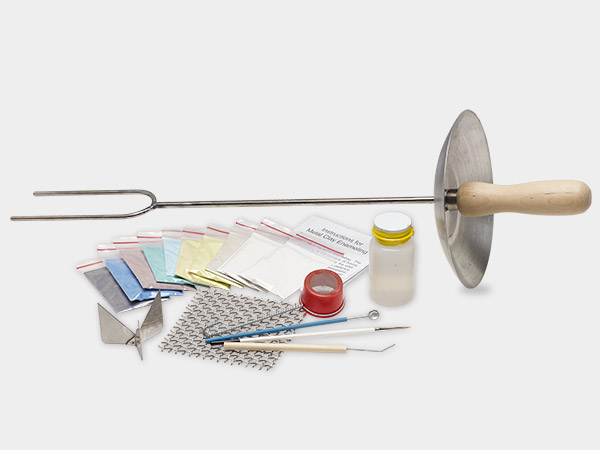
- Enamel, Vitrearc©, opaque Daphne blue, medium fusing
- Enamel, Vitrearc©, opaque black, medium fusing
- Earstud, silver-plated brass and stainless steel, 6mm half ball with closed loop
- Earnut, silver-plated brass, 4.5mm round
- Cone, antique silver-plated pewter (tin-based alloy), 18x13x9mm flat with leaf design, 14x5.5mm inside diameter
- Clasp, lobster claw, silver-plated "pewter" (zinc-based alloy), 10x6mm
- Chain, silver-plated brass, 3.5mm long and short oval
- Cabochon, larimar (stabilized), 12mm calibrated round, B grade, Mohs hardness 4-1/2 to 5
- Bead, amazonite (natural), 4mm round, B grade, Mohs hardness 6 to 6-1/2
Instructions
Necklace Instructions
Enameled Copper Plates
Use a jewelers saw to cut ten 20x15mm (two for earrings) and four 30x24mm rectangles from a 24 gauge copper sheet.
Use a Jooltool™ to file around the holes and outside border on each copper plate.
Use hole punch pliers to punch a 5mm hole centered along each 15mm border of one 20x15mm copper plate. Repeat to punch two holes in eight of the ten 20x15mm plates and two of the four 30x24mm plates.
Continue to punch one 5mm hole centered along one 15mm border on the last two 20x15mm plates.
Punch two 5mm holes, one centered along the top 24mm border and one just inside the bottom-left corner of the last two 30x24mm plates.
Clean the surface of the copper plates using Penny Brite® then rinse, the water should ''sheet'' off of the plates.
Place the copper plates on the flat mesh screen of a tripod. Use the sifter to apply a thin layer of opaque black Vitrearc enamel to one side of each component. Apply enamel to the 30x24mm plates with the off-center holes so they mirror each other, one with a punch in its bottom left and one with a punch in its bottom right.
Carefully place the mesh screen on the tripod. Ensure each punch hole is free of enamel. (If needed, use a beading awl or toothpick to clean any enamel from the hole). Working from underneath the components, slowly introduce the flame to the metal so the flame does not blow the enamels from the surface of the metal. Continue heating the plate from underneath until the desired finish is reached. Let the components stand for a few seconds to cool then carefully place them on a heat proof surface to cool completely.
For more information refer to ''Applying a Counter Enamel and Top Coat of Glass Enamels'' illustrated instructions.
Note: Be sure to use proper safety equipment when using enamel and heat.
Repeat Step 3 to apply opaque Daphne blue enamel to the opposite side of each copper plate.
Use an artist brush to apply Pebeo porcelain paint in a blue willow style pattern to the blue enameled surface of the copper plates then bake according to the manufacturer's instructions.
Tassel
Cut one 12-inch length of Purely Silk™ pale green thread.
Secure the end of the pale green Purely Silk thread to the Beadalon® tassel maker then crank the thread around the steel bars of the tassel maker until the preferred thickness has been reached. Trim the excess thread then pass the tail through the center of the wrapped bundle then secure the top of the tassel.
Remove the bundle from the tassel maker then pass a 6mm jumpring through the bundle of wrapped threads. Completely close the jumpring so that the tassel threads cannot slip through.
Secure the bundle together by wrapping the 12-inch length of thread around it just below the base of the jumpring leaving a 6-inch tail. Tie a double knot with the tail of the thread then carefully tighten the knot down to the bundle.
Use sharp scissors to cut the bundle to the preferred length then carefully trim the ends of the tassel to the desired shape.
Attach the loop of one 2-inch eyepin to the jumpring of the tassel. String one 18x13x9mm cone (over the tassel) and one 4mm amazonite bead then form a simple loop to create a tassel drop.
For more information refer to''How to Use the Beadalon® Tassel Maker'' illustrated instructions.
Main Necklace Loom Component
Map out a Greek key pattern measuring 24 beads wide using our FREE printable Square or Loom Work Graph Paper
Load the Mirrix Loreli weaving loom with 25 warp threads (one more than the number of beads used in the design).
Cut a 3-foot length of FireLine® thread.
Thread a beading needle almost doubling the thread (to make it easier to work with) but leaving a tail so you are working with only one thread. Temporarily tie the tail to the bar on one side of the loom.
Note: It may be necessary to cut additional lengths of thread later in the design. If there are 6 inches or less of thread remaining in the previous length simply weave the remainder through and start a new length of thread.
String four midnight blue #11 seed beads onto the needle. Pass the needle around the back side of the warp threads. Use your index finger to press the seed beads so one seed bead sits between each thread. Pull the thread through the seed beads keeping them in place with your finger.
Bring the needle around the front side of the warp thread then pass through the seed beads in the opposite direction.
Note: There will be several unused warp threads for the first and last five rows of the weave. Be sure to place the seed beads in the center of the warp threads so there are an equal amount of threads on each side.
Untie the knotted tail and tie the tail and the working thread in a knot close to the seed beads to secure them in place.
Repeat Step 4 to create a total of five consecutive identical rows.
Continue to repeat Step 4 using the following design of seed beads:
- Rows six and seven: eight midnight blue
- Rows eight and nine: 12 midnight blue
- Rows ten and 11: 16 midnight blue
- Rows 12 and 13: 20 midnight blue
- Row 14: two midnight blue, 20 blue topaz and two midnight blue
- Row 15: two midnight blue, one blue topaz, 18 light aqua, one blue topaz and two midnight blue
- Row 16: two midnight blue, 18 blue topaz, one light aqua, one blue topaz and two midnight blue
- Rows 17 and 18: 19 midnight blue, one blue topaz, one light aqua, one blue topaz and two midnight blue
- Row 19: two midnight blue, 15 blue topaz, two midnight blue, one blue topaz, one light aqua, one blue topaz and two midnight blue
- Row 20: two midnight blue, one blue topaz, 13 light aqua, one blue topaz, two midnight blue, one blue topaz, one light aqua, one blue topaz and two midnight blue
- Row 21: two midnight blue, one blue topaz, one light aqua, 11 blue topaz, one light aqua, one blue topaz, two midnight blue, one blue topaz, one light aqua, one blue topaz and two midnight blue
- Rows 22 and 23: two midnight blue, one blue topaz, one light aqua, one blue topaz, nine midnight blue, one blue topaz, one light aqua, one blue topaz, two midnight blue, one blue topaz, one light aqua, one blue topaz and two midnight blue
- Row 24: two midnight blue, one blue topaz, one light aqua, one blue topaz, two midnight blue, eight blue topaz, one light aqua, one blue topaz, two midnight blue, one blue topaz, one light aqua, one blue topaz and two midnight blue
- Row 25: two midnight blue, one blue topaz, one light aqua, one blue topaz, two midnight blue, one blue topaz, eight light aqua, one blue topaz, two midnight blue, one blue topaz, one light aqua, one blue topaz, two midnight blue
- Row 26: two midnight blue, one blue topaz, one light aqua, one blue topaz, two midnight blue, one blue topaz, one light aqua, eight blue topaz, two midnight blue, one blue topaz, one light aqua, one light aqua, one blue topaz and two midnight blue
- Rows 27 and 28: two midnight blue, one blue topaz, one light aqua, one blue topaz, two midnight blue, one blue topaz, one light aqua, one blue topaz, nine midnight blue, one blue topaz, one light aqua, one blue topaz and two midnight blue
- Row 29: two midnight blue, one blue topaz, one light aqua, one blue topaz, two midnight blue, one blue topaz, one light aqua, 11 blue topaz, one light aqua, one blue topaz and two midnight blue
- Row 30: two midnight blue, one blue topaz, one light aqua, one blue topaz, two midnight blue, one blue topaz, 13 light aqua, one blue topaz and two midnight blue
- Row 31: two midnight blue, one blue topaz, one light aqua, one blue topaz, two midnight blue, 15 blue topaz and two midnight blue
- Rows 32 and 33: two midnight blue, one blue topaz, one light aqua, one blue topaz and 19 midnight blue
- Row 34: two midnight blue, one blue topaz, one light aqua, 20 blue topaz and two midnight blue
Continue to repeat Step 4 using: two midnight blue, one blue topaz, 18 light aqua, one blue topaz and two midnight blue.
Repeat Step 7 in the opposite direction then repeat Step 6.
Pass the needle through several seed beads looping the thread through adjacent rows to secure then trim excess.
Thread a needle onto the tail of the thread then pass through adjacent seed beads and trim excess thread.
Separate one warp thread from the design from the loom, keeping the other warp threads tight, and thread a needle. Pass through adjacent seed beads then trim excess thread. Repeat to secure every warp thread except the sixth and eleventh. The sixth and eleventh warp threads will be secured by passing through several seed beads five rows up or down from them respectively, creating two seed bead loops.
Pass one 6mm jumpring through one seed bead loop and the tassel drop then close.
Choker
Cut one 1-3/4 inch length of long and short oval chain.
Map out the cascading leaf pattern measuring 13 beads wide using our FREE printable Square or Loom Work Graph Paper
Load the Mirrix Loreli weaving loom with 14 warp threads (one more than the number of beads used in the design).
Repeat Step 3 from the Main Necklace Loom Component section.
Repeat Step 4 from the Main Necklace Loom Component section stringing two light aqua #11, one blue topaz #11 and two more light aqua #11 seed beads onto the needle instead.
Repeat Steps 5 and 6 from the Main Necklace Loom Component section.
- Row six: one ceylon blue, five light aqua, one ceylon blue, five light aqua and one ceylon blue
- Row seven: one ceylon blue, four light aqua, three ceylon blue, four light aqua and one ceylon blue
- Row eight: one ceylon blue, two light aqua, two ceylon blue, one light aqua, one ceylon blue, one light aqua, two ceylon blue, two light aqua and one ceylon blue
- Row nine: one ceylon blue, one light aqua, three ceylon blue, one light aqua, one ceylon blue, one light aqua, three ceylon blue, one light aqua and one ceylon blue
- Row ten: one ceylon blue, one light aqua, three ceylon blue, one light aqua, one ceylon blue, one light aqua, three ceylon blue, one light aqua and one ceylon blue
- Row 11: one ceylon blue, one light aqua, one ceylon blue, three light aqua, one ceylon blue, three light aqua, one ceylon blue, one light aqua and one ceylon blue
Repeat to create 30 consecutive patterns.
Repeat Step 6 in the opposite order to finish the pattern and secure the strand.
Secure the end of each warp thread except the sixth and eleventh. The sixth and eleventh warp threads will be secured by passing through several seed beads five rows up or down from them respectively, creating two seed bead loops.
Pass one 8mm jumpring through one seed bead loop and one 1-3/4 inch length of chain then close. Repeat to connect one 8mm jumpring to the second seed bead loop and one lobster claw clasp.
Peyote Stitch Necklace String
Cut one 5-foot length of FireLine thread.
Note: It may be necessary to cut additional lengths of thread later in the design. If there are 6 inches or less of thread remaining in the previous length simply weave the remainder through and start a new length of thread.
Add a stop bead to the thread by looping through the stop bead 1 time, leaving a 1-inch tail. String four #11 midnight blue seed beads onto the thread.
Begin working an even count peyote stitch, creating a strip that is 4 beads wide and approximately 9-1/2 inches long.
Once complete, weave the thread back into the beadwork nine rows down to create a seed bead loop then weave through adjacent seed beads to secure the loop in place. Trim excess thread. Repeat to create a second seed bead loop on the opposite end of the strand using the remaining thread (or a new length if needed).
Repeat Steps 1 - 3 to create a second 9-1/2 inch length of peyote stitch.
Repeat Steps 1 and 2 to create two 1-1/8 inch lengths of peyote stitch (for the earrings). Once complete, weave the thread back into the beadwork and trim the excess.
Necklace Assembly
Cut two 2-1/4 inch lengths of long and short oval chain.
Place one 12mm larimar cabochon in one 13.5mm round bezel setting link then use a bezel pusher to push the bezel prongs down over the cabochon to create one larimar cabochon link.
Apply a generous amount of Devcon® 5 Minute® Epoxy to the flat backside of the larimar cabochon link then affix it to the end of the tasseled seed bead design (not attached to the tassel). Let dry according to manufacturer's instructions.
Pass one 9-1/2 inch length of midnight blue peyote stitch down through one punched hole on the blue side of one 20x15mm copper plate and up through the second punched hole on the opposite end. Repeat to attach three more 20x15mm plates, one center punched 30x24mm plate and one bottom-left punched 30x24mm plate, spacing them evenly along the peyote stitch strip.
Use one 6mm jumpring to connect the seed bead loop closest to the 30x24mm plate to one loop of the larimar cabochon link.
Use one 6mm jumpring to connect the opposite loop to one end of a 2-1/4 inch length of chain. Use one 4mm jumpring to connect the opposite end of the 2-1/4 inch chain to one lobster claw clasp.
Repeat Steps 4 and 5 to complete the necklace.
Attach the necklace to the choker-style necklace for a convertible look.
Earring Instructions
Pass one 1-1/8 inch length of midnight blue peyote stitch strip through the punched hole of one of the two remaining 20x15mm copper plates (this plate only contains one punched hole).
Connect the two ends of peyote stitch together to create a loop by weaving FireLine thread through the first and last row on each end. Pass the needle through several seed beads looping the thread through adjacent rows to secure then trim excess.
Use one 8mm jumpring to connect one clip-on earring to the peyote stich loop.
Repeat Steps 1 and 2 to create a second earring.
Shop for Your Materials Here:
Have a question regarding this project? Email Customer Service.
Copyright Permissions
The pieces featured in the Gallery of Designs are copyrighted designs and are provided for inspiration only. We encourage you to substitute different colors, products and techniques to make the design your own.
All works of authorship (articles, videos, tutorials and other creative works) are from the Fire Mountain Gems and Beads® Collection, and permission to copy is granted for non-commercial educational purposes only. All other reproduction requires written permission. For more information, please email copyrightpermission@firemtn.com.
