Single-Strand Necklace and Earring Set with Crafting Paper and Glass Cabochon Focals, Seed Beads and Kumihimo Silkon® Thread
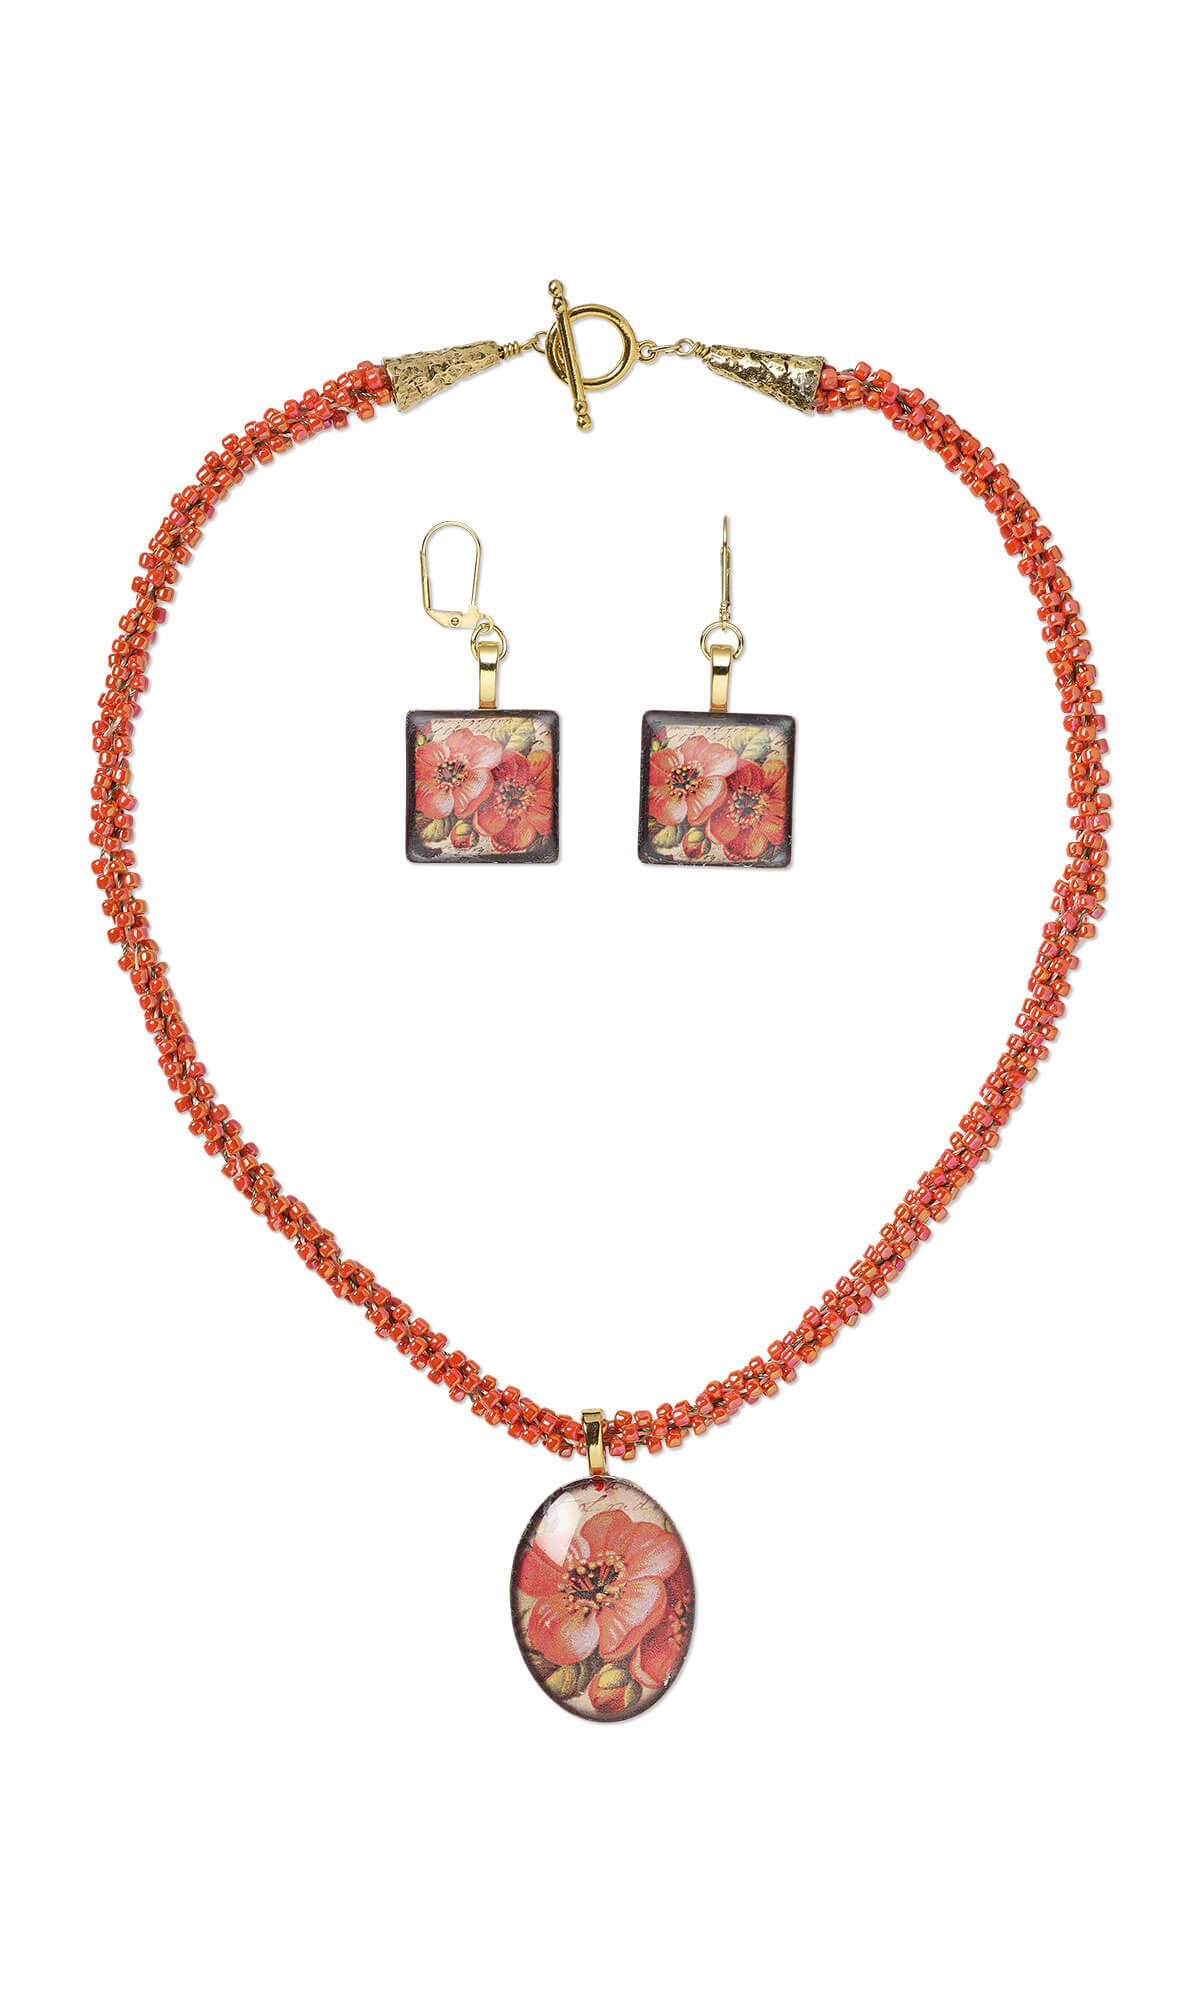


Design Idea G70W
Equatorial
-- Designer --
Esther, Jewelry Designer, Exclusively for Fire Mountain Gems and Beads®
To learn more about Esther Pollock, read her jewelry artist success story here.
: : : Materials : : :
Click here to view a full list of materials used in this design.
Please take the creative opportunity to select the products of your choice for this design, offered here at Fire Mountain Gems and Beads. Some materials may not be available or listed.
- Bail, Aanraku®, glue-on, gold-plated "pewter" (zinc-based alloy), 25x8mm with 13x8mm leaf flat base
- Cabochon, glass, transparent clear, 25x25mm non-calibrated square
- Cabochon, glass, transparent clear, 40x30mm non-calibrated oval
- Clasp, toggle, antique gold-plated pewter (tin-based alloy), 14mm smooth round
- Cone, antique gold-plated pewter (tin-based alloy), 18x10mm hammered round, fits 8-10mm bead
- Crafting paper, piddix, matte multicolored, 9-3/4 x 4-1/4 inches with (13) 1-1/2 x 1-1/8 inch single-sided oval and "Flora & Fauna" patterns
- Ear wire, gold-plated brass, 17.5mm leverback with open loop
- Jump ring, gold-plated brass, 6x4mm oval, 4.3x2.5mm inside diameter, 20 gauge
- Jump ring, gold-plated brass, 7mm round, 5.1mm inside diameter, 18 gauge
- Seed bead, Dyna-Mites™, glass, opaque rainbow orange, #8 round
- Thread, Silkon®, bonded nylon, heavyweight #3, green
- Thread, Silkon®, bonded nylon, heavyweight #3, peach
- Wire, Wrapit®, Jeweler's Bronze, dead-soft, round, 20 gauge
Instructions
Necklace Instructions
Apply Mod Podge® to the front of one oval piece of piddix crafting paper. Place the 40x30mm clear glass cabochon over the paper then allow to dry completely. Trim excess paper from around the cabochon, apply Mod Podge to the back to seal then allow to dry.
Mix a small amount of Devcon® 5 Minute® Epoxy according to manufacturer's instructions. Apply epoxy to the flat pad on the Aanraku® leaf bail and the top back of the cabochon. Press the bail onto the cabochon then allow to dry.
Cut two 3-yard lengths of green and peach Silkon® thread and two 3-inch lengths of 20-gauge Wrapit® wire.
Match up the ends of the four lengths of thread. Fold the thread in half and match up the ends creating eight strands. Tie an overhand knot in the center of the strands.
Insert the knot through the center of the kumihimo braiding disc then insert the strands into the slots according to the basic spiral kumihimo braid instructions.
Tip: Attaching a kumihimo weight to the knot is helpful in drawing the braided cord down through the center of the disk.
Thread a needle onto one end of one length of thread. String approximately 1 foot of rainbow orange #8 seed beads onto the thread. Remove the needle then place a Bead Stopper™ on the end of the thread. Repeat to string seed beads onto each length of thread.
Tip: If desired wind each beaded thread onto a Huggy Spool® bobbin to help avoid tangling.
Weave the cord in a basic 8 cord pattern for approximately 9 inches, bringing one seed bead down the thread when moving each strand to the next slot on the kumihimo disc. Remove the strands from the disc then string the crafting paper component. Continue to braid the thread until the cord is approximately 18 inches.
Tip: It may be necessary to add more seed beads as the braid progresses.
Remove the ends of the threads from the kumihimo disc. Tie an overhand knot then apply a small amount of adhesive to secure. Insert the end of one length of wire through the thread at the base of the knot. Wrap the wire around itself and the thread 2 - 3 times then trim excess thread. Do not trim the wire.
String one 18x10mm hammered cone onto the end of the wire, over the braided thread, then form a wrapped loop and trim excess wire. Repeat to finish the opposite end of the strand.
Use one 6x4mm jump ring to attach one portion of the clasp to each end of the strand.
Earring Instructions
Apply Mod Podge to the front of one square piece of piddix crafting paper. Place one 28x25mm clear glass cabochon over the paper then allow to dry completely. Trim excess paper from around the cabochon, apply Mod Podge to the back to seal then allow to dry.
Mix a small amount of Devcon according to manufacturer's instructions. Apply epoxy to the flat pad on one bail and the top back of the cabochon. Press the bail onto the cabochon then allow to dry.
Repeat to create a second crafting paper component.
Use one 7mm jump ring to connect the crafting paper component to one leverback ear wire.
Repeat to create a second earring.
Shop for Your Materials Here:
Have a question regarding this project? Email Customer Service.
Copyright Permissions
All works of authorship (articles, videos, tutorials and other creative works) are from the Fire Mountain Gems and Beads® Collection, and permission to copy is granted for non-commercial educational purposes only. All other reproduction requires written permission. For more information, please email copyrightpermission@firemtn.com.
