Single-Strand Necklace and Earring Set with Lampworked Glass Focal, Kumihimo Silk and Nylon Thread and Seed Beads
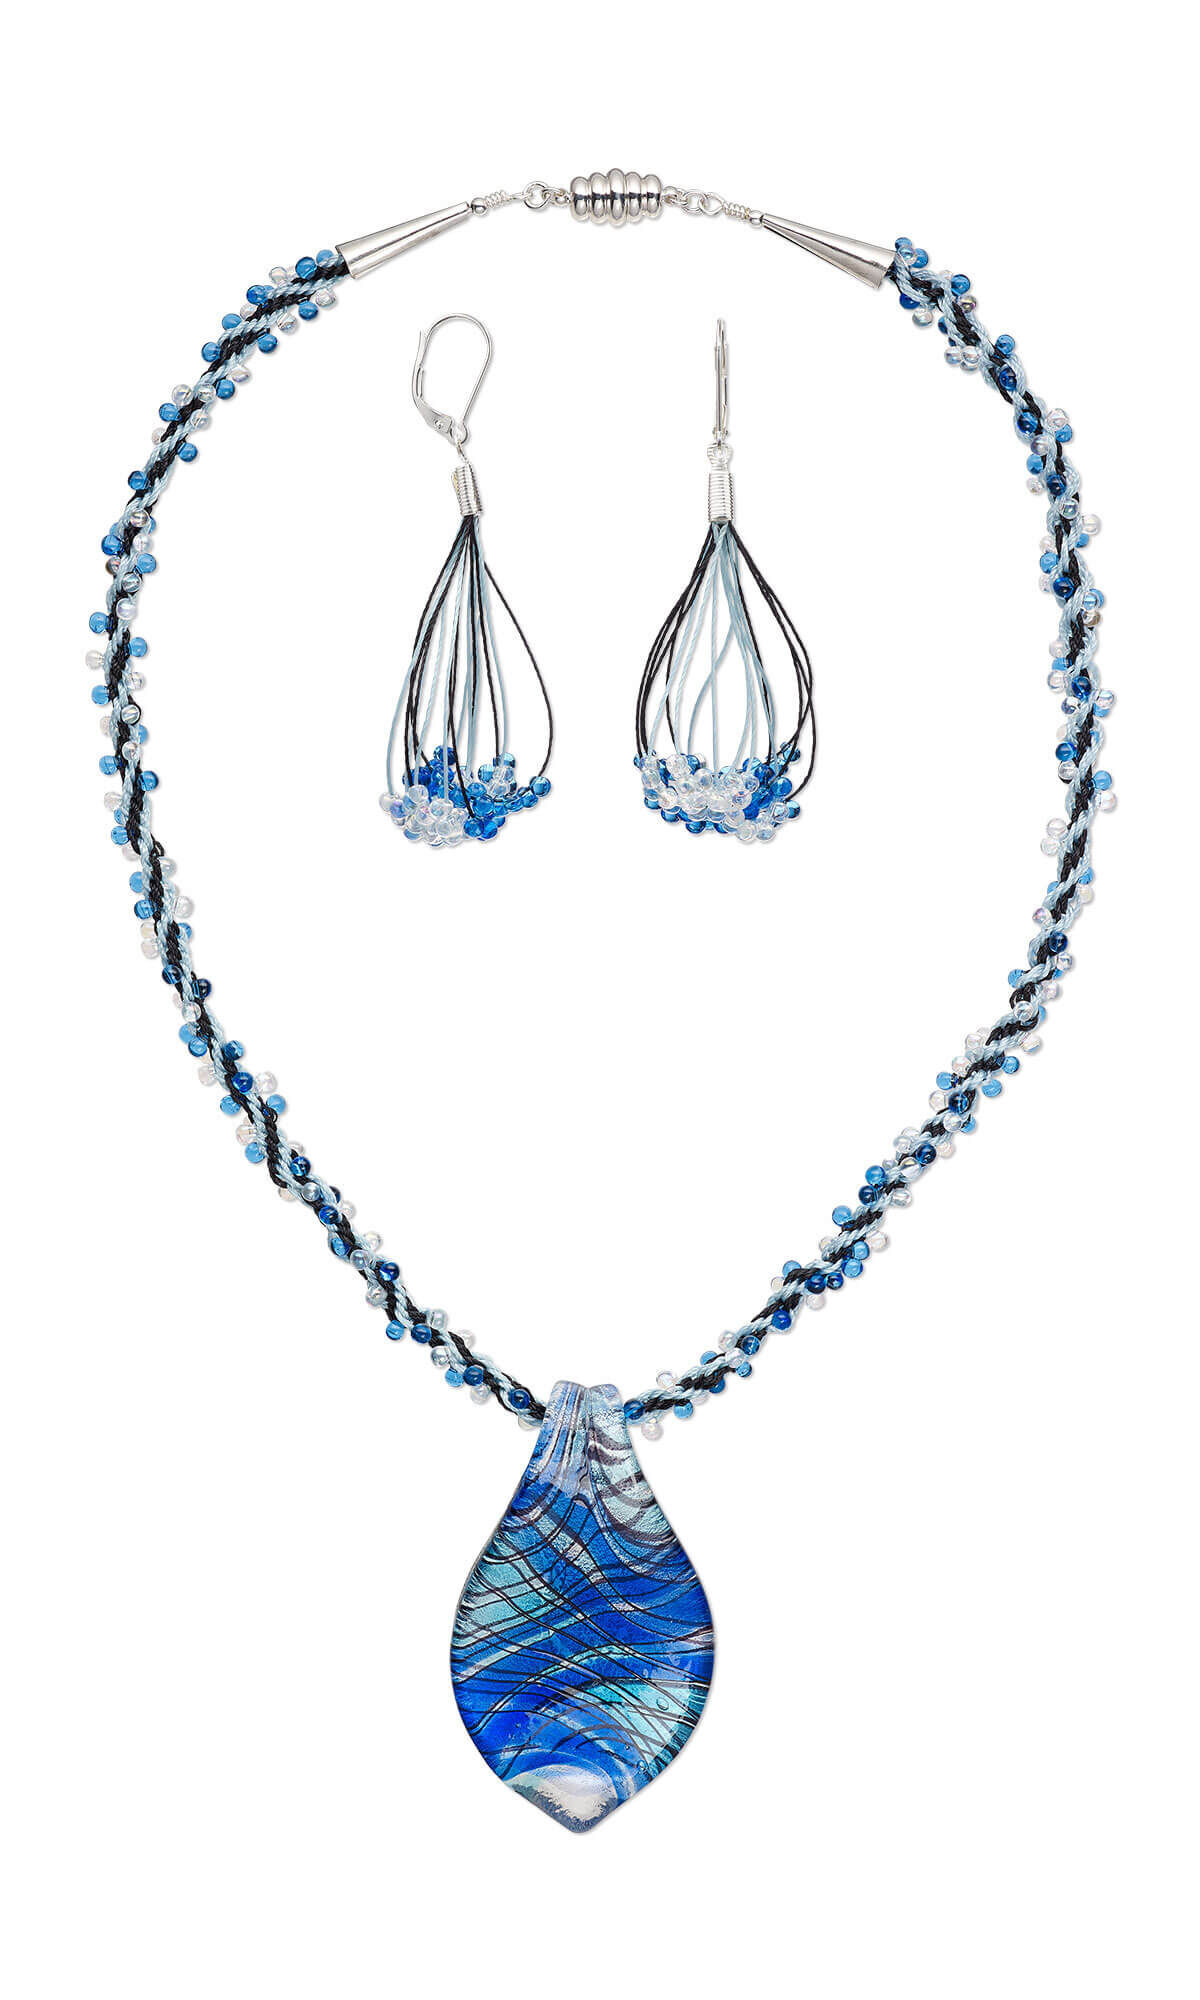



Design Idea F10V
Plunging Breaker
-- Designer --
Rose, Jewelry Designer, Exclusively for Fire Mountain Gems and Beads®
To learn more about Rose Wingenbach, read her jewelry artist success story here.
: : : Materials : : :
Click here to view a full list of materials used in this design.
Please take the creative opportunity to select the products of your choice for this design, offered here at Fire Mountain Gems and Beads. Some materials may not be available or listed.
- Bead, silver-plated brass, 2.5mm round
- Clasp, magnetic, silver-plated brass, 13x8mm swirl oval
- Cone, silver-plated brass, 19x5mm wrapped, 4.5mm inside diameter
- Cord end, fold-over, silver-finished brass, 8x3.5mm, 3mm inside diameter
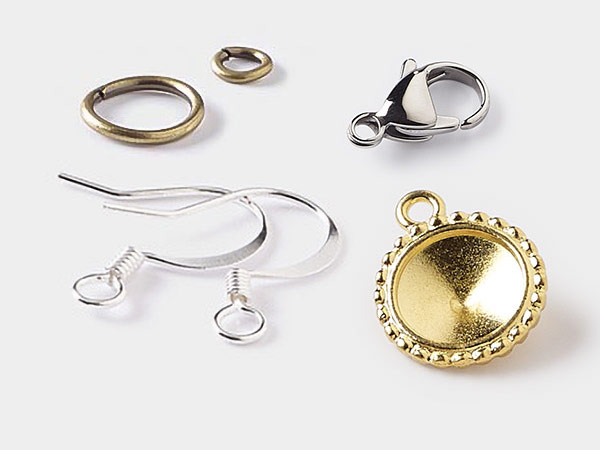
- Ear wire, silver-plated brass, 16mm leverback with open round 1/2 loop
- Eye pin, silver-plated brass, 2-1/2 inches, 21 gauge
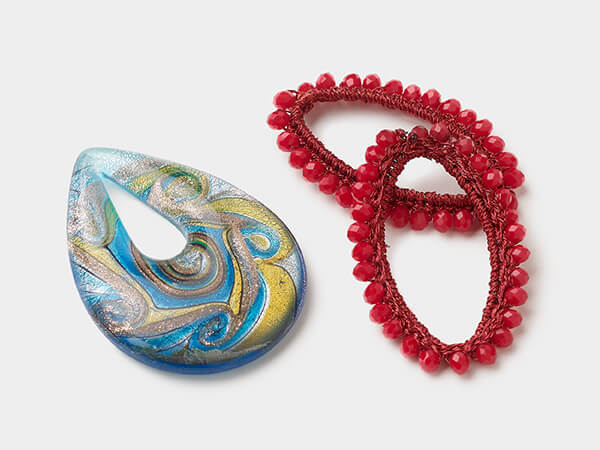
- Focal, lampworked glass, multicolored, 59x35mm spoon with silver-colored foil and line pattern
- Jump ring, silver-plated brass, 4mm round, 2.6mm inside diameter, 22 gauge
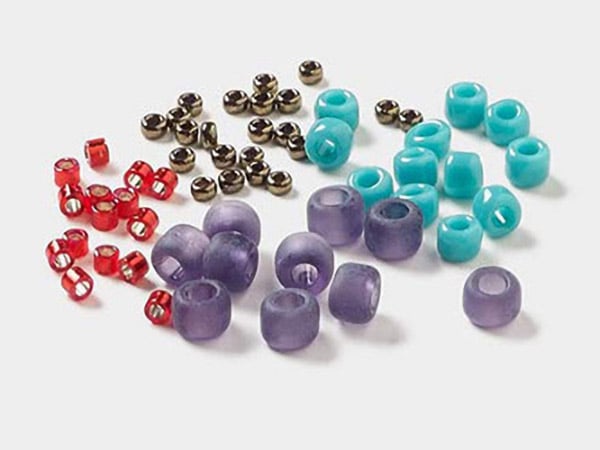
- Seed bead, Miyuki, glass, transparent medium blue, (DP150), 3.3x2.8mm mini fringe
- Seed bead, Miyuki, glass, transparent rainbow clear, (DP250), 3.3x2.8mm mini fringe
- Thread, Nymo®, nylon, black, size OO
- Thread, Silkon®, bonded nylon, heavyweight #3, black
- Thread, Silkon®, bonded nylon, heavyweight #3, turquoise blue
Instructions
Necklace Instructions
Using scissors cut four 9-foot lengths of black Silkon® thread, four 9-foot lengths of turquoise Silkon thread and two 6-inch lengths of black Nymo® thread.
Match one end of the eight 9-foot lengths of thread. Fold the threads over and match up the ends, creating sixteen strands. Wrap the end of 6-inch length of Nymo thread around the center of the threads two to three times and tie in two overhand knots to secure the thread to the cords.
Place the knot through the center of the kumihimo disc, and place the cord strands through the slots on the card, setting up four sets of two black strands on opposite sides of the disc, then four sets of two turquoise strands opposite side. Weave the cord in a basic 8-cord pattern for 1/2 inch.
String onto the first set of black threads one medium blue seed bead. Continue to braid one half rotation of the kumihimo disc. String onto one set of turquoise threads one clear seed bead. Continue to weave the basic 8-cord pattern with medium blue seed beads and clear seed beads for 7-1/4 inches.
Weave the cord in a basic 8-cord pattern for 1/2 inch without any fringe beads.
Continue to weave the basic 8-cord pattern with medium blue seed beads and clear seed beads for 7-1/4 inches.
Weave the cord in a basic 8-cord pattern for 1/2 inch without any fringe beads.
Remove the disc from the cords.
Tie the cords in an overhand knot to secure the end of the woven cord. Tighten the knot.
Using flush-cutters, cut the loop off two eyepins.
Place a small amount of adhesive on one end of the woven threads. Pass the end of 2-1/2 inch length of wire through the end of the woven threads and tightly wind the wire around the woven threads tight to secure the cord in place.
String onto the straight end of the wire one silver-plated 19x5mm cone and one silver-plated 2.5mm round bead. Using a pair of chain-nose pliers, round-nose pliers and flush-cutters, form a wrapped loop on the straight end of the wire.
Repeat to attach one silver-plated 19x5mm cone and one silver-plated 2.5mm round bead to the opposite end of the woven thread necklace.
Pass the lampworked glass blue and clear 59x35mm spoon focal onto the center of the woven necklace.
Using a pair of chain-nose pliers and flat-nose pliers, open a 4mm jumpring. Pass it through the loop on the first portion of the clasp and wrapped loop above the cord end on the first end of the woven cord. Close the jumpring.
Repeat to attach a 4mm jumpring to the wrapped loop on the second end of the woven cord and the loop on the second portion of the clasp.
Earring Instructions
Using scissors cut eight 6-inch lengths of black Silkon thread eight 6-inch lengths of turquoise Silkon thread and two 6-inch lengths of black Nymo thread.
String ten medium blue seed beads onto the center of one 6-inch length of black Silkon thread. Place a Bead Stopper™ on each end of the thread.
Continue to string ten medium blue seed beads onto the center of four 6-inch lengths of black Silkon thread and ten clear seed beads onto the center of four 6-inch lengths of turquoise Silkon thread.
Remove the Bead Stoppers and match both ends of the eight lengths of thread together. Wrap the end of 6-inch length of Nymo thread around the center of the cords two to three times and tie in two overhand knots to secure the thread to the cords. Place a small amount of adhesive on end of the threads.
Place a small amount of adhesive on the inside of the silver plated 8x3.5mm cord end. Place the end of the thread into the cord end. Use chain-nose pliers to fold the edges tightly down around the cords.
Using a pair of chain-nose pliers and flat-nose pliers, open the loop on an earwire. Pass the loop through the loop on the top of the cord end. Close the loop.
Repeat Steps 2 - 5 to create the second earring.
Shop for Your Materials Here:
Copyright Permissions
All works of authorship (articles, videos, tutorials and other creative works) are from the Fire Mountain Gems and Beads® Collection, and permission to copy is granted for non-commercial educational purposes only. All other reproduction requires written permission. For more information, please email copyrightpermission@firemtn.com.
