Single-Strand Necklace and Earring Set with Glass, Stainless Steel and Antiqued Brass-Finished "Pewter" Watch Body with Dried Flowers, Czech Glass Beads and Antiqued Brass-Finished "Pewter" Charms
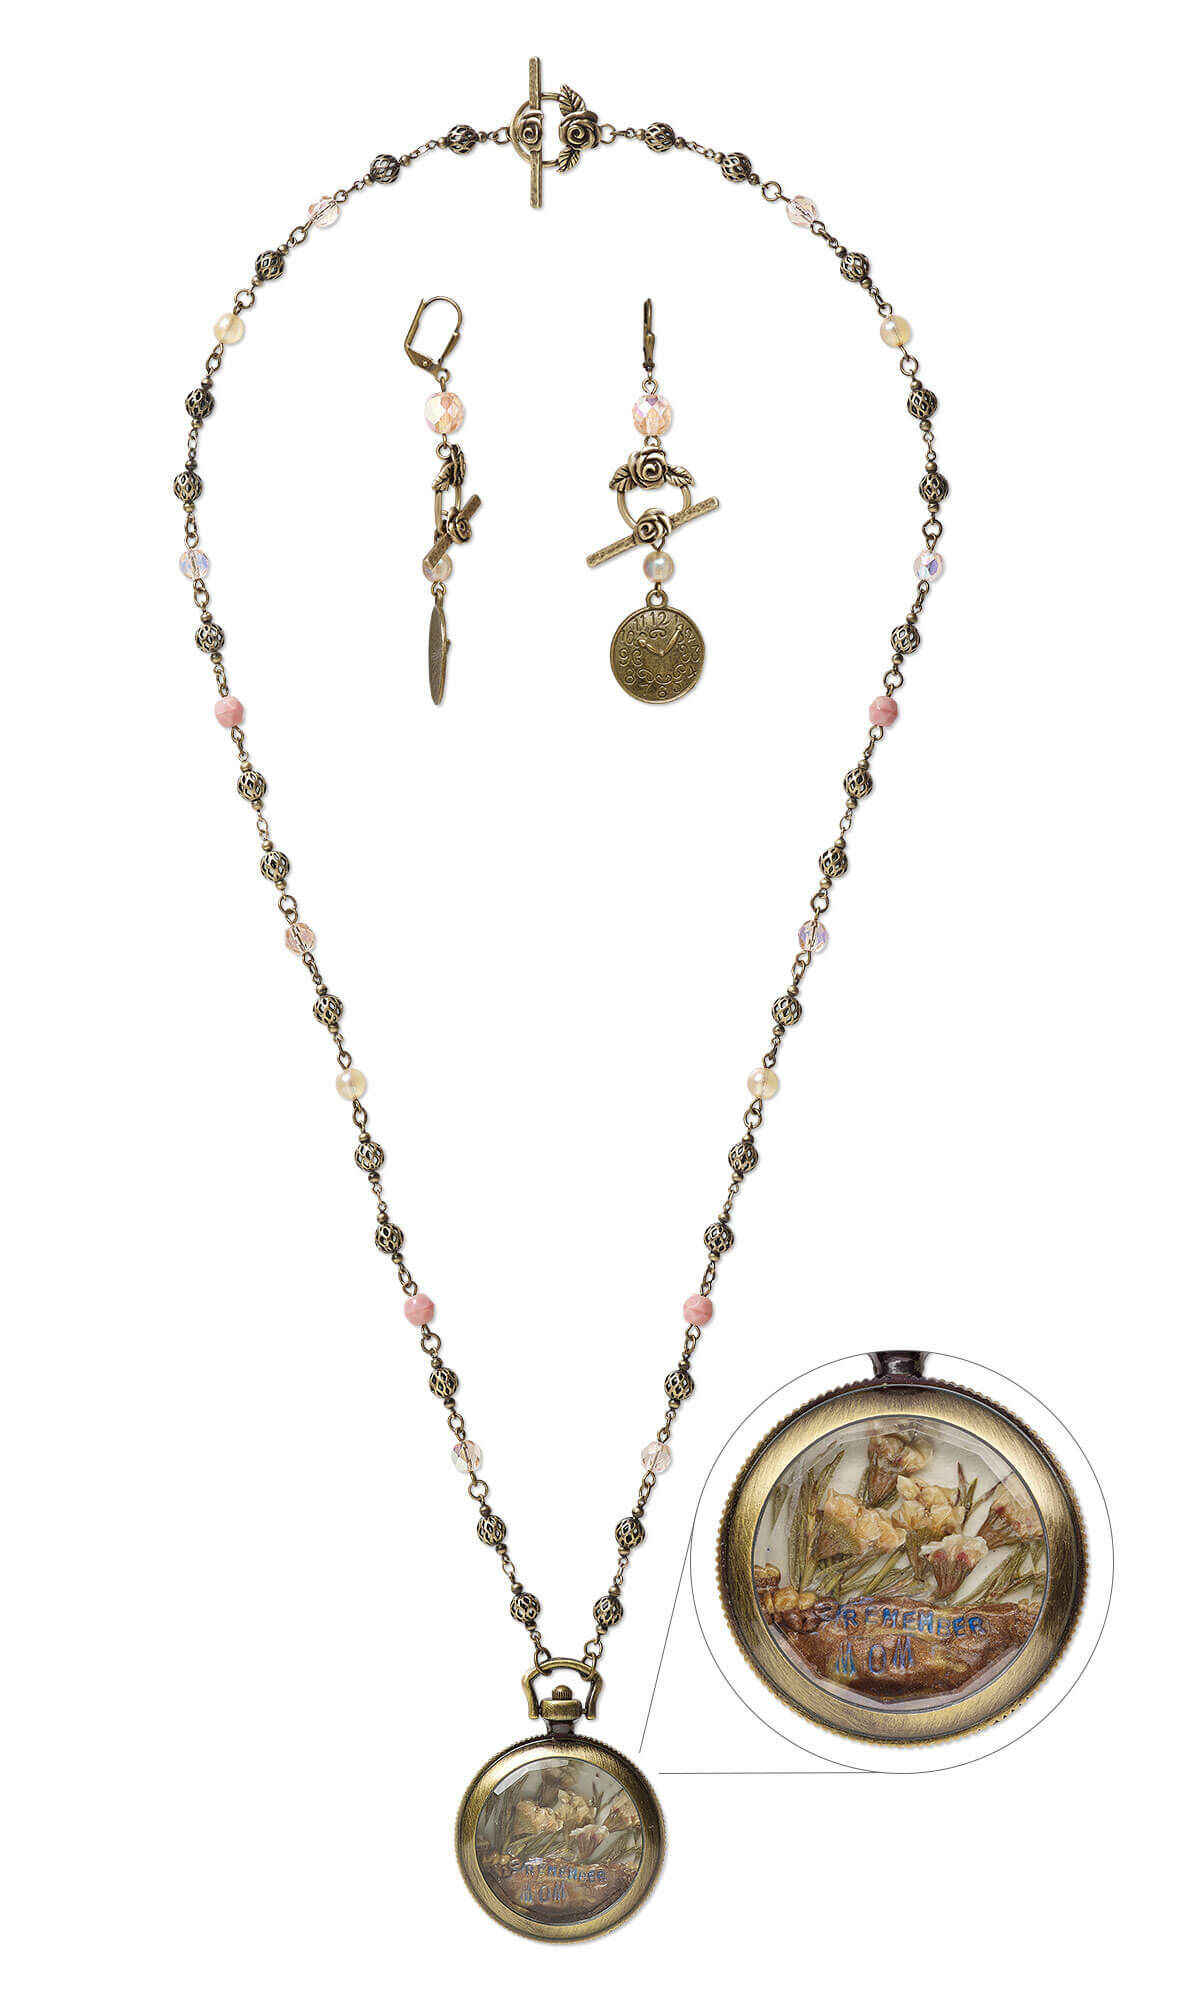

Design Idea G105
-- Designer --
Esther, Jewelry Designer, Exclusively for Fire Mountain Gems and Beads®
To learn more about Esther Pollock, read her jewelry artist success story here.
Instructions by Kristina, Content Development Group, Exclusively for Fire Mountain Gems and Beads®
: : : Materials : : :
Click here to view a full list of materials used in this design.
Please take the creative opportunity to select the products of your choice for this design, offered here at Fire Mountain Gems and Beads. Some materials may not be available or listed.
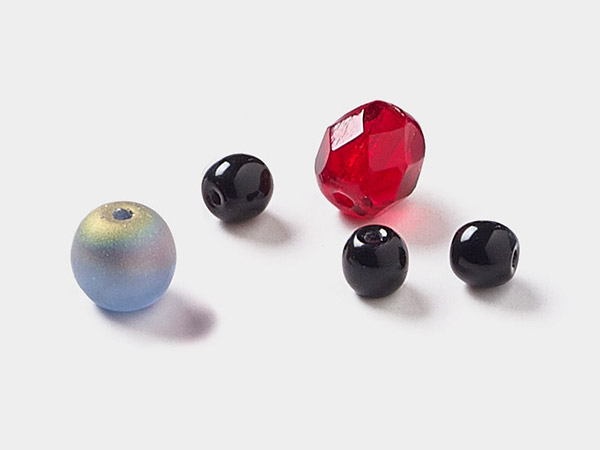
- Bead, Czech fire-polished glass, light rose AB, 8mm faceted round
- Bead, Czech fire-polished glass, opaque pink, 6mm round
- Bead, Czech fire-polished glass, translucent light rose AB, 6mm faceted round
- Bead, Czech pressed glass, pearlized peach, 6mm round
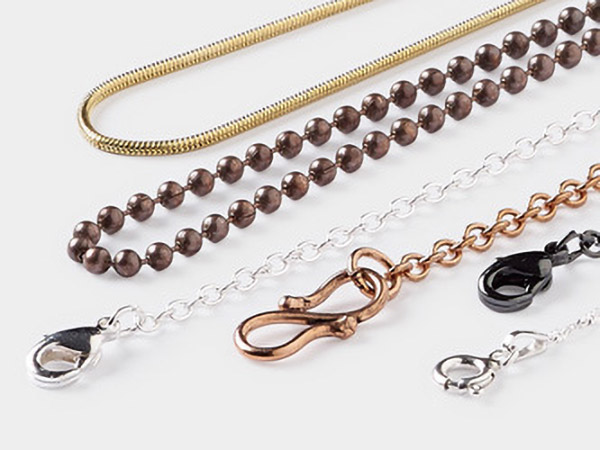
- Chain, antique gold-plated brass, 6mm beaded filigree
- Charm, antique brass-plated "pewter" (zinc-based alloy), 18.5mm single-sided domed clock face
- Clasp, JBB Findings, toggle, antiqued brass, 17.5x16.5mm round with rose and leaves
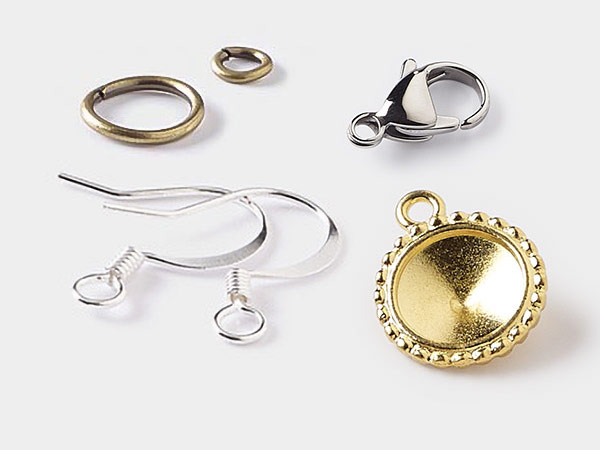
- Earwire, antique gold-plated brass, 16mm leverback with 7x2mm plain shield and open loop
- Eye pin, antique brass-plated steel, 1 inch, 21 gauge
- Jump ring, antique gold-plated brass, 4mm round, 2.4mm inside diameter, 20 gauge
- Jump ring, antique gold-plated brass, 6mm round, 4.4mm inside diameter, 20 gauge
- Polymer clay, Sculpey® PREMO, 18K gold
- Polymer clay, Sculpey® PREMO, bronze
- Polymer clay, Sculpey® PREMO, white
- Watch body, glass / stainless steel / antique brass-plated "pewter" (zinc-based alloy), 54x40mm round
Instructions
Necklace Instructions
Cut ten 1-1/4 inch lengths (these lengths will contain two 6mm filigree rounds) and eight 1/2 inch lengths (these lengths will contain one 6mm filigree round) of 6mm filigree round chain.
Condition each color of Premo! Sculpey® polymer clay well by hand kneading or running through a polymer clay roller until soft and pliable. Continue to pass each sheet of conditioned clay through the Polyclay Roller on the thickest setting then place them on a nonstick surface.
Tip:
- A small amount of clay can be conditioned in your hands by kneading, stretching, or rolling. If conditioning is done this way, be sure to clean your hands to ensure residual color is not leftover prior to working with the next color.
- Condition clays according to the color mixing chart, included with Premo Sculpey clays, until the desired shade is achieved.
Cut out a round circle of the white polymer clay, approximately 38mm, and place it on the front portion of the stainless steel piece of the watch body.
Place dried flowers of your choice/preference into the white clay.
Take a small amount of the bronze polymer clay and work it a half or quarter moon shape.
Stamp the phrase or thought of your choice into the clay.
Tip: Mica may be used to enhance the letters to help them stand out.
Press the bronze polymer clay over the base of the dried flowers creating a bronze clay base.
Take a small amount of 18K gold polymer clay and roll it into a ball shape, approximately one millimeter. Repeat to create a total of six to seven 18K gold polymer clay "rocks." Repeat to create a total of three to four bronze "rocks."
Place the "rocks" randomly on the bronze clay base.
Place the piece on the baking rack into the pre-heated clay craft oven and bake according to manufacturer's instructions.
Apply Mod Podge® to the cured piece and allow to dry.
Place the top of the watch face over the stainless steel piece.
Tip: The clear bezel piece of the watch component will be on top allowing the polymer clay creation to be viewable.
String one pearlized peach 6mm round onto one 1-inch eye pin then form a simple loop. Repeat to create a total of four pearlized peach 6mm round links.
Repeat to create a total of eight light rose AB 6mm round links.
Repeat to create a total of four opaque pink 6mm round links.
Pass one 6mm jump ring through the loop on the watch body component then close.
Connect the following components end to end using 4mm jump rings:
- One 1-1/4 inch length of chain
- One 6mm round link
- One 1/2 inch length of chain
- One 6mm round link
Repeat this sequence to connect a total of four sets, creating a chain, then connect one 1-1/4 inch length of chain.
Use one 4mm jump ring to attach one portion of the toggle clasp to the previous 1-1/4 inch length of chain.
Repeat Steps 11 - 12 to create the second half of the necklace.
Earring Instructions
String one light rose AB 8mm round onto one 1-inch eye pin then form a simple loop on the straight end of the wire. Repeat to create a second light rose AB 8mm round links.
Repeat to create two pearlized peach 6mm round links.
Pass the loop on one end of one pearlized peach 6mm round link through the loop on one 18.5mm single-sided domed clock face then close.
Using one 4mm jump ring, connect the opposite end of the previous pearlized peach 6mm round link and the loop on the bar portion of the toggle clasp.
Pass the loop on one end of one light rose AB 8mm link through the loop on the round portion of the toggle clasp then close.
Pass the loop on the opposite end of the previous light rose AB 8mm link through the loop on one leverback ear wire then close.
Connect the toggle clasp to secure the earring.
Repeat Steps 2 - 4 to create a second earring.
Shop for Your Materials Here:
Have a question regarding this project? Email Customer Service.
Copyright Permissions
The pieces featured in the Gallery of Designs are copyrighted designs and are provided for inspiration only. We encourage you to substitute different colors, products and techniques to make the design your own.
All works of authorship (articles, videos, tutorials and other creative works) are from the Fire Mountain Gems and Beads® Collection, and permission to copy is granted for non-commercial educational purposes only. All other reproduction requires written permission. For more information, please email copyrightpermission@firemtn.com.
