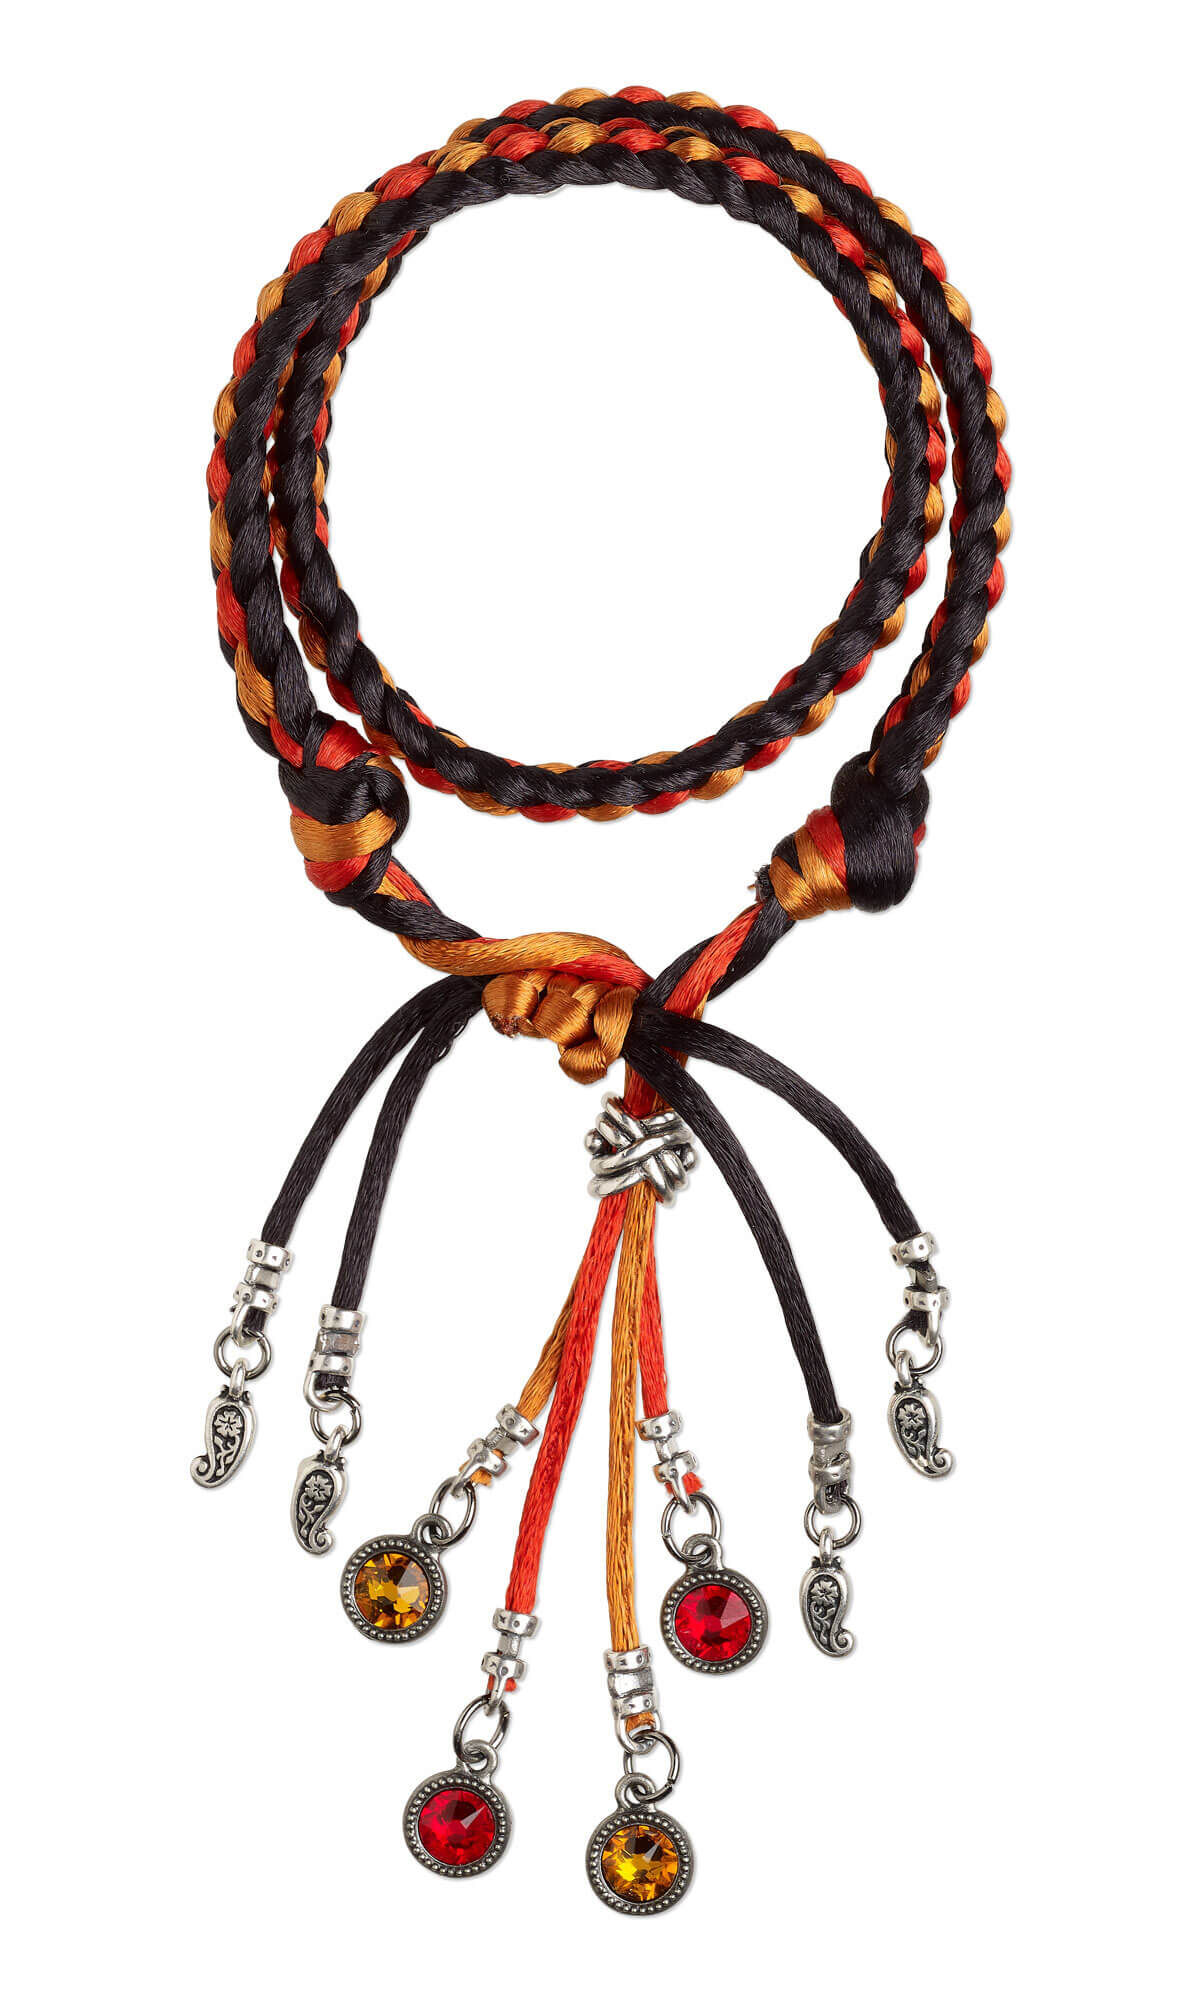
Wrap Bracelet with Pewter Beads and Drops and Kumihimo Satinique™ Cord


Design Idea NJ23
-- Designer --
LauraLynn, Jewelry Designer, Exclusively for Fire Mountain Gems and Beads®
To learn more about LauraLynn, read her jewelry artist success story here.
: : : Materials : : :
Click here to view a full list of materials used in this design.
Please take the creative opportunity to select the products of your choice for this design, offered here at Fire Mountain Gems and Beads. Some materials may not be available or listed.
- Cord, Satinique™, satin, black, 2mm
- Cord, Satinique™, satin, copper, 2mm
- Cord, Satinique™, satin, red, 2mm
- Bead, antique silver-plated pewter (tin-based alloy), 11mm double-sided woven braid
- Drop, TierraCast®, antique silver-plated pewter (tin-based alloy), 9x5mm double-sided paisley with flower
- Drop, TierraCast®, crystal and antique brass-plated pewter (tin-based alloy), opaque assorted colors, 10mm single-sided faceted round with beaded edge
- Crimp end, JBB Findings, antique silver-plated pewter (tin-based alloy), 6x4mm tube with loop, 2.5mm inside diameter
- Jump ring, gunmetal-plated brass, 5.5mm round, 3.5mm inside diameter, 18 gauge
- Jump ring, gunmetal-plated brass, 7mm round, 5.1mm inside diameter, 18 gauge
- Kumihimo disc, EVA foam, white and black, 6-inch round and 3/4 inch thick with 1-1/2 inch inside hole and 32 slots
Instructions
Cut the following lengths of 2mm Satinique™ cord:
- Four 4-foot lengths of black
- Two 4-foot lengths of red
- Two 4-foot lengths of copper
Gather the cords together and tie an overhand knot at one end, leaving a 6-inch tail.
Insert the tied ends of the cords into the center of the kumihimo disc.
Position black cords in slots 32, 1, 24 and 9.
Position red cords in slots 25 and 8.
Position copper cords in slots 17 and 16.
Make the following moves:
- 32 to 10
- 1 to 23
- 17 to 7
- 16 to 26
- 8 to 16
- 25 to 17
- 9 to 1
- 24 to 32
Reposition the cords in 7 to 8, 10 to 9, 26 to 25, and 23 to 24.
Repeat to create a half-round braid approximately 16 inches long.
Carefully remove the cords from the disc, gather them together and tie an overhand knot snug against the braid.
Adjustable Square-Knot Closure
Cut one of the black, red, and copper cords close to the overhand knot then singe the end with a lighter. Repeat on the opposite end of the bracelet. This will leave you with two black cords, one red and one copper on each end.
Cut a new 10-inch length of copper cord.
Position the bracelet in a circle, crossing the black cords from opposite sides. Move the red and copper cords out of the way.
Center the short copper cord under the crossed black cords and tie an overhand knot around the black cords.
Position the cord ends perpendicular to the black cords in opposite directions.
Leaving a loop on the right, cross the right-hand cord over the black cords.
Bring the left-hand cord over the right-hand cord, under the black cords and up through the loop on the right. Pull both cords to tighten the knot.
Repeat, starting by crossing the now left-hand cord over the black cords to create a square knot around the black cords.
Repeat to create a second square knot snug to the first.
Trim any excess copper cord from the adjustable knot then singe the ends with a lighter to secure. If desired, add a bit of adhesive for additional security.
Finishing
Pull the black cords to tighten the bracelet.
Trim the black cords to approximately 2 inches. Add a crimp end to the end of each black cord. Use 5mm jump rings to add paisley drops to the loop of each crimp end.
Trim the copper and red cords to approximately 2 1/2 inches. Gather the cords and string on a large-hole bead.
Add a crimp end to the end of each cord. Use 7mm jump rings to add orange and yellow drops to each cord end.
Have a question regarding this project? Email Customer Service.
Copyright Permissions
The pieces featured in the Gallery of Designs are copyrighted designs and are provided for inspiration only. We encourage you to substitute different colors, products and techniques to make the design your own.
All works of authorship (articles, videos, tutorials and other creative works) are from the Fire Mountain Gems and Beads® Collection, and permission to copy is granted for non-commercial educational purposes only. All other reproduction requires written permission. For more information, please email copyrightpermission@firemtn.com.