Bib-Style Necklace and Earring Set with Howlite Gemstone Beads, Copper and Antiqued Copper Beads and Hemptique® Cord
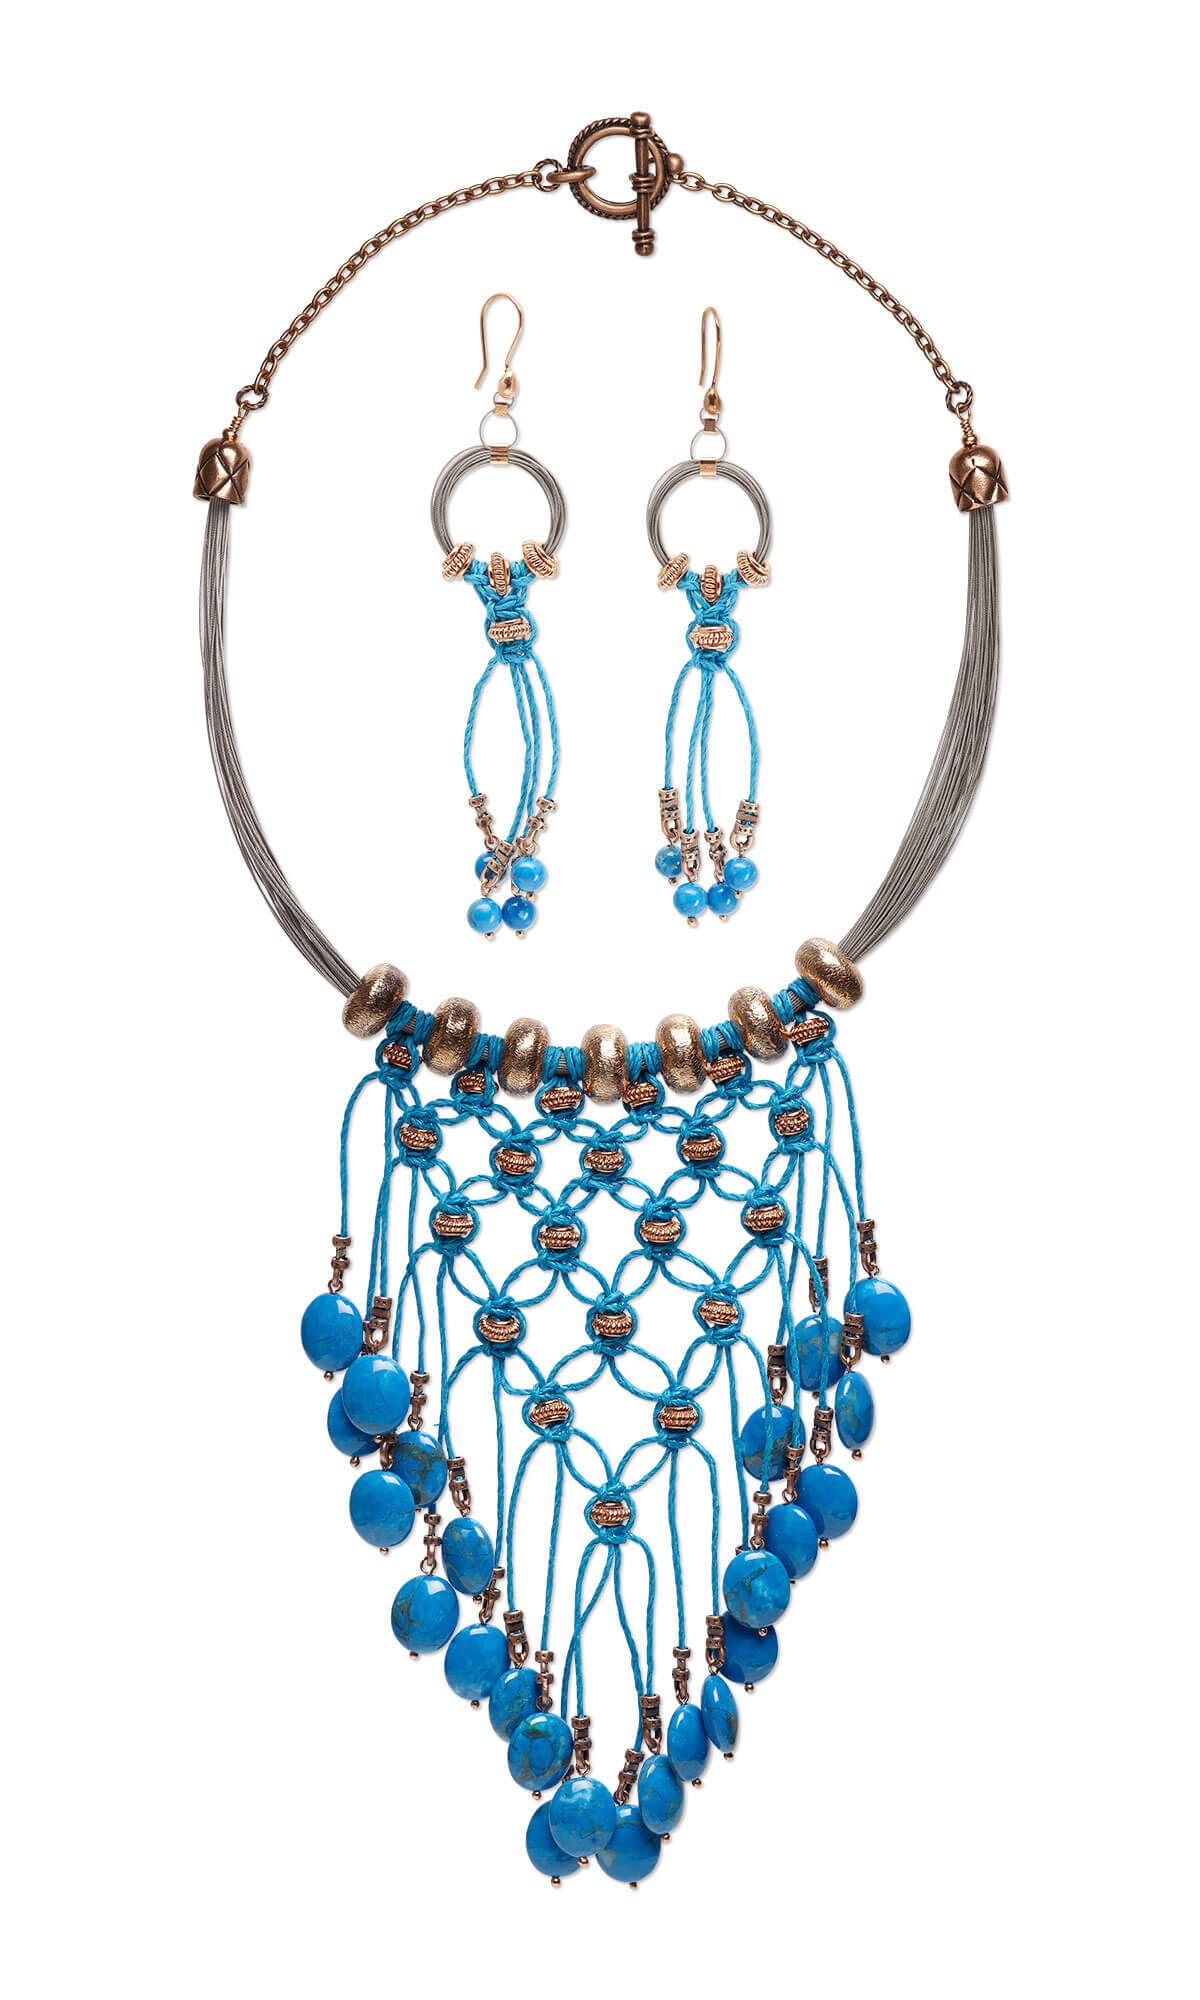

Design Idea H713
-- Designer --
Rose, Jewelry Designer, Exclusively for Fire Mountain Gems and Beads®
To learn more about Rose Wingenbach, read her jewelry artist success story here.
: : : Materials : : :
Click here to view a full list of materials used in this design.
Please take the creative opportunity to select the products of your choice for this design, offered here at Fire Mountain Gems and Beads. Some materials may not be available or listed.
- Thread, Nymo®, nylon, white, size D
- Jump ring, antique copper-plated brass, 6mm twisted round, 3.6mm inside diameter, 16 gauge
- Head pin, copper, 3/4 inch with 1.5mm ball, 22 gauge
- Ear wire, antique copper-plated copper, 18.5mm fishhook with 5x4mm teardrop and open loop, 20 gauge
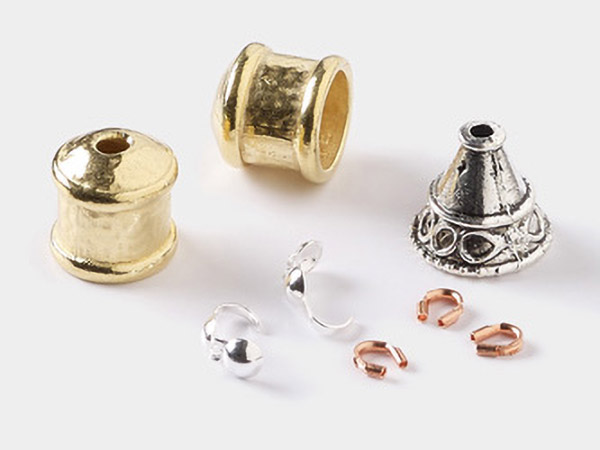
- Crimp, copper, 3mm seamless tube, 2.1mm inside diameter
- Crimp, copper, 2mm seamless tube, 1.2mm inside diameter
- Crimp end, JBB Findings, antique copper-plated pewter (tin-based alloy), 5x3mm tube with loop, 1.7mm inside diameter
- Cord, Hemptique®, polished hemp, turquoise blue, 1mm diameter, 20-pound test
- Cord end, antique copper-plated pewter (tin-based alloy), 11x9mm round tube with diamond design, 7mm inside diameter
- Chain, antique copper-plated steel, 4.8x3.3mm cable
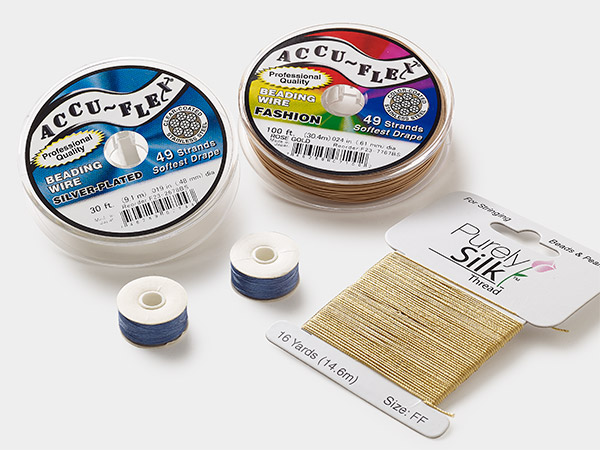
- Beading wire, Accu-Flex®, nylon and stainless steel, clear, 49 strand, 0.019-inch diameter
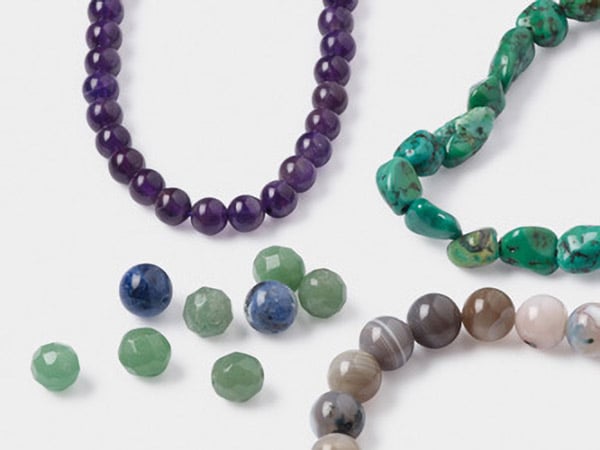
- Bead, howlite (dyed), turquoise blue, 6mm round, B grade, Mohs hardness 3 to 3-1/2
- Bead, howlite (dyed), turquoise blue, 14x12mm flat oval, B grade, Mohs hardness 3 to 3-1/2
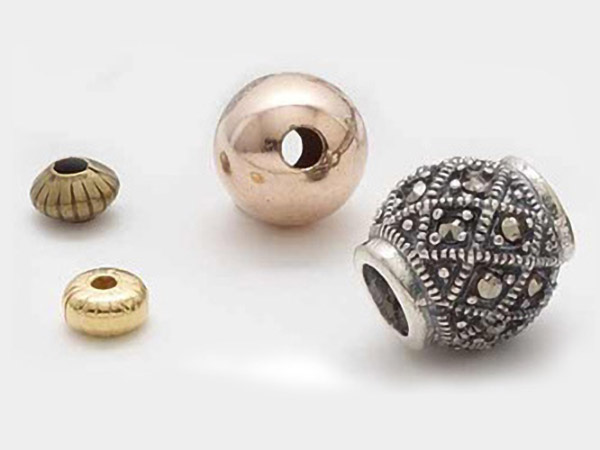
- Bead, copper, 7x4mm corrugated rondelle
- Bead, antiqued copper, 14x8mm brushed rondelle
- Adhesive, E6000® Fray Lock™, crystal clear
Instructions
Necklace Instructions
Cut the following lengths:
- Two 2-1/2 inch lengths of 4.8x3.3mm cable chain
- 12 4-inch lengths of Hemptique® cord
- 45 16-inch lengths of Accu-Flex professional-quality beading wire
- Two 2-foot lengths of white Nymo thread
Match up the ends of 15 lengths of beading wire. Insert the ends of beading wire into one 3mm crimp. Crimp then trim excess from the short ends of the beading wire. Repeat to attach a crimp to two more groups of 15 strands each.
Place the crimps around the straight end of one 3/4 inch headpin, close to the ball. Wrap one length of Nymo thread around the gathered crimps and headpin securing them with a knot.
String one 11x9mm cord end onto the straight end of the headpin then form a wrapped loop.
Match up the opposite ends of the beading wire then string seven 14x8mm brushed rondelles.
Pass one 6mm twisted jumpring through the first link on one length of chain and the wrapped loop on one end of the beading wire then close. Use one 6mm twisted jumpring to attach one portion of the toggle clasp to the last link on the lengths of chain.
Repeat Steps 3 and 4 using the second portion of the clasp to finish the opposite end of the beading wire.
Place the necklace onto a form.
Match up the ends of two lengths of hemp cord then double them over in the center, creating four cords. Use a lark's head knot to attach the center of the set of cords between two 14x8mm brushed rondelles on one end of the necklace. Repeat to attach two lengths of hemp cord between each of the rondelles.
String one 7x4mm corrugated rondelle on the two inner lengths of cord from the first set.
Bring the outer lengths of cord around the rondelle then tie a square knot close to the base of the rondelle.
Repeat to attach a rondelle using a square knot on each set of cords.
Basic square knot pattern:
Pass strand 1 over the anchor strands then pass strand 4 over strand 1, under the anchor strands and up through the loop (created by strand 1) then pull snug. (This is a half knot.)
Reverse the pattern by passing strand 4 over the anchor strands then pass strand 1 over strand 4, under the base strands and up through the loop then pull snug.
Tip: If desired apply a small amount of E6000® Fray Lock™ to the knot to secure it in place.
Create a square knot using the two left lengths from the first set of cords and the two right lengths from the second set, directly below the second brushed rondelle.
String one 7x4mm corrugated rondelle on the two inner lengths of cord below the square knot. Bring the outer lengths of cord around the rondelle then tie a square knot directly below the rondelle.
Repeat to attach a rondelle directly below the center five brushed rondelles.
Continue to attach corrugated rondelles using the four lengths of cord between the previous corrugated rondelles, decreasing the number of rondelles in each row.
String one howlite 14x12mm flat oval onto one 3/4 inch headpin then form a simple loop. Repeat to create a total of 24 howlite drops.
Trim the first length of cord on one side of the necklace to approximately 1-1/2 inches. Place one 5x3mm crimp onto the end of the cord then compress the center of the crimp. Repeat on the opposite side of the bib.
String a crimp onto the second length of cord on either side. Position the crimps so they rest just below the previous crimps and are even on each side. Mark the position of the end of the crimp, inside the loop. Slide the crimp back then trim the cord at the mark. Slide the crimp over the end of the cord and crimp to secure it in place. Repeat on the opposite side of the bib.
Continue to attach a crimp to each length of cord, graduating the lengths so they form a "V" shape.
Attach one howlite drop to the loop on each crimp.
Earring Instructions
Cut four 1-foot lengths of Hemptique cord and two 2-foot lengths of beading wire.
String one 3mm crimp and three 7x4mm corrugated rondelles onto one length of beading wire. Bring the beads down to one end of the beading wire keeping the end secure, leaving an approximately 1-inch tail. Pass the opposite end of the beading wire around a finger or dowel and through the crimp and beads in the same direction forming an approximately 20mm loop. Continue to wrap the beading wire creating approximately 15 loops.
Bring the crimp bead to the opposite side of the loop, from the rondelles, and over one end of the beading wire so the ends protrude in opposite directions.
Pass the ends of the beading wire through one 2mm crimp so the ends exit in opposite directions creating a small loop. String one fishhook earwire onto one end of the beading wire then pass the end back through the crimp creating a smaller loop. Crimp then trim excess from the short end of the beading wire.
Secure the large beading wire loop to a flat surface to make it easier to work with. Use a lark's head knot to attach the center of one length of cord to each side of the center rondelle.
Form a square knot directly below the center rondelle using the four lengths of cord. String one 7x4mm corrugated rondelle on the inner two lengths of cord. Form a square knot below it to secure it in place.
Tip: If desired apply a small amount of E6000 Fray Lock to the knot to secure it in place.
Fold one length of cord in half doubling it, creating two cords. Use a lark's head knot to attach the center of the cord between two rondelles. Repeat to attach a length of cord between the rondelles on the opposite side.
String one howlite 6mm round onto one 3/4 inch headpin then form a simple loop. Repeat to create a total of eight howlite drops.
Trim the first length of cord on one side of the necklace to approximately 1 inch. Place one 5x3mm crimp onto the end of the cord then crimp. Repeat on the opposite side of the earring.
Trim the center lengths of cord even slightly longer than the previous lengths then attach a crimp.
Attach one howlite drop to the loop on each crimp.
Repeat Steps 2 - 7 to create a second earring.
Shop for Your Materials Here:
Have a question regarding this project? Email Customer Service.
Copyright Permissions
All works of authorship (articles, videos, tutorials and other creative works) are from the Fire Mountain Gems and Beads® Collection, and permission to copy is granted for non-commercial educational purposes only. All other reproduction requires written permission. For more information, please email copyrightpermission@firemtn.com.
