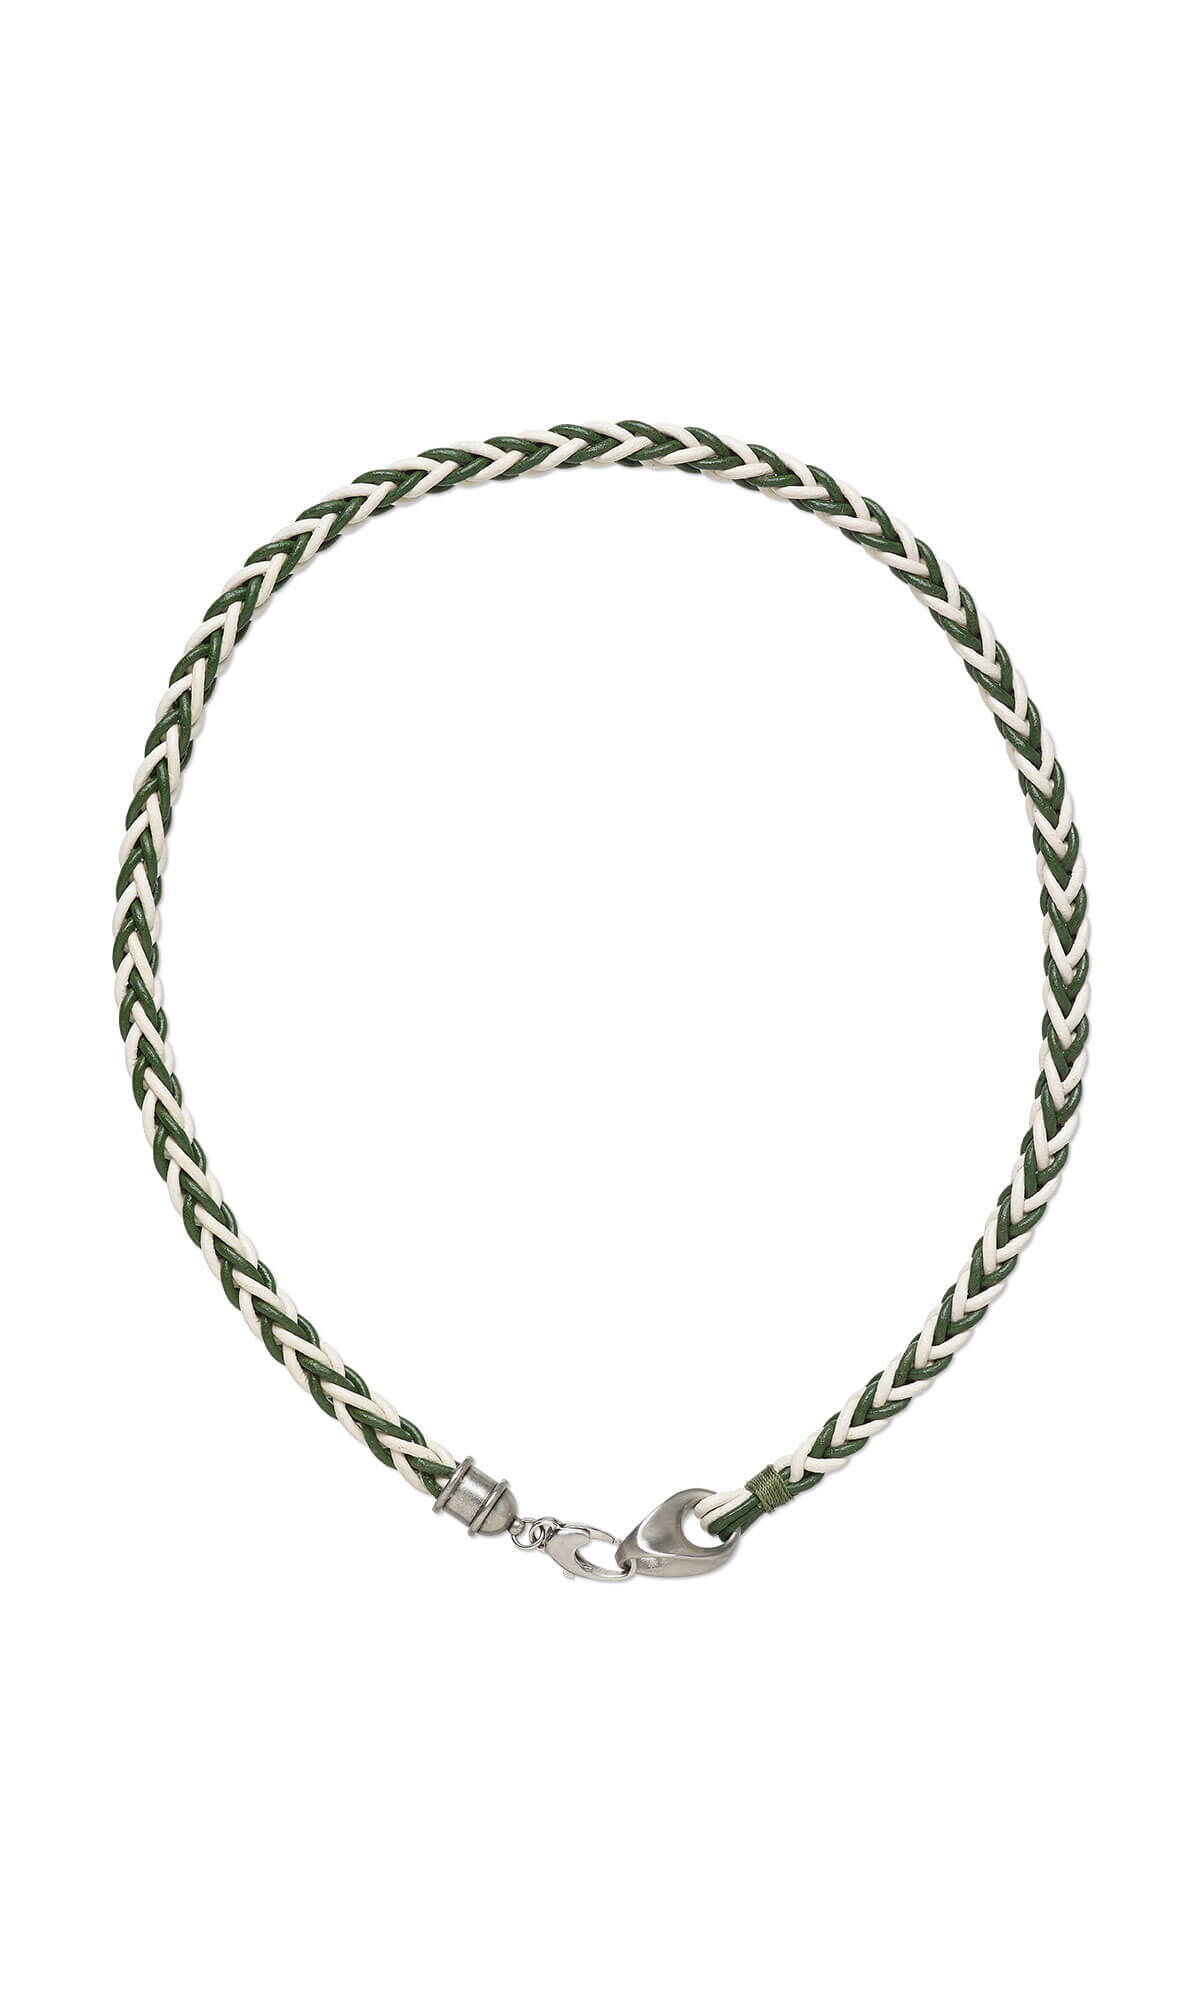
Single-Strand Necklace with Kumihimo Color-Coated Leather Cord


Design Idea F767
Luck and Serenity
-- Designer --
Esther, Jewelry Designer, Exclusively for Fire Mountain Gems and Beads®
To learn more about Esther Pollock, read her jewelry artist success story here.
: : : Materials : : :
Click here to view a full list of materials used in this design.
Please take the creative opportunity to select the products of your choice for this design, offered here at Fire Mountain Gems and Beads. Some materials may not be available or listed.
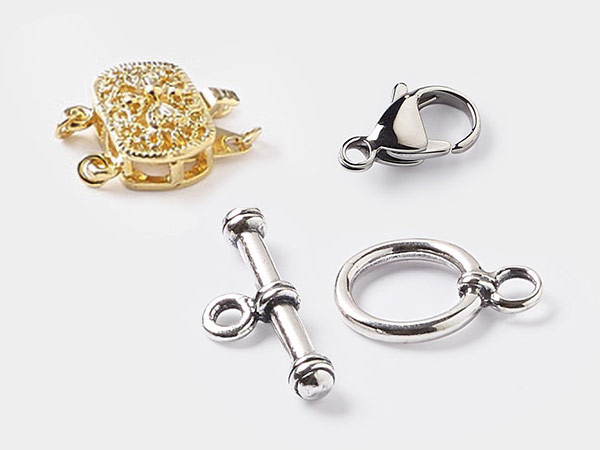
- Clasp, lobster claw, stainless steel, 17x8.5mm ellipse
- Component, stainless steel, satin, 23x13.5mm with (2) 8mm holes
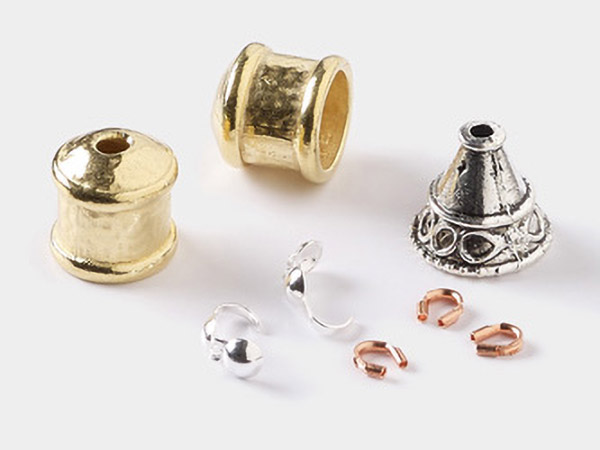
- Cord end, TierraCast®, "Maker's" collection, glue-in, tin oxide-plated brass, 15.5x11.5mm pagoda, 8mm inside diameter
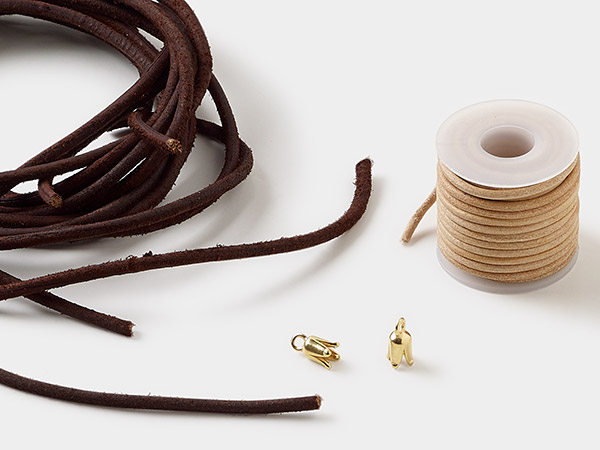
- Cord, leather (dyed), dark green, 2mm round
- Cord, leather (dyed), white, 2mm round
- Jump ring, stainless steel, 6mm round, 4.2mm inside diameter, 18 gauge
- Thread, Silkon®, bonded nylon, heavyweight #3, green
Instructions
Necklace Instructions
Cut the following:
- Two 4-1/2 foot lengths off-white 2mm leather cord
- Two 4-1/2 foot lengths dark green 2mm leather cord
- One 1-foot length Silkon® thread
Match up the ends of the 4-1/2 foot lengths of cord. String one hole on one 23x13.5mm component, then double the cords in half and match up the opposite ends as well.
Wrap one length of thread around the gathered cords close to the component, in the center of the cords, then secure with a whipping knot. Apply a small amount of E-6000® Fabri-Fuse™ adhesive to secure the knot.
Insert one color of the lengths of cord into the 32, 1, 16 and 17 slots and the second color of lengths of cord in the 8, 9, 24 and 25 slots on the kumihimo disc. Weave a square kumihimo braid pattern for approximately 18 inches (depending on desired necklace length).
Working clockwise, begin the square braid by moving the cords as follows: 1 to 32, 32 to 1, 16 to 17 and 17 to 16.
Continue working in a clockwise direction to move the cords as follows: 1 to 7, 17 to 23, slot 24 to 1 and slot 8 to 17.
Reverse the direction and move counter clockwise to continue the pattern: 32 to 26, 16 to 10, 9 to 32 and 25 to 16.
Adjust the cords in slot 7 to 8, 10 to 9, 23 to 24 and 26 to 25 then verify the cords in slots 32 and 16 are crossed on over the adjacent cords.
Repeat Steps 4 and 5 until you reach the desired braid length.
Note: A kumihimo disk of any shape can be used to create the same square kumihimo braid pattern. For illustrated instructions see ''Using the Kumihimo Square Plate to Create Square Braids''.
Remove the ends of the cords from the kumihimo disc. Gather the ends of the cords together close to the base of the braid then apply a small amount of Fabri-Fuse and to secure. Once the adhesive is dry, trim the ends of the cord even.
Mix Devcon® 5 Minute Epoxy according to manufacturer's instructions. Apply a generous amount of epoxy to the end of the trimmed end then insert into one 15.5x11.5mm pagoda cord end.
Set aside for approximately five minutes to cure.
Pass one 6mm jumpring through the loop on one lobster claw clasp and the loop on the cord end then close.
Shop for Your Materials Here:
Have a question regarding this project? Email Customer Service.
Copyright Permissions
All works of authorship (articles, videos, tutorials and other creative works) are from the Fire Mountain Gems and Beads® Collection, and permission to copy is granted for non-commercial educational purposes only. All other reproduction requires written permission. For more information, please email copyrightpermission@firemtn.com.


