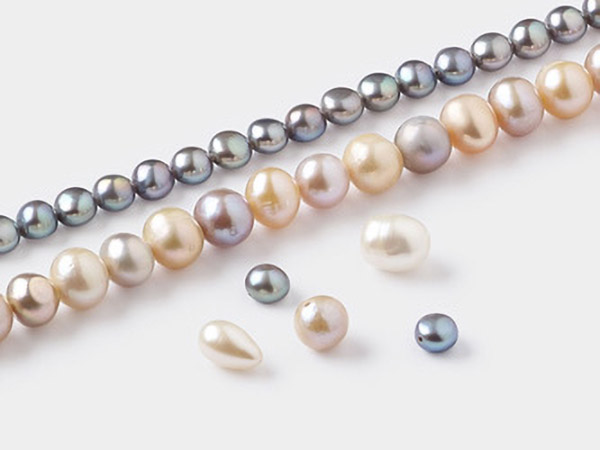
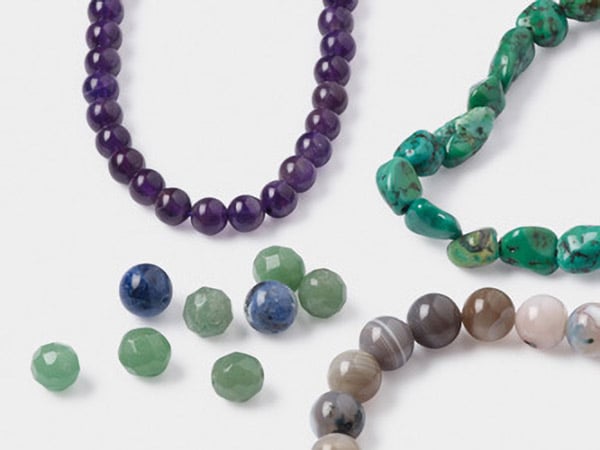
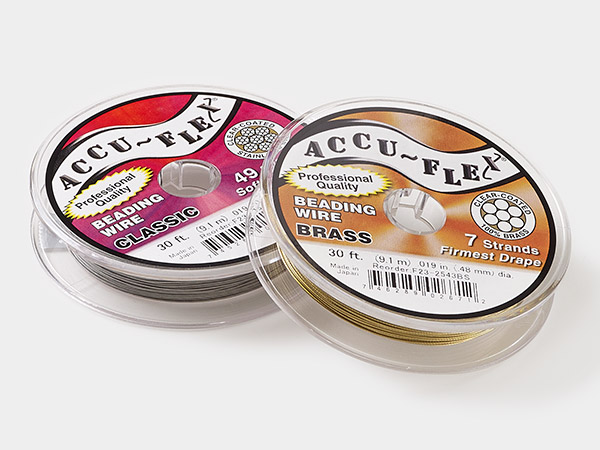
Multi-Strand Necklace and Earring Set with White Lotus™ Cultured Freshwater Pearls, Amethyst Gemstone Beads, Peridot Gemstone Beads and Accu-Flex® Beading Wire
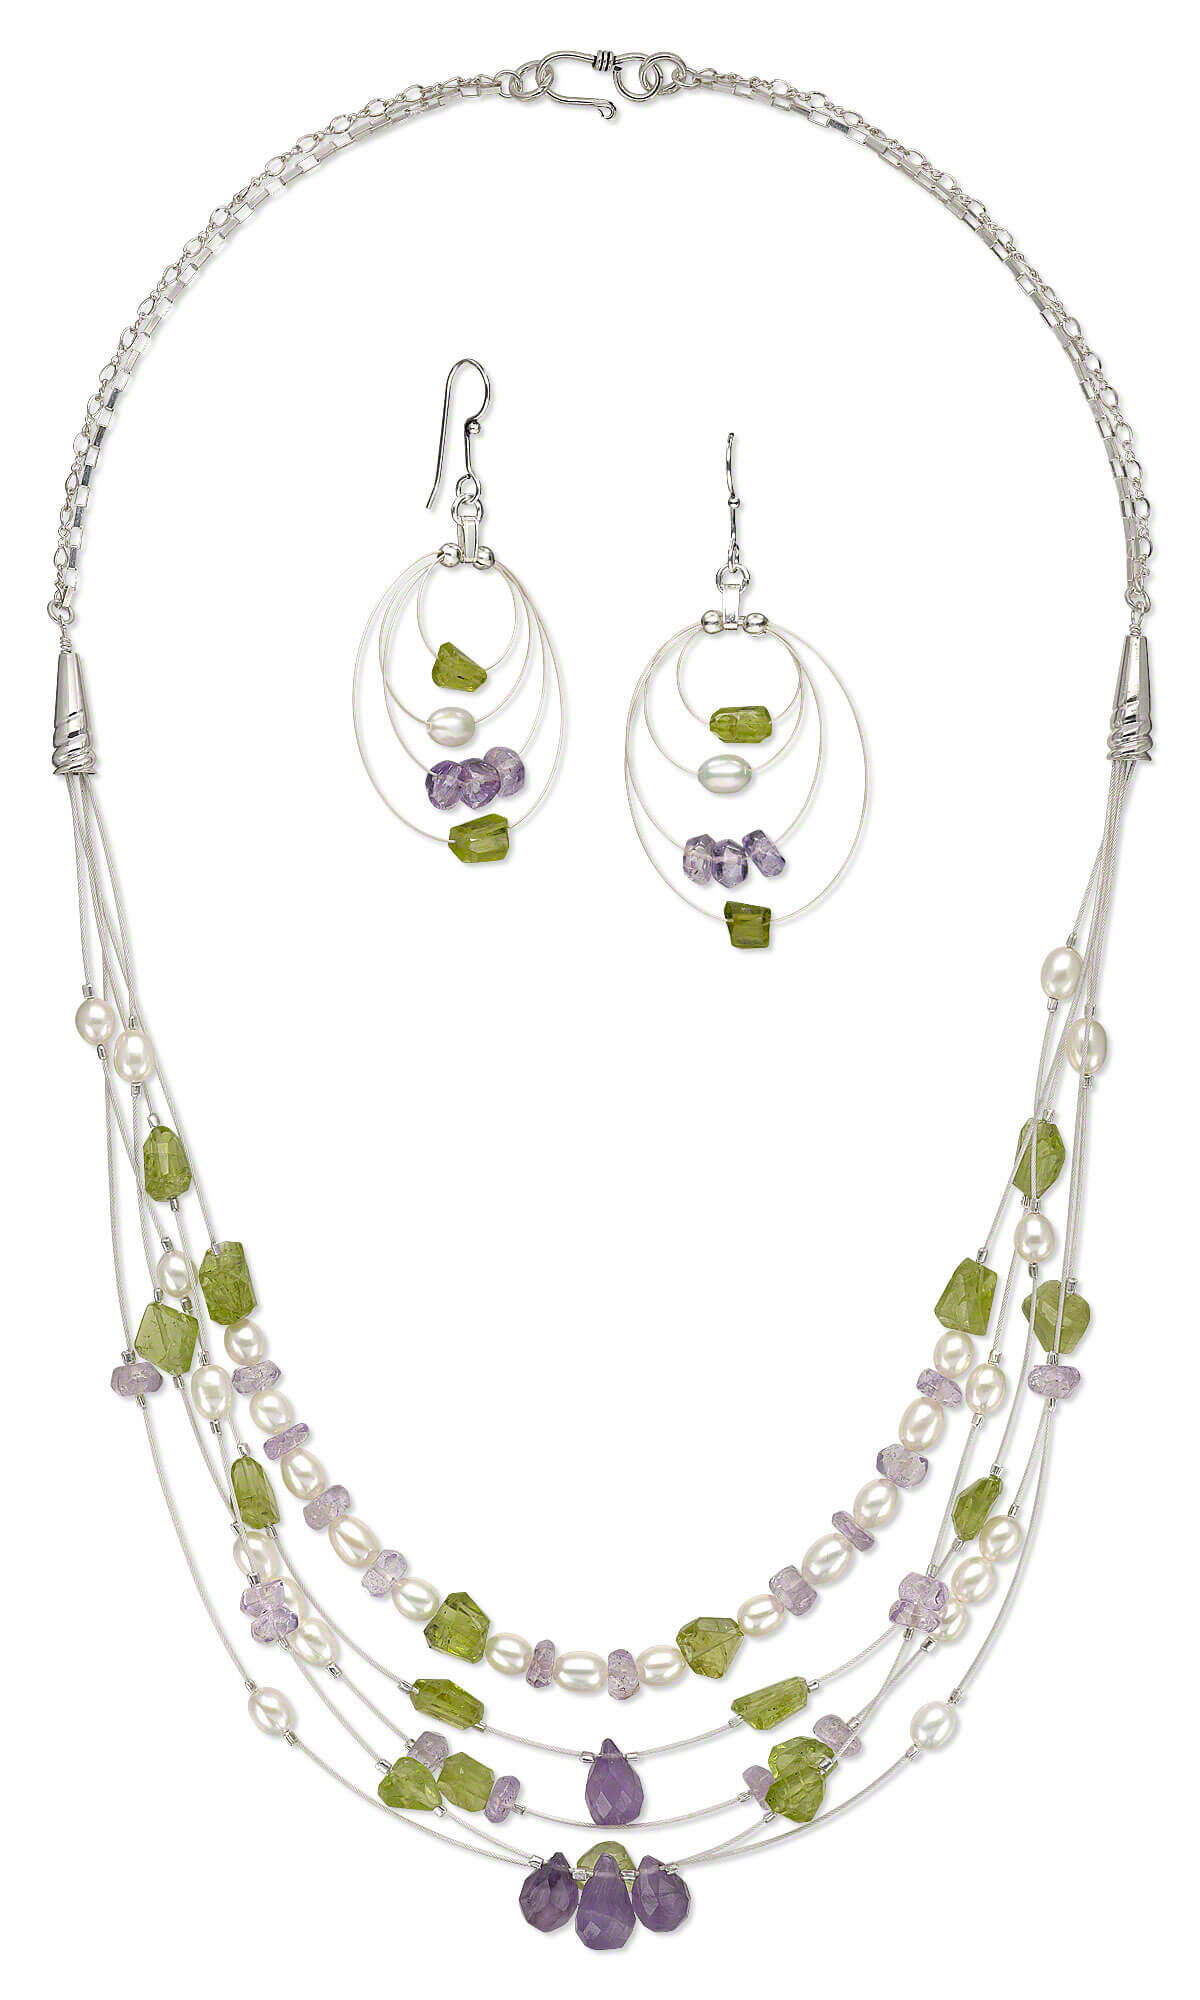

Design Idea BB6F
-- Designer --
Esther, Jewelry Designer, Exclusively for Fire Mountain Gems and Beads®
To learn more about Esther Pollock, read her jewelry artist success story here.
Instructions by Maura Buckner, Exclusively for Fire Mountain Gems and Beads®
: : : Materials : : :
Please take the creative opportunity to select the products of your choice for this design, offered here at Fire Mountain Gems and Beads.
Instructions
Necklace Instructions
Using a pair of flush-cutters, cut the following:
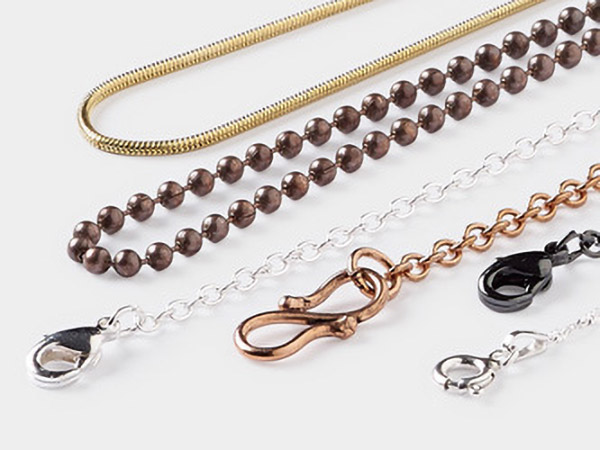
- Two 3-3/4 inch lengths of sterling silver 1.5mm long box chain
- Two 3-3/4 inch lengths of sterling silver flat figure-8 chain
- Two 3-1/2 inch lengths of sterling silver dead soft round wire
Using a pair of chain-nose pliers, round-nose pliers and flush-cutters, form a 4mm round simple loop on the straight end of a 3-1/2 inch length of wire to create a large loop eyepin. Repeat to create a total of two large loop eyepins.
First Strand
Using a pair of flush-cutters, cut a 16-1/2 inch length of silver-plated Accu-Flex professional-quality beading wire. String onto the wire, one crimp tube. Pass the wire though the loop on an eyepin and back through the crimp tube leaving one end of the wire approximately one inch long. Pull the crimp tight against the loop so the wire is formed in a nicely curved tube. Place a small amount of adhesive inside the crimp (optional).
Using a pair of crimping pliers, crimp the crimp tube. Using a pair of flush-cutters, trim any excess wire from the short end.
String onto the beading wire a crimp tube. Measure 2-3/4 inch down the wire from the first crimp, and crimp the crimp tube using a pair of crimping pliers.
String onto the beading wire:
- One peridot faceted nugget bead
- One 5mm rice pearl
- One amethyst faceted rondelle bead
- One 5mm rice pearl
- One amethyst faceted rondelle bead
- One 5mm rice pearl
- One amethyst faceted rondelle bead
- One 5mm rice pearl
- One amethyst faceted rondelle bead
- One 5mm rice pearl
- One peridot faceted nugget bead
- One 5mm rice pearl
- One amethyst faceted rondelle bead
- One 5mm rice pearl
- One amethyst faceted rondelle bead
- One 5mm rice pearl
- One peridot faceted nugget bead
- One 5mm rice pearl
- One amethyst faceted rondelle bead
- One 5mm rice pearl
- One amethyst faceted rondelle bead
- One 5mm rice pearl
- One amethyst faceted rondelle bead
- One 5mm rice pearl
- One amethyst faceted rondelle bead
- One 5mm rice pearl
- One peridot faceted nugget bead
String onto the wire one crimp tube. Crimp the crimp tube next to last peridot faceted nugget bead.
Place one crimp tube on the beading wire 2-3/4 inches from the previous crimp. Pass the beading wire through the loop on an eyepin and back through crimp, and then pull the wire snuggly so the crimp is closer to the eyepin. Place a small amount of gel adhesive inside the crimp (optional).
Using a pair of crimping pliers, crimp the crimp tube. Using a pair of flush-cutters, trim excess wire from the end.
Second Strand
Using a pair of flush-cutters, cut a 17-inch length of silver-plated Accu-Flex beading wire. Repeat Step 3 to attach the wire to the loop on the first eyepin.
Repeat Step 4 to add the following beads to the beading wire using one crimp tube, one of the following components and one crimp tube to hold each bead in place:
- One 5mm rice pearl 1-1/4 inches from the crimp tube next to the eyepin
- One 5mm rice pearl one inch from the previous crimp
- One peridot faceted nugget bead one inch from the previous crimp
- One peridot faceted nugget bead one inch from the previous crimp
- One amethyst briolette teardrop 1/2 inch from the previous crimp
- One peridot faceted nugget bead 1/2 inch from the previous crimp
- One peridot faceted nugget bead one inch from the previous crimp
- One 5mm rice pearl one inch from the previous crimp
- One 5mm rice pearl one inch from the previous crimp
Repeat Step 7 to attach the wire to the loop on the second eyepin 1-1/4 inch from the previous crimp.
Third Strand
Using a pair of flush-cutters, cut a 17-1/2 inch length of silver-plated Accu-Flex beading wire. Repeat Step 3 to attach the wire to the loop on the first eyepin.
Repeat Step 4 to add the following beads to the beading wire using one crimp tube, one of the following components and one crimp tube to hold each bead in place:
- One 5mm rice pearl 1-1/2 inches from the crimp tube next to the eyepin
- One peridot faceted nugget bead one inch from the previous crimp
- Three 5mm rice pearls 3/4 inch from the previous crimp
- One peridot faceted nugget bead one inch from the previous crimp
- One amethyst faceted rondelle, one peridot faceted nugget bead, and one amethyst faceted rondelle 1/2 inch from the previous crimp
- One amethyst faceted rondelle, one peridot faceted nugget bead, and one amethyst faceted rondelle 1-1/8 inch from the previous crimp
- Three 5mm rice pearls 1/2 inch from the previous crimp
- One peridot faceted nugget bead 3/4 inch from the previous crimp
- One 5mm rice pearl one inch from the previous crimp
Repeat Step 7 to attach the wire to the loop on the second eyepin 1-1/2 inch from the previous crimp.
Fourth Strand
Using a pair of flush-cutters, cut an 18-inch length of silver-plated Accu-Flex beading wire. Repeat Step 3 to attach the wire to the loop on the first eyepin.
Repeat Step 4 to add the following beads to the beading wire using one crimp tube, one of the following components and one crimp tube to hold each bead in place:
- One peridot faceted nugget bead 1-7/8 inch crimp tube next to the eyepin
- One 5mm rice pearl 3/4 inches from the from the previous crimp
- Two amethyst faceted rondelle beads 3/4 inch from the previous crimp
- One peridot faceted nugget bead 3/4 inch from the previous crimp
- One amethyst briolette teardrop 1/2 inch from the previous crimp
- One amethyst briolette teardrop next to the previous crimp
- One amethyst briolette teardrop next to the previous crimp
- One peridot faceted nugget bead 1/2 inch from the previous crimp
- Two amethyst faceted rondelle beads 3/4 inch from the previous crimp
- One 5mm rice pearl 3/4 inch from the previous crimp
- One peridot faceted nugget bead 3/4 inch from the previous crimp
Repeat Step 7 to attach the wire to the loop on the second eyepin 1-7/8 inch from the previous crimp.
Fifth Strand
Using a pair of flush-cutters, cut an 18-1/2 inch length of silver-plated Accu-Flex beading wire. Repeat Step 3 to attach the wire to the loop on the first eyepin.
Repeat Step 4 to add the following beads to the beading wire using one crimp tube, one of the following components and one crimp tube to hold each bead in place:
- One amethyst faceted rondelle bead 3-1/8 inch from the crimp tube next to the eyepin
- One 5mm rice pearl 1-1/2 inches from the previous crimp
- One peridot faceted nugget bead 1-1/2 inch from the previous crimp
- One 5mm rice pearl 1-1/2 inches from the previous crimp
- One amethyst faceted rondelle bead 1-1/2 inch from the previous crimp
Repeat Step 7 to attach the wire to the loop on the second eyepin 3-1/8 inch from the previous crimp.
Chain Section of the Necklace
Pass the straight end of the first eyepin through one sterling silver 16x6mm bead cone. Finish the end of the wire with a wrapped loop.
Repeat Step 20 to attach a bead cone to the second eyepin.
Using a pair of chain-nose pliers and flat-nose pliers, open a 4.5mm jumpring. Pass it through the loop on the hook portion of the clasp the first link on a 3-3/4 inch length of sterling silver 1.5mm long box chain and the first link on a 3-3/4 inch length of sterling silver flat figure-8 chain. Close the jumpring. Open a 4.5mm jumpring. Pass it through the wrapped loop on the first bead cone, the last link on a 3-3/4 inch length of sterling silver 1.5mm long box chain and the last link on a 3-3/4 inch length of sterling silver flat figure-8 chain. Close the jumpring.
Repeat to attach the eye portion of the clasp to the second bead cone.
Earring Instructions
Using a pair of flush-cutters, cut an 18-inch length of silver plated Accu-Flex beading wire. String onto the wire three crimp tubes and one peridot faceted nugget. Pass the wire back through the three crimp tubes leaving one end of the wire approximately one-inch long. Use a bead stopper to hold the end of the wire. Pull the wire until it forms a loop 1/2 inch in diameter.
String one 5mm rice pearl onto the beading wire and back through the three crimp tubes. Pull the wire until it forms a loop 3/4 inch in diameter.
String three amethyst faceted rondelle beads onto the beading wire and back through the three crimp tubes. Pull the wire until it forms a loop 1-1/8 inch in diameter.
String one peridot faceted nugget onto the beading wire and back through the three crimp tubes. Pull the wire until it forms a loop 1-1/2 inch in diameter.
Place a small amount of adhesive inside the crimps (optional).
Using the crimping pliers, crimp each of the crimp tubes. Using flush-cutters, trim any excess wire from both short ends.
Using a pair of chain-nose pliers gently close a crimp cover over the two outside crimps.
Open a pendant bail and place it over the center crimp. Close the bail.
Using a pair of chain-nose pliers and flat-nose pliers, open a 4.5mm jumpring. Pass it through the loop on an earwire and the pendant bail. Close the jumpring.
Repeat Steps 1 through 4 to create the second earring.
Have a question regarding this design idea? Email Customer Service.
Copyright Permissions
The pieces featured in the Gallery of Designs are copyrighted designs and are provided for inspiration only. We encourage you to substitute different colors, products and techniques to make the design your own.
All works of authorship (articles, videos, tutorials and other creative works) are from the Fire Mountain Gems and Beads® Collection, and permission to copy is granted for non-commercial educational purposes only. All other reproduction requires written permission. For more information, please email copyrightpermission@firemtn.com.
