How to Assemble and Use the Wrapit Loom™ Professional Series Duo Tying Station

H11M
Instructions
Assembly Instructions
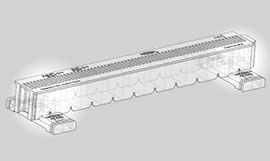
Step 1
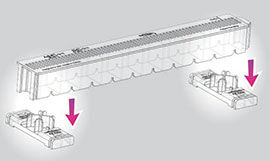
Attach the base.
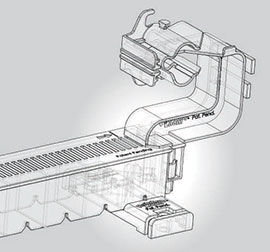
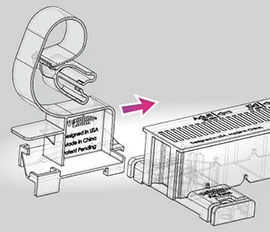
Step 2
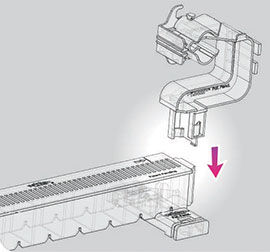
Attach the clamp.
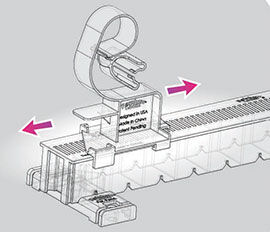
Step 3
Attach the sliding clip.
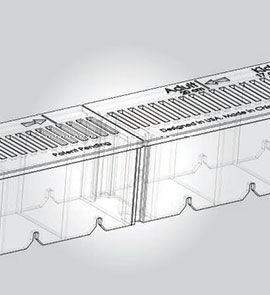
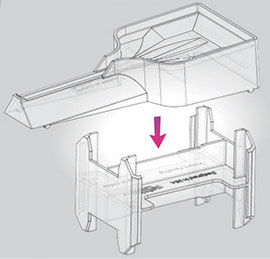
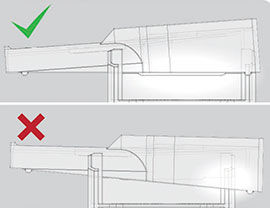
Step 4
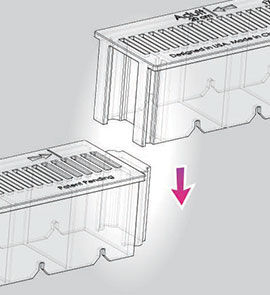
Attach extension track.
Assembly
How to Make a Beaded Bracelet
Step 1
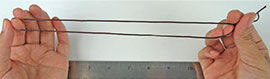
Bracelet length
To customize your bracelet length, fold the cord in half. Measure the cord around your wrist. Add about 3 - 4 extra inches to allow for knots. Cut the cord.
To create a standard bracelet length, refer to template guide.
Step 2
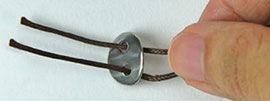
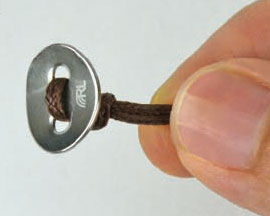
Add a button
Insert both ends of the cord through the holes on the "RL" logo side of the button. Slide the button until it is in the middle of the cord.
Step 3
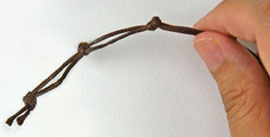
Tie knots
Tie a knot to secure button. To create button loops, tie three knots on opposite end of cord.
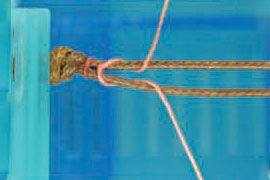
Step 4
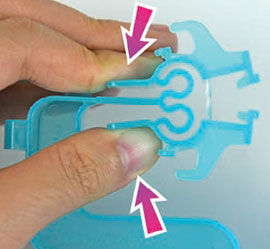
Place the cord on loom
Place the button into the "clamp."
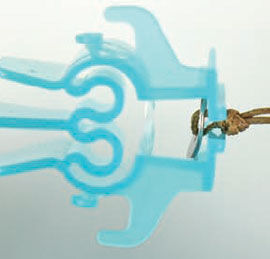
Step 5
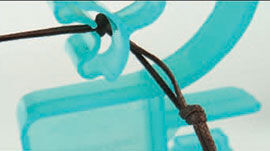
Slide knot into "sliding clip"
Step 6
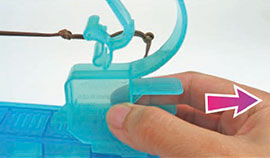
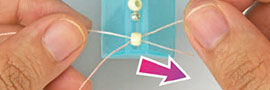
Secure cord
Pull sliding clip away from clamp (a few clicks) to tighten cord.
Step 7
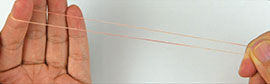
Prepare wrap line
For specific designs, measure and cut the wrap line according to the bracelet template.
Step 8
Weave wrap line onto cord
Place the wrap line over the cord. Wrap the left side of the thread under and over the cord on the left. Wrap the right side of the thread under and over the cord on the right.
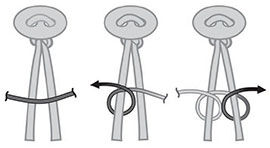
Tip: Adjust the wrap line so the line is centered with equal halves.
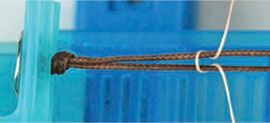
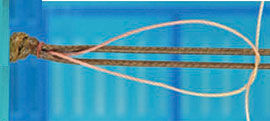
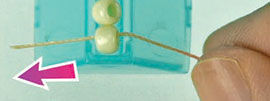
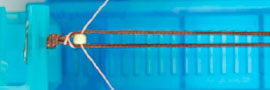
Step 9
Tie wrap line knot
Pull the slide ends to tighten wrap line against the cord knot. Tie a simple knot with the wrap line.
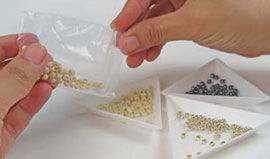
Step 10
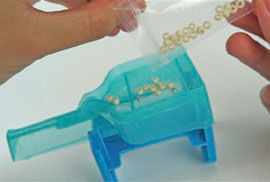
Pour beads onto tray
Snap the "bead tray" onto the stand. Put beads onto tray. Use triangle trays to help sort and transfer beads.
Step 11
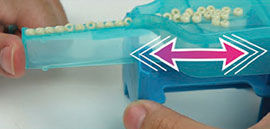
Line Beads up
Gently shake the tray until the beads align in the track.


Step 12
Threading bead(s)
Pick and thread bead(s) with one side of the wrap line.
Step 13
Threading bead(s)
Pick and thread bead(s) with one side of the wrap line.
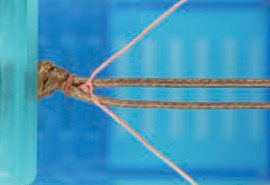
Step 14
Align beads
Pull both ends of the wrap line to slide the bead(s) in between the cords.
Step 15
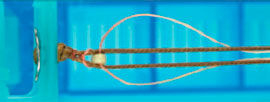
Wrap bead(s)
Weave the wrap line over the cord and up through the center.
Step 16

Continue wrapping beads
Repeat Steps 12 -15 to secure beads. Repeat these steps until the end.
Step 17

Finish wrap line
Tie three simple knots to secure the wrap line.
Tip: Use glue to help reinforce knot.

Cut excess wrap line and cord
You did it!
Have a question regarding this project? Email Customer Service.
Copyright Permissions
All works of authorship (articles, videos, tutorials and other creative works) are from the Fire Mountain Gems and Beads® Collection, and permission to copy is granted for non-commercial educational purposes only. All other reproduction requires written permission. For more information, please email copyrightpermission@firemtn.com.