How to Use the Eyelet and Rivet Setting Tool
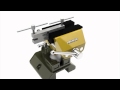
Instructions
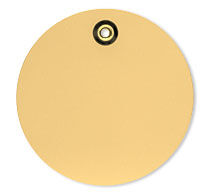
Eyelets
For best results, total thickness should not be less than 1/2 the length of the eyelet or rivet.
Note: Rivets and eyelets are 1.9mm, it is necessary to use the left (larger) punch side of item H20-3084TL hole-punch tool as it makes a hole of approximately 2mm.
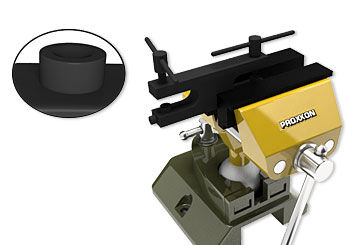
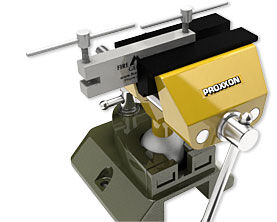
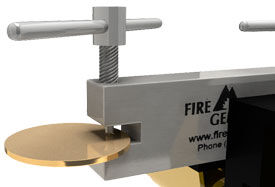
Step 1
Secure hole-punch tool in bench vise. You will be using the left (larger) punch side of the punch tool.
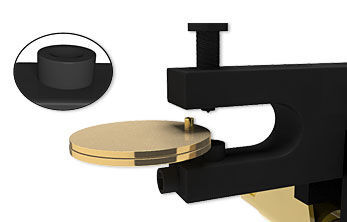
Step 2
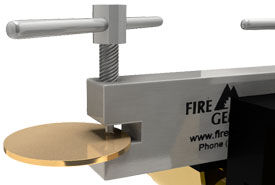
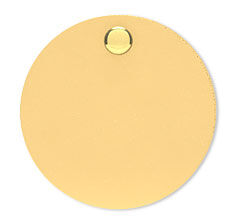
Insert and align disc to be punched, then turn handle clockwise until hole is fully punched. Turn handle counter clockwise and remove punched disc.
Repeat to punch second disc.
Step 3
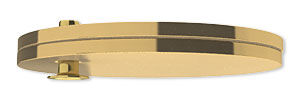
Stack discs with holes aligned and insert eyelet through holes.
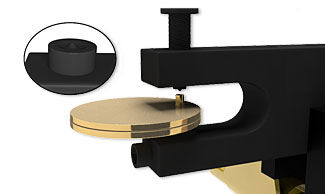
Step 4
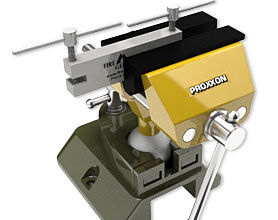
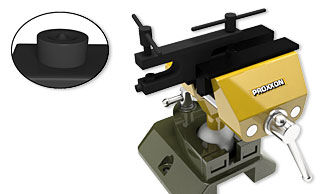
Secure setting tool in bench vise. You will be using the eyelet side (dimpled bottom side) of the setting tool.
Step 5
Insert eyelet head into the eyelet side (dimpled bottom side) of the setting tool.
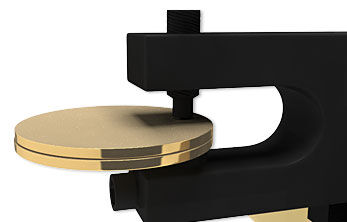
Step 6

Turn hand crank clockwise until tube portion of eyelet is sufficiently flared securing the two discs together.
Step 7
Turn hand crank counter clockwise and remove attached discs from setting tool.
Rivets
For best results, total thickness should not be less than 1/2 the length of the eyelet or rivet.
Note: Rivets and eyelets are 1.9mm, it is necessary to use the left (larger) punch side of item H20-3084TL hole-punch tool as it makes a hole of approximately 2mm.
Step 1
Secure hole-punch tool in bench vise. You will be using the left (larger) punch side of the punch tool.
Step 2
Insert and align disc to be punched, then turn handle clockwise until hole is fully punched. Turn handle counter clockwise and remove punched disc.
Repeat to punch second disc.
Step 3
Stack discs with holes aligned and insert rivet through holes.
Step 4
Secure setting tool in bench vise. You will be using the rivet side (bowl-shaped bottom side) of the setting tool.
Step 5
Insert rivet head into the rivet side (bowl-shaped bottom side) of the setting tool.
Step 6
Turn hand crank clockwise until tube portion of rivet is sufficiently flared securing the two discs together.
Step 7
Turn hand crank counter clockwise and remove attached discs from setting tool.
Shop for Your Materials Here:


Have a question regarding this project? Email Customer Service.
Copyright Permissions
All works of authorship (articles, videos, tutorials and other creative works) are from the Fire Mountain Gems and Beads® Collection, and permission to copy is granted for non-commercial educational purposes only. All other reproduction requires written permission. For more information, please email copyrightpermission@firemtn.com.