All You Need to Know About Jewelry Cleaners and Polishers

Table of Contents
Jewelry, when properly cleaned and polished, maintains its value and draws the eye. Protect jewelry and jewelry-making supplies with the appropriate cleaning and polishing methods. Before you clean your pieces, look them over to detect loose stones, fraying cord, gapping jump rings and other types of natural wear and tear.
Some gemstones and jewelry should never be cleaned with chemicals, steam or ultrasonic cleaners. Care should also be used for glued-in materials such as pavé, rhinestones, triplet opals or inlay work. Check the Gemstone Cleaning Chart and the Gemstone Meanings section for more information on caring for specific gemstone and organic materials. If you are uncertain, take your pieces to a jeweler for professional assistance.
Here are the products we offer to help you keep your jewelry sparkling:
Ultrasonic Cleaners
These specialized machines use ultrasonic frequencies and either mild liquid soap or ultrasonic cleaning fluids to get jewelry looking good as new.
Professional Ultrasonic Jewelry Cleaners and Cleaning Solutions
- Ample basket size, compact counter space
- Uses only a few drops of dishwasher soap per load
- For gold, silver and platinum jewelry
- For diamonds and other hard gemstones (check the ''Gemstone Cleaning Chart'' for specific stones)
- Great for eyewear as well as jewelry
- Stainless steel removable basket
- Easy-to-read blue and red indicator lights
- 3-minute auto clean cycle
- Automatic shut off
- Energy efficient--uses less electricity than a common light bulb
- CE/ETL approved
- Avoid using the Ultrasonic Jewelry Cleaner with opal, emerald, kunzite, pearl and rhinestone jewelry
Polishing Cloths and Cleaning Cloths
Protect your jewelry and give it long-lasting shine with specially designed polishing cloths and cleaning cloths. Polishing cloths are impregnated with special polishing agents (such as jewelers' rouge) to remove tarnish. Cleaning cloths are soft fabric with no cleaning agents, used mostly for removing surface dirt and fingerprints and giving a quick shine. Great for gifts and resale.

- Options include reusable cloths or disposable
- Designed for travel
- Remove tarnish and polishes precious metals
- Non-scratch cleaning cloths ideal for glass, crystal and plated metal
- Removes lint, dust and oils
- Reusable, hand-washable cloths
Moonshine® Polishing Cloth
- Reusable polishing cloth
- Non-staining and non-scratching micro-polishers
- Removes tarnish from gold, silver, platinum, copper and brass (avoid using on pearls or plated items)
- Safe for chrome, wood, ceramic, hard plastic and glass
- Safe to use until completely soiled
- Avoid washing, as that will remove polishing compound from cloth
- Packaged by Goodwill Industries of the USA
How to Use Moonshine™ Polishing Cloths
To clean a necklace chain:
Step 1
Fold the cloth over the necklace chain.
Step 2
Pinch between the thumb and forefinger.
Step 3
Pull the chain through the cloth.
Step 4
Repeat as necessary until you achieve the desired degree of polish.
For polishing other items:
Step 1
Fold the cloth over the item.
Step 2
Rub the cloth over the entire surface.
Step 3
Repeat as necessary until you achieve the desired degree of polish.
Fabulustre® Jewelers' Rouge Polishing Cloth
- Two-in-one reusable cloth
- One side with jewelers' red rouge for tarnish removal
- Other side with soft flannel for final polishing
- Polishes sterling silver to a mirror finish
- Use on precious metal jewelry and components
- Avoid using on plated items and sterling silver pieces with soft stones
- Avoid washing, as that will remove polishing compound from cloth
- Made in USA
Cleaning Metal and Jewelry with Polishing Cloths
How to Use Jewelers' Rouge Polishing Cloth
This is a two-sided polishing cloth. One side is coated with polishing rouge, and the other side is treated with a metal polish. This cloth is especially good for polishing gold jewelry.
Note: Not to be used for plated items, because it can rub the finish off.
STEP 1
Rub the metal with the rouge (red) side first
STEP 2
Flip the cloth over, then polish and buff the metal with the yellow side to complete polishing.
Sunshine® Polishing Cloth
- Reusable polishing cloth gives jewelry long-lasting luster
- Non-staining micro-abrasives
- Removes tarnish from gold, silver, platinum, copper and brass (not for use on pearls or electroplated items)
- Safe for chrome, wood, ceramic, hard plastic and glass
- Safe to use until completely soiled
- Avoid washing, as that will remove polishing compound from cloth
Selvyt® Polishing Cloths
- Reusable polishing cloths
- 100% natural cotton cloth woven using a special “W” binding system
- Velvety soft
- Preferred brand of silversmiths and watchmakers
- Removes tarnish, dirt and natural oils
- Formula has anti-tarnish effects on jewelry
- Specially formulated cloth for sterling silver, gold, platinum, or other precious metals
- Unique weave traps dust particles, leaving no residue behind
- Avoid washing, as that will remove polishing compound from cloth
Selvyt® Universal Polishing Cloth
- Can be used on metal and gemstone beads
- Removes oils and fingerprints, as well as dirt
- Unbleached woven cotton with a raised surface to lift particles from the item you're cleaning
- Can be washed for repeated use
Blitz® Dry Wipes Jewelry Cleaner
- Clean, shine and protect platinum, silver and gold that is 22Kt or less
- Scent-free, non-abrasive and non-toxic
- Disposable cleaning wipes
- Designed for travel
- Avoid using on pearls, opals, coral, lapis lazuli, malachite, ivory, 24Kt gold or lacquered surfaces
- Made in USA
Blitz® BrassShine™ Tarnish Eater
- Clean, shine and protect brass and copper
- Scent-free and non-toxic
- Leaves no residue behind
- Avoid using on lacquered surfaces
- Use caution when cleaning antiques, as that can diminish their value
Blitz® Sterling SilverShine™
- Clean, shine and protect sterling silver and silver-plated jewelry and décor items
- Scent-free, non-toxic and environmentally friendly
- Leaves tarnish-retardant behind after polishing
- 100% cotton flannel cloth
- Use caution when cleaning antiques, as that can diminish their value
Polyester and Polyamide Polishing Cloths
- Soft, non-scratch cloths
- Ideal for glass surfaces and beads
- Polishes without depositing lint
- Multipurpose cloths work well with cleaning liquids and pastes
Polyester and Nylon Polishing Cloths
- Microfiber cloth designed for glass and crystal, lenses, monitors, touchscreens and more
- Ideal for removing dust and oils
- Handwash for repeated use
Rotary Tools
Rotary tools are ideal for heavy-duty, professional polishing.
- Use with buffing wheels for fast and beautiful finishes
- Specific polishing compounds are available for the different metal types
- Get professional finish on metal jewelry
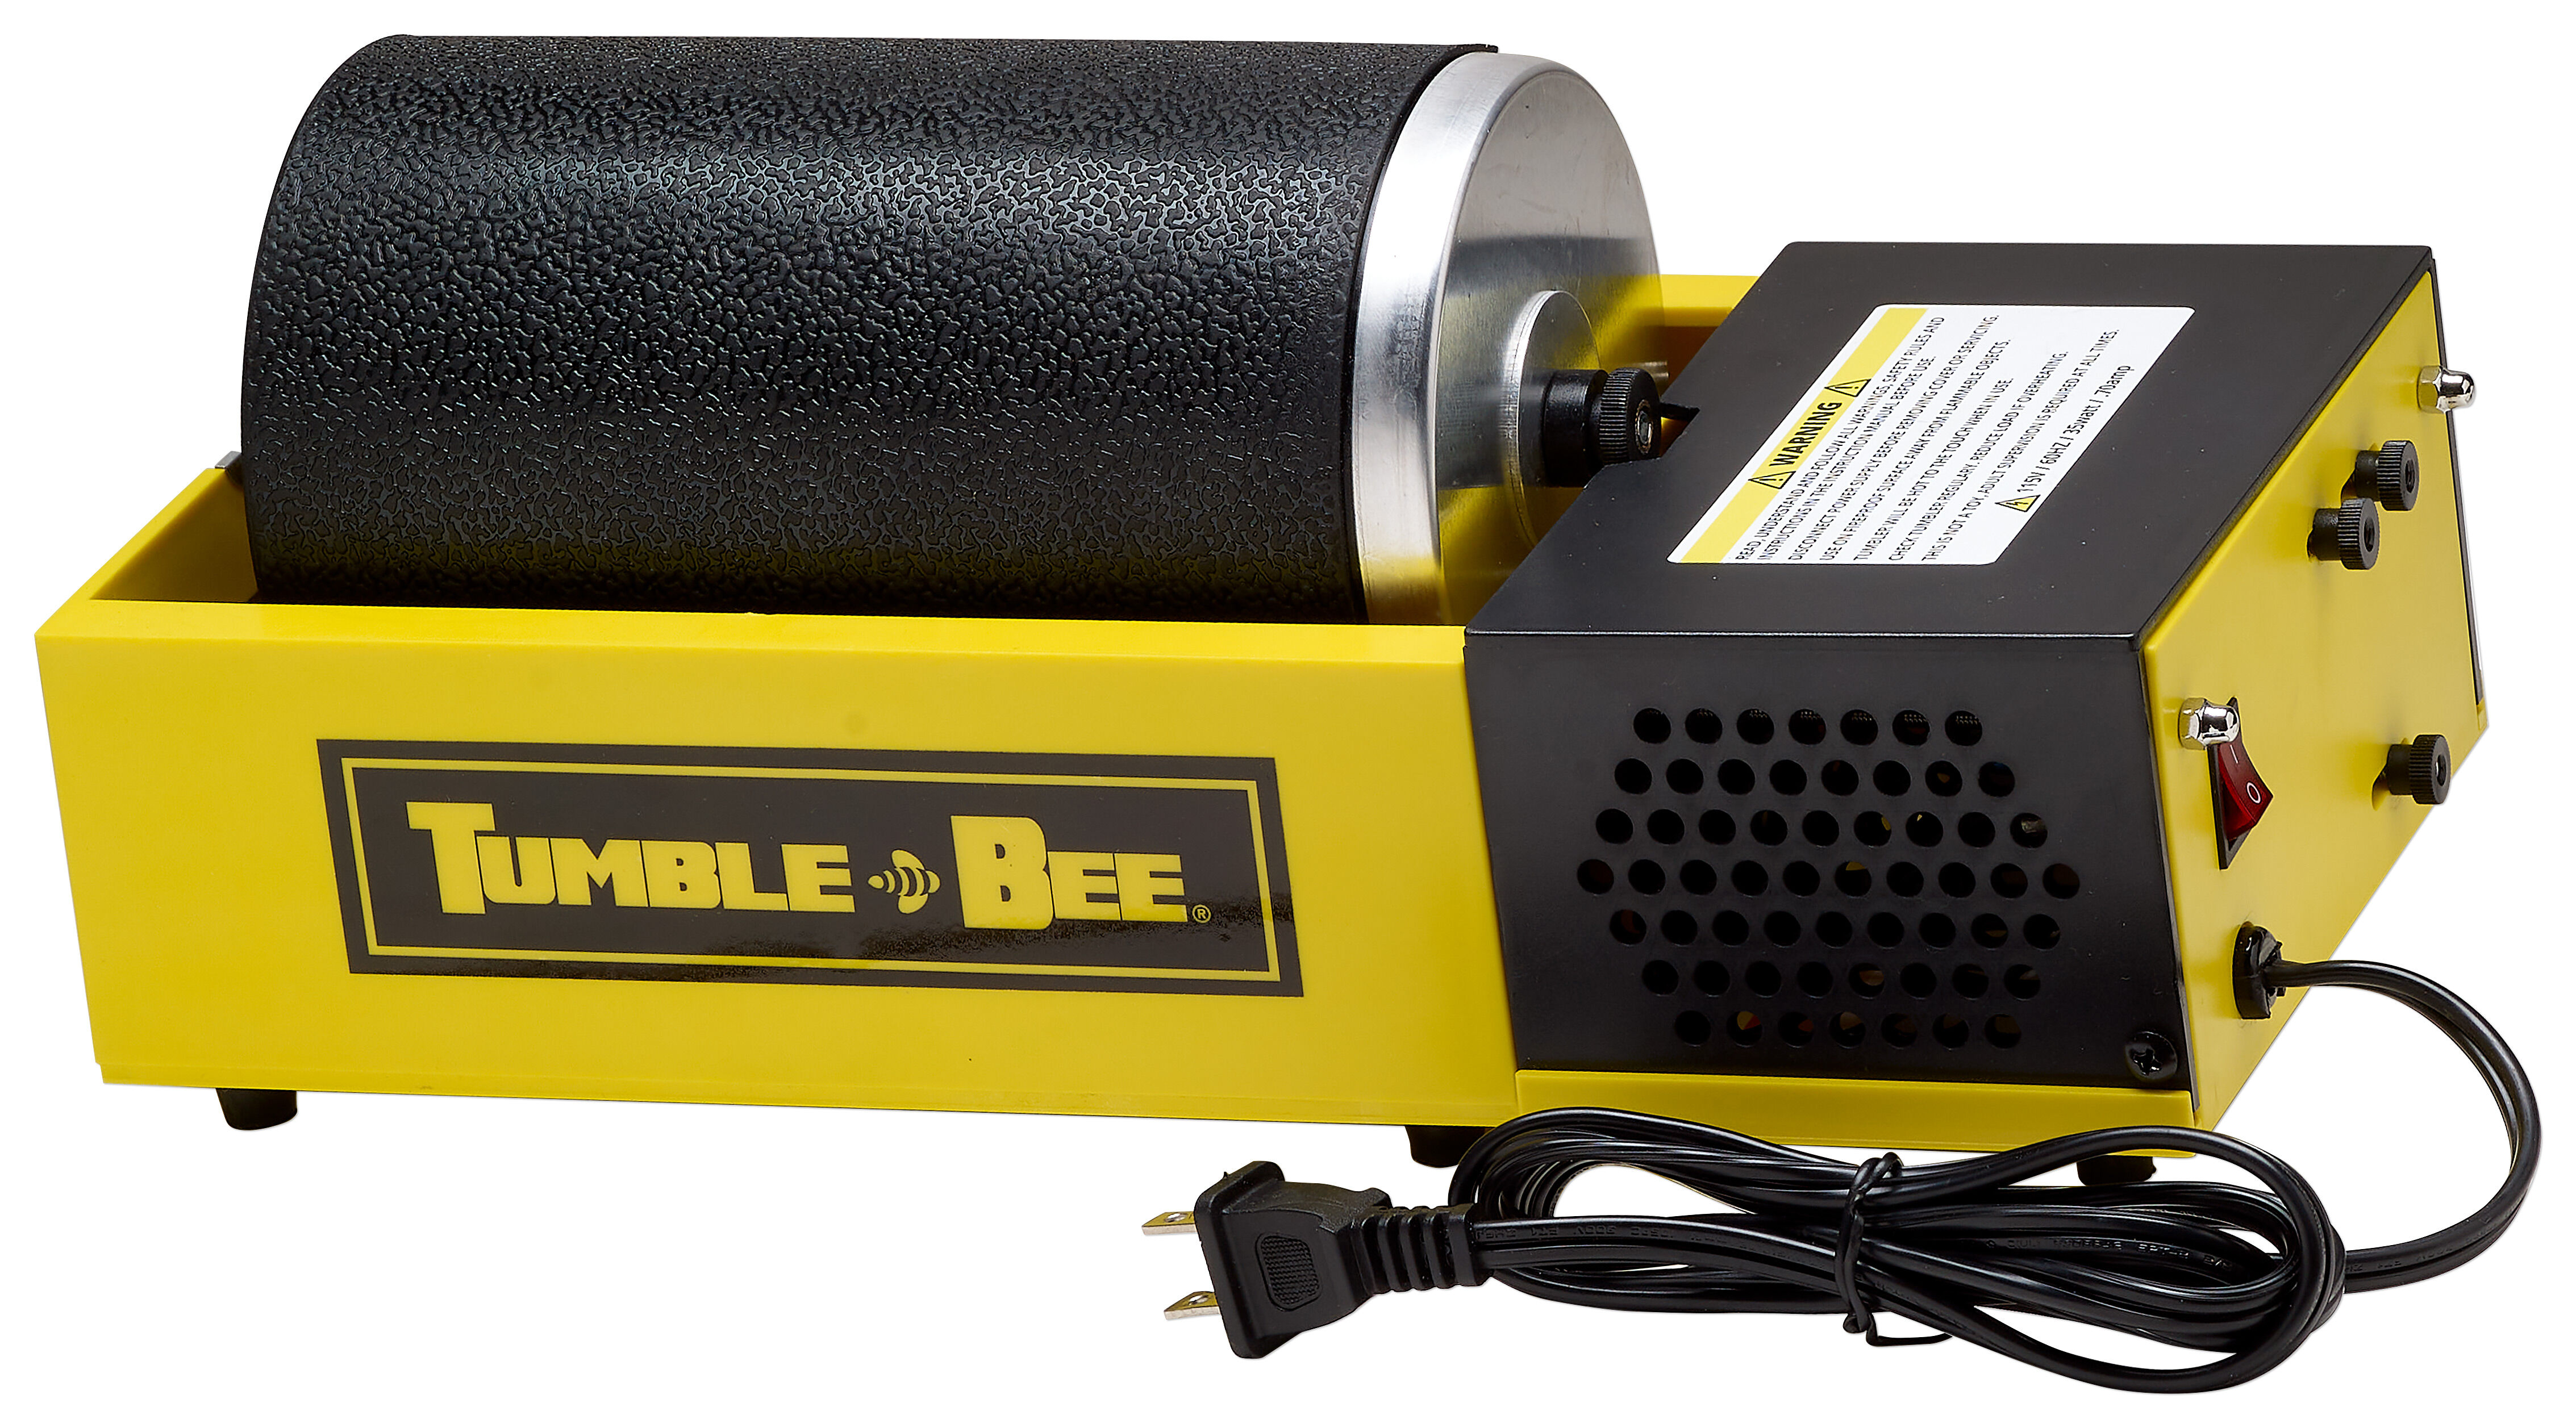
Lortone Model 3A Rotary Jewelry and Rock Tumbler
- Easily smooths and polishes up to 3 pounds
- Quiet patented rubber barrel
- Water-tight seal
- For precious metal jewelry and jewelry components, fired Art Clay® designs or small rocks
- One-year manufacturer's warranty
- UL/CSA approved
- Avoid using the Lortone Rotary Jewelry and Rock Tumbler with faceted gemstones (especially emeralds), pearls, glued-in and plated items. Check the ''Gemstone Cleaning Chart'' for specific stone care.
- Made in USA
The Basics of Rock Tumbling
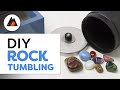
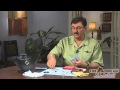
Learn the basics of rock tumbling and how easy it is to polish rocks with Rose as she demonstrates how to use the Lortone rock and jewelry tumbler.
Tumbling and Polishing Jewelry and Stones with a Tumbler
Step 1
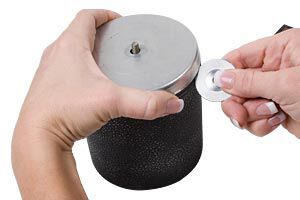
Unscrew the nut on the top of the barrel. Remove the metal washer. Remove the outer metal lid. If the lid is difficult to remove, insert the washer into the area between the lip of the lid and the barrel and twist to lift the lid away from the barrel. Work all the way around the lid to loosen until the lid can be removed.
Step 2
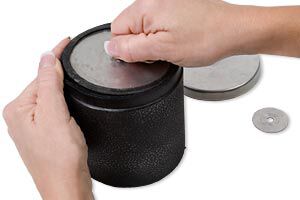
Pull the center bolt on the inside lid to expose the inside of the barrel.
Place the items beings tumbled into the barrel.
Step 3
For rocks: Fill the barrel with the rocks until the barrel is 1/2 to 2/3 full. Then fill with the first level abrasive medium. Add water to cover the rocks and abrasive.
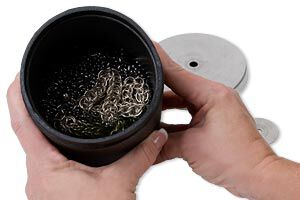
For jewelry materials: Fill the barrel with metal charms, wire-worked elements, metal-clay designs, etc. Add 2 pounds stainless steel shot. Add burnishing compound (dilute mixture of liquid dish soap and water) to the barrel until filled to just above the shot and jewelry components.
Replace the inner lid, the metal outer lid, the washer and the nut until the lid is secure. Only tighten the nut by hand, not with tools.
Step 4
Plug the tumbler in, then place the barrel onto the rollers, lining up the groove in the nut with the guide on the base of the tumbler.
For rocks: Let the tumbler run for 2-3 days. Check the barrel to make sure you see progress (the rough edges should be wearing down). Restart the tumbler and let it go for a few more days. Once you are satisfied with the progress, empty the contents of the tumbler into a bucket. Rinse the rocks with fresh water.
Repeat the tumbling procedure using progressively finer grits of abrasive compound.
Do not dispose of the water in the bucket down a household drain as it will clog the pipes--dispose outside in an area safe for disposing water and pieces of rock.
For jewelry: Let the tumbler run for 20 minutes then check progress. If needed, run the tumbler longer until the desired finish is achieved. Dump the stainless steel shot and jewelry components into a sieve over a bucket. Remove the jewelry components and rinse them with soap and water. Let dry. Return the shot to the tumbler barrel for storage or leave it in the sieve undisturbed until it is dry, then place in a zip-top bag. Dispose the water in the bucket as you would other wash water.
Rotary Tool, Polishing and Grinding Set
- Excellent for drilling, sanding, carving and polishing tool for jewelry-making
- Includes start-up accessory tools
- Comes with:
- 8-inch collet hand piece
- 3-1/2 foot long flexible shaft
- Quick release chuck mount
- Table clamp for hanging frame
- Accessory tools (oxide aluminum burrs, sanding disc, brush, 2mm and 3mm spiral drills, diamond bits, ceramic bit, clamp chucks, sanding drum, sanding belts, cutting disc and more)
- Durable, hard plastic storage case
Jewelry Cleaning and Polishing Pastes
- Designed for precious metal, stainless steel and plated metals
- Adds a sparkling luster
- Leaves behind an anti-tarnish coating
- Designed to clean and protect finished metal clay pieces
- Adds sparkling luster
- Leaves anti-tarnish coating behind
- Can also be used on stainless steel
Cleaning and Polishing Fluids
- Clean, polish and restore luster to precious metals, base metals, chrome, stainless steel, glass, ceramics and gemstones
- Available in gels, liquids, foams and sprays
- Can remove tarnish
Cleaning Jewelry with Liquid Cleaners

Empire's Instant Tarnish Remover
- Dip for 2-10 seconds or apply with cotton swab
- Safe for precious metal, copper, brass and plated jewelry or components
- Avoid using on pearls, opals, porous stones, bakelite or lacquered surfaces
- Avoid using on painted jewelry, aluminum, pewter or stainless steel
- Instant tarnish remover is an acid-based cleaner. Create a hook from a spare piece of sterling silver wire to use for picking up the jewelry to be dipped.
How to Use Empire's Instant Tarnish Remover
Step 1
Remove the lid from the jar.
Step 2
Pick up the jewelry piece with the hook.
Step 3
Dip the jewelry piece directly into the cleaner solution all the way in.
Step 4
Dip 2 times.
Step 5
Rinse the piece under running water, or in a bowl of clean water.
Step 6
Dry the beads as soon as possible. Do not store away until they are completely dry.
De-Solv-it® Icky Sticky Stuff Remover
- 100% organic jewelry cleaner
- Includes citrus oils, aloe vera and other organic compounds
- Ideal for removing decals, tape, grease, labels, pencil, wet paint, a range of wet glues and more
- Testing on unobtrusive area of jewelry is recommended before full use
- Avoid using on pearls, turquoise, opal, malachite and other soft, porous gemstone materials
EZ Brite® Cleaner (Gel form)
- Clean, polish and restore luster to non-lacquered stainless steel, chrome and glass
- Gel form clings to surfaces for better control
- Flip-top squeeze bottle offers directional use
- Biodegradable, environmentally safe non-suds soap
- Avoid using on silver, aluminum and lacquered or painted surfaces, as well as stainless steel appliances or cabinetry
Blitz® Foamz™ Cleaner
- Non-aerosol foam cleaner wipes away dirt and restores shine
- Scent-free and non-toxic
- Designed for use on jewelry with diamonds and other hard stones
- Avoid using on pearl, turquoise, malachite and other soft, porous gemstone materials
Blitz® Gem and Jewelry Cleaner
- Designed for use on gold, silver, platinum and hard gemstones
- Ammonia-free, 100% non-toxic
- Includes basket and brush
- Concentrate--mix with water to make cleaning solution
Blitz® Delicate Gem and Pearl Cleaner
- Designed for use on jewelry with emerald, ivory, onyx, opal, pearl, turquoise, lapis lazuli, coral, malachite and other porous precious and semi-precious gems
- Gentle cleaner is non-toxic
EUROTOOL® Shine Brite™ Cleaner
- Easily remove tarnish from silver
- Dip cleaner includes basket
- Removes oxidation and tarnish in less than 2 minutes--even removes Liver of Sulfur™
- Biodegradable cleaner
- Avoid using on pearl, turquoise, malachite and other soft, porous gemstone materials
Tarnish Prevention Products
Anti-Tarnish Storage Supplies
- Prevent the spread of tarnish on precious and base metals
- Available in paper strips, boxes, plastic bags, capsules, storage bins and organizers, drawer liners and fabric pouches
- Long lasting protection
Anti-Tarnish Bags and Organizers
- Plastic bags and organizers with tarnish inhibitors in the plastic
- Designed for use with non-ferrous metals (non-iron) such as gold, silver, copper, brass and bronze
- Sealed bags protect contents at least 2 years
- Closed organizers protect contents for up to 5 years
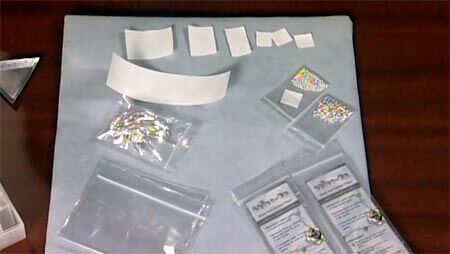
Anti-Tarnish Strips
- Shine-on Anti-Tarnish paper comes in 2-inch by 7-inch strips that are perfect to work in a 1-foot square airtight container.
How To use Anti-Tarnish Strips

STEP 1
Using a pair of regular scissors, cut an anti-tarnish strip down to appropriate sizes for the airtight container they are to go in.
Note: The smaller the airtight container you use, the smaller piece of the strip you should use.
STEP 2
Place your silver into an airtight container then add an anti-tarnish strip so the printed side is facing down.
STEP 3
Seal the container.
Note: The strip lasts approximately 6 months.
Please remember, if you are uncertain, take your pieces to a jeweler for professional assistance.
Shop for Your Materials Here:


Have a question regarding this project? Email Customer Service.
Copyright Permissions
All works of authorship (articles, videos, tutorials and other creative works) are from the Fire Mountain Gems and Beads® Collection, and permission to copy is granted for non-commercial educational purposes only. All other reproduction requires written permission. For more information, please email copyrightpermission@firemtn.com.